
Include an image
In order to insert an image to your dashboard, first you need a URL to the image you would like to include. If you would like to know how to generate URL for an image uploaded to the Jira Cloud, see the specific instructions in the bottom of this page.
Include an image in your dashboard
Create a new Custom Content gadget or edit an existing Custom Content gadget in your dashboard. Choose “Image” as content type and insert a URL to the image you would like to include.
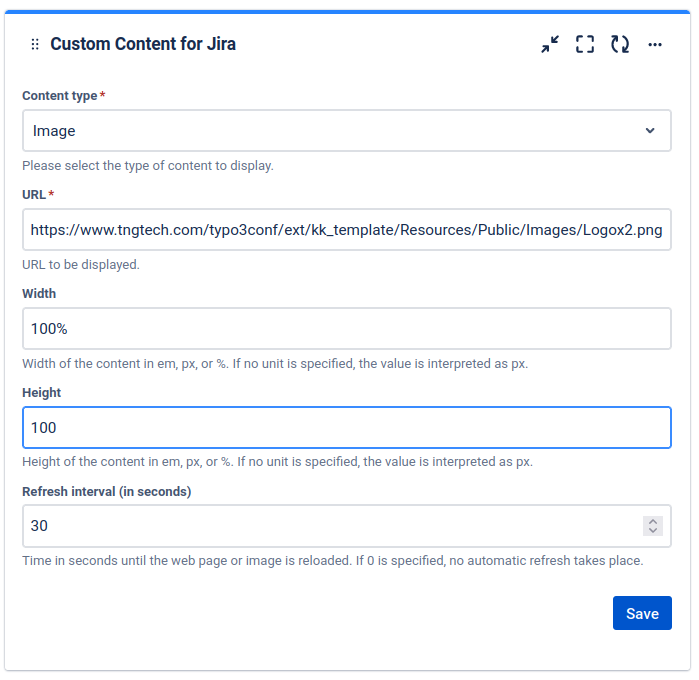
Click “Save” to publish the Custom Content gadget.
Congratulations! 🎉 You have successfully included an image.
Generate URL of an image uploaded to Jira Cloud
If you upload an image as an attachment in Jira and click to view it in a web browser, you will find the URL to be a blob URL, i.e. starting with blob:https://.... These cannot be used to view the image through Custom Content, so follow the instructions to find the non-blob URL for the image to use in Custom Content.
Determine the issue key to which the image is uploaded as an attachment.
Get the attachment id for the image by running the following rest call:
<your_jira_base_url/rest/api/2/issue/<issue_key>?fields=attachmentYou can now access the image through the URL:
<your_jira_base_url>/secure/attachment/<attachment_id>/<attachment_file_name>Add this URL to Custom Content, and make sure to resize it to fit the image to avoid distortion.