
Manually Migrate Table Enhancer Macros
This page contains a step-by-step guide on how to manually migrate a legacy Table Enhancer macro. The guide only shows you how to migrate Table Enhancer macros themselves. You might still have to migrate some table content.
We assume here that the legacy macro only contains a single table. For more general situations, have a look at the Macro Migration Assistant’s Troubleshooting page to learn how the assistant performs general macro migrations.
Before you start:
Open the page in the new editor
1. Insert a new Table Enhancer Cloud macro
Above the legacy Table Enhancer macro to be replaced, type /tableenhancer or use the macro insertion button in the top menu to insert a new Table Enhancer Cloud macro.
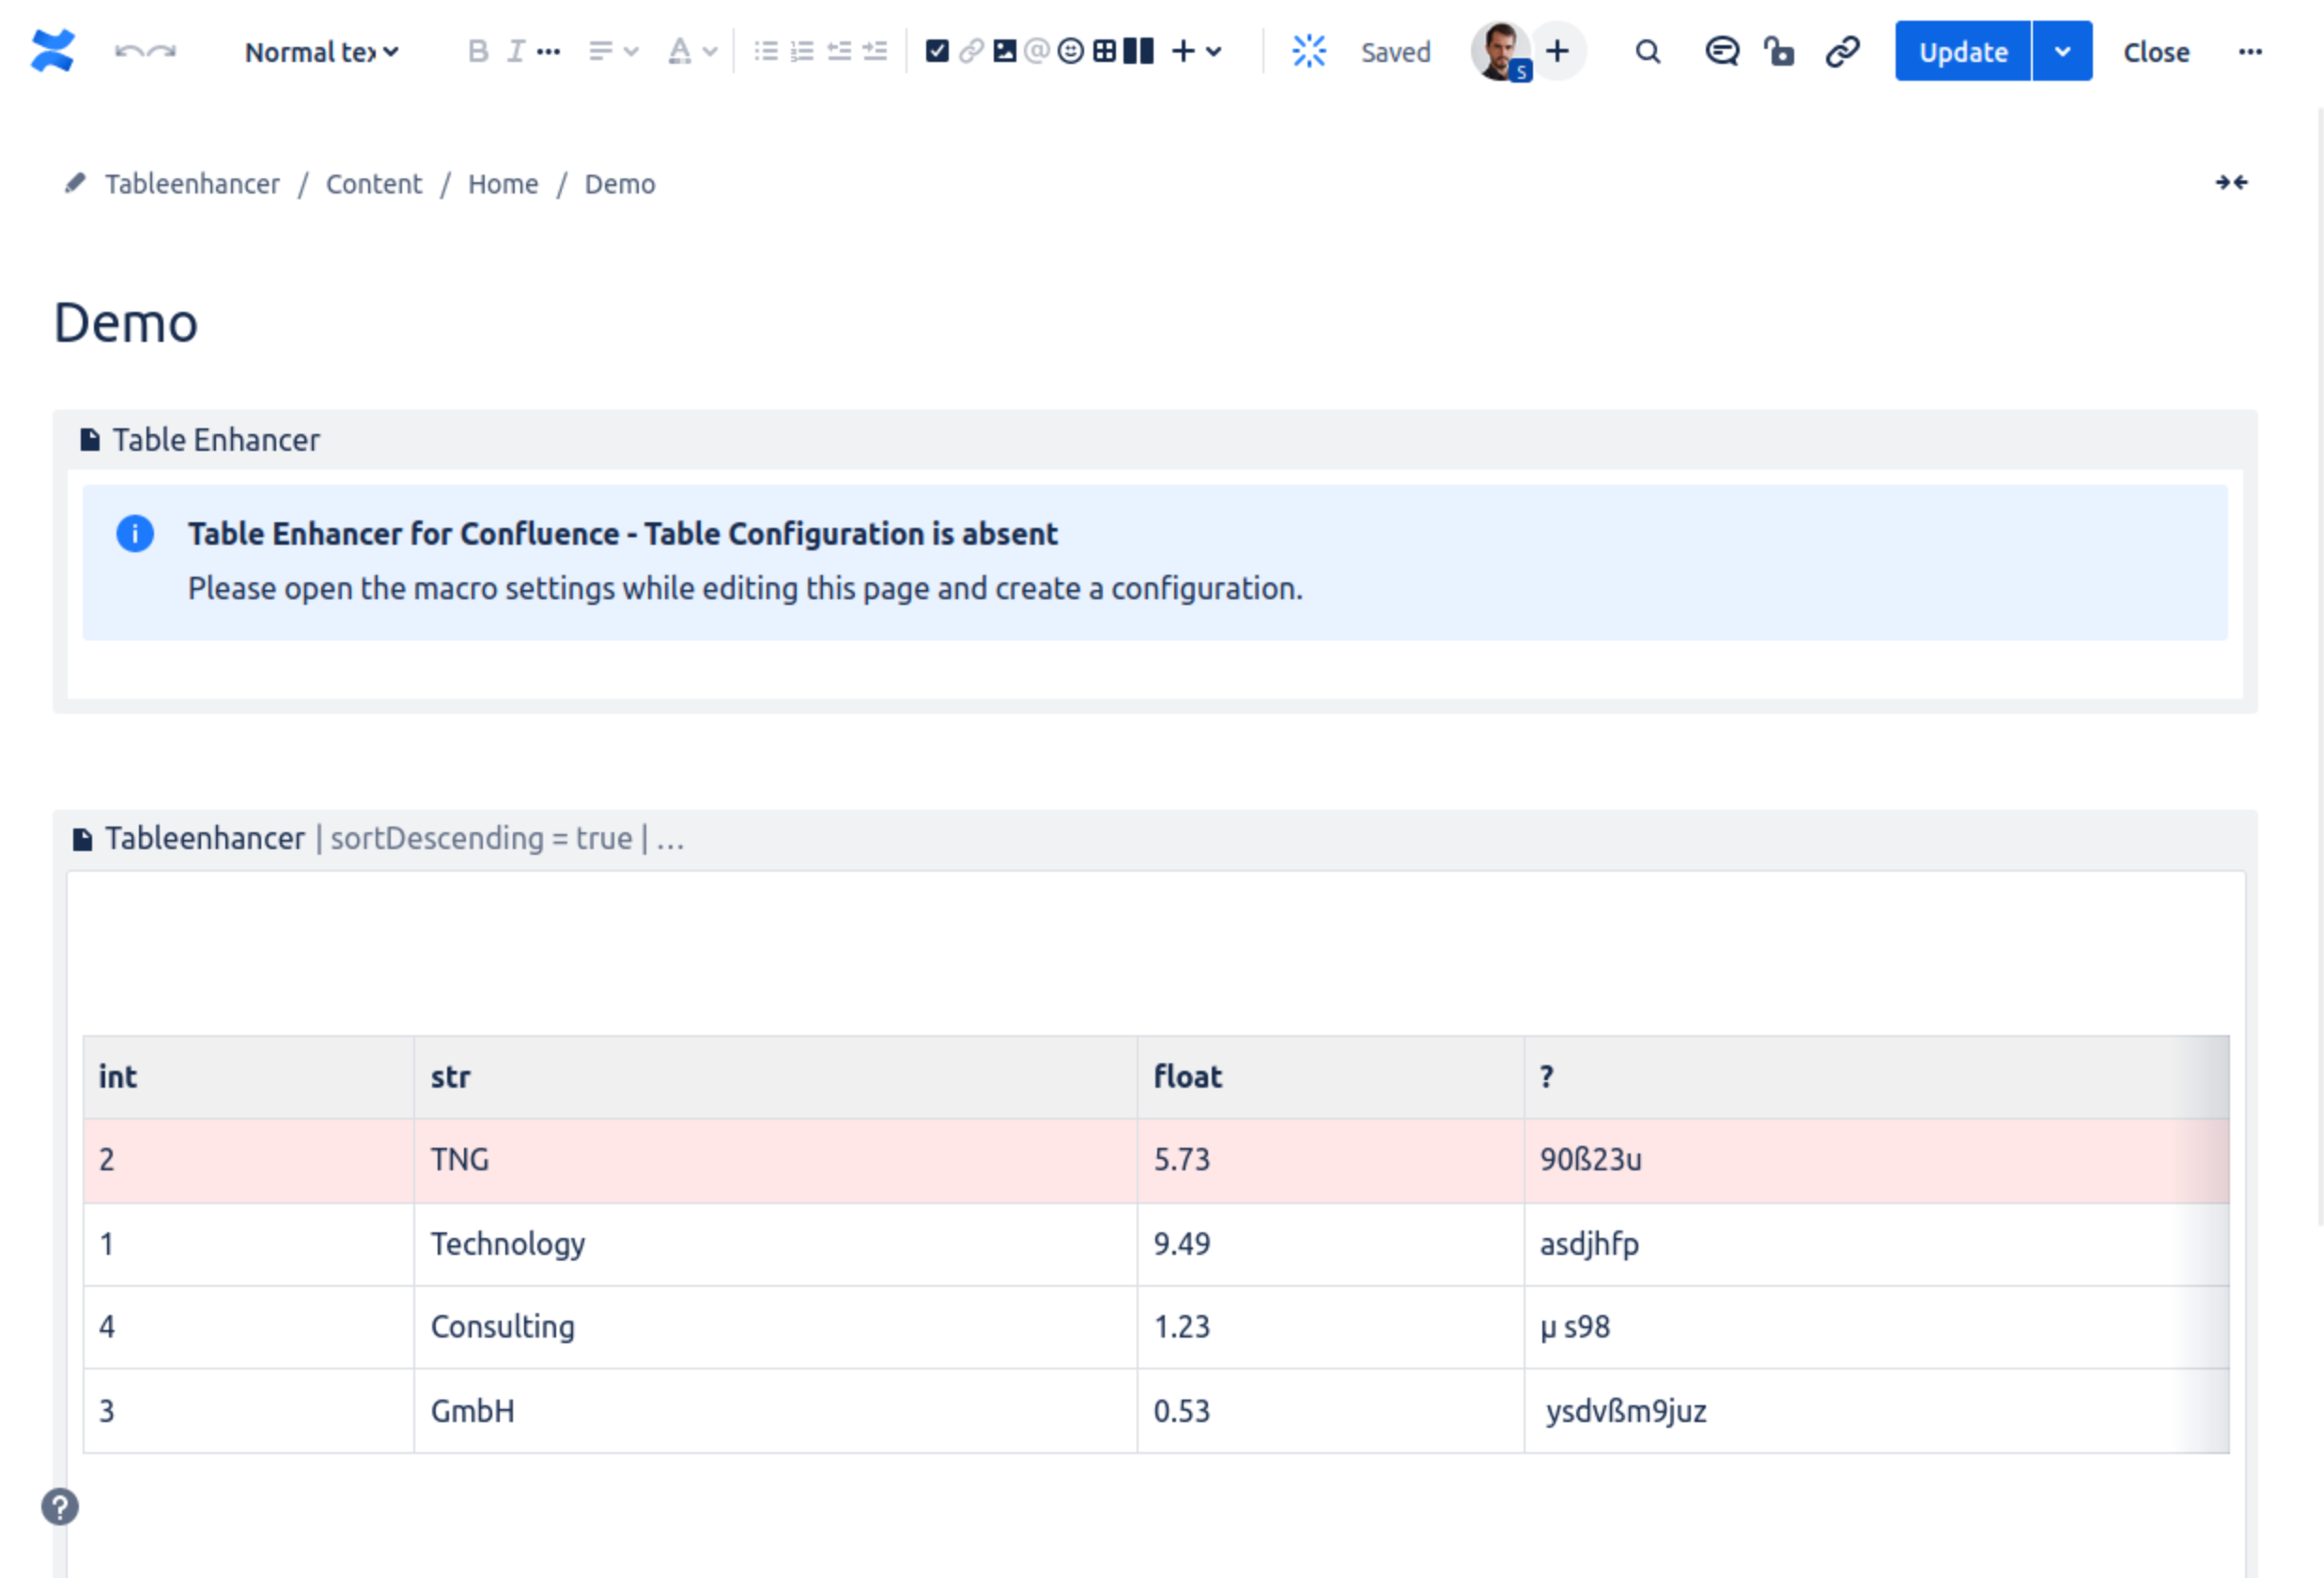
A new Table Enhancer Cloud macro has been inserted above the legacy macro.
2. Transfer over the content of the legacy macro
Table Enhancer macros on a Server / Data Center instance of Confluence are bodied macros that directly wrap an ordinary table. Table Enhancer Cloud is built on Atlassian’s Forge platform, which does not support bodied macros. Instead of wrapping a table, a Table Enhancer Cloud macro displays an enhanced view of a source table that exists on the surrounding page. Wrapping the source table in an Expand macro is an optional workaround to avoid showing duplicate tables.
Type /expand or use the macro insertion button in the top menu to insert a new Expand macro below the new Table Enhancer Cloud macro created in step 1.
Extract the table contained in the legacy Table Enhancer macro and insert it into the Expand macro.
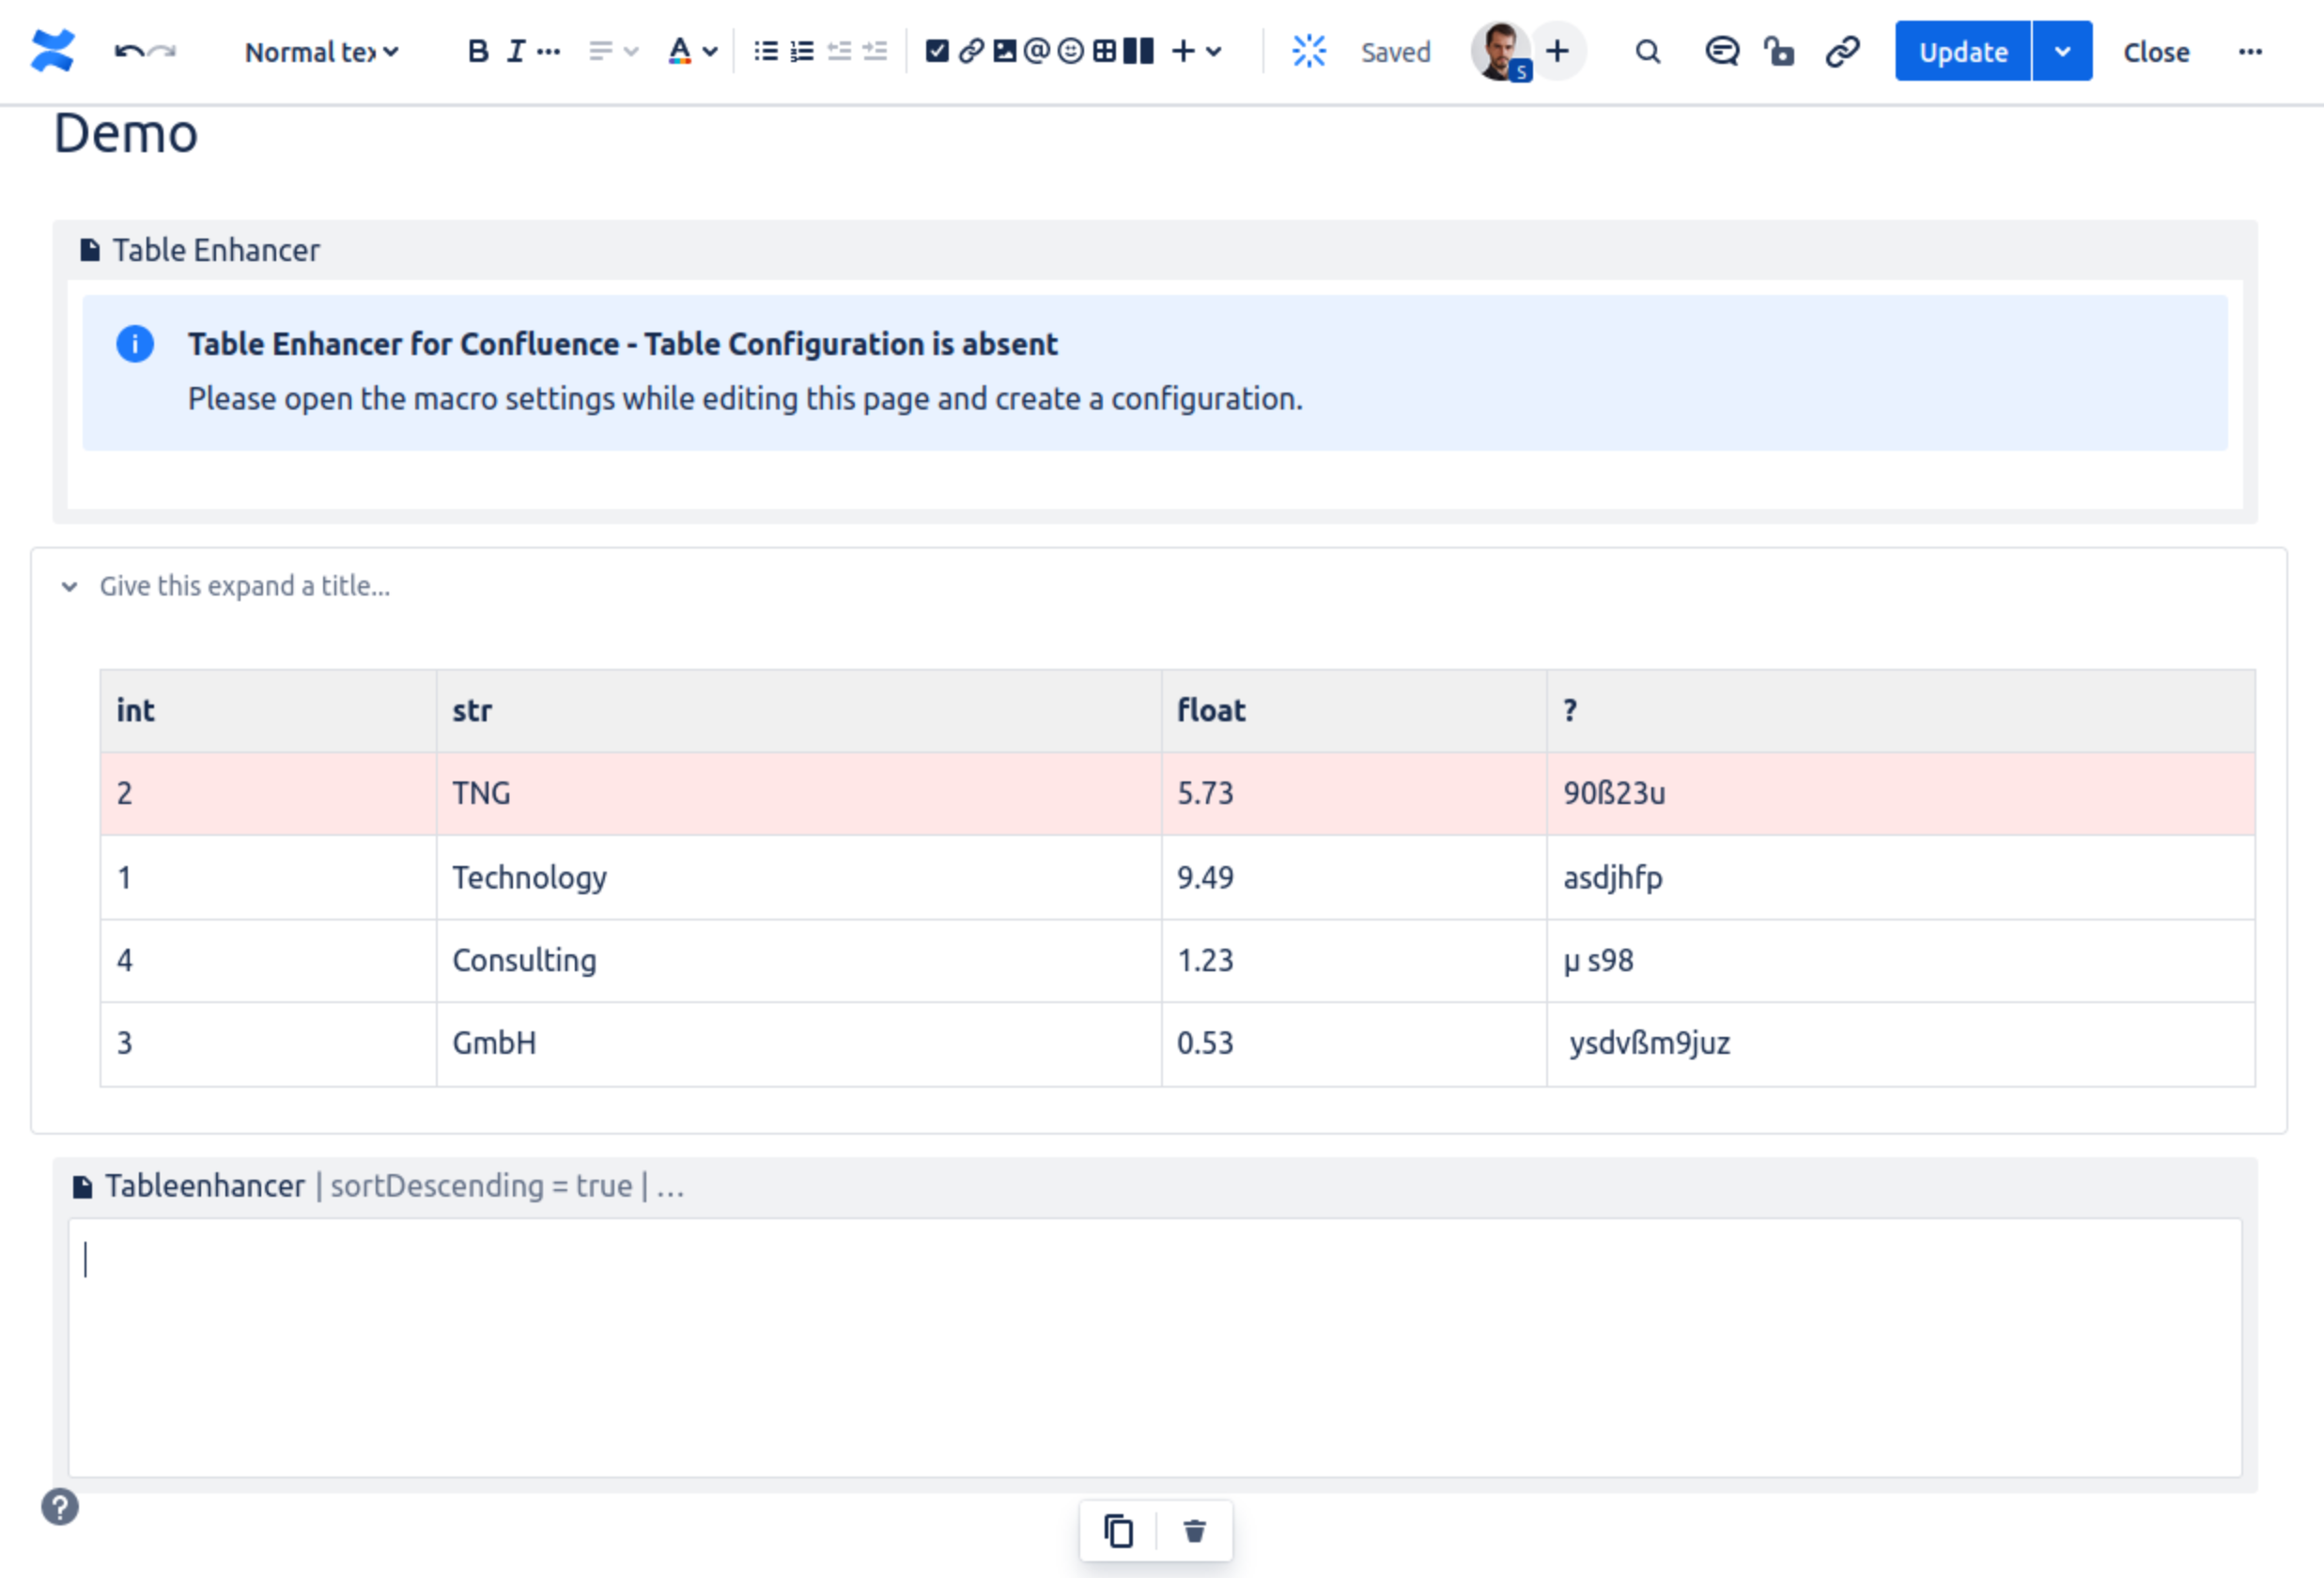
The table has been extracted into an Expand macro.
Configure the new Table Enhancer macro to enhance the extracted table:
Click on the new Table Enhancer macro.
→ This opens the macro menu.
Click on the pen icon.
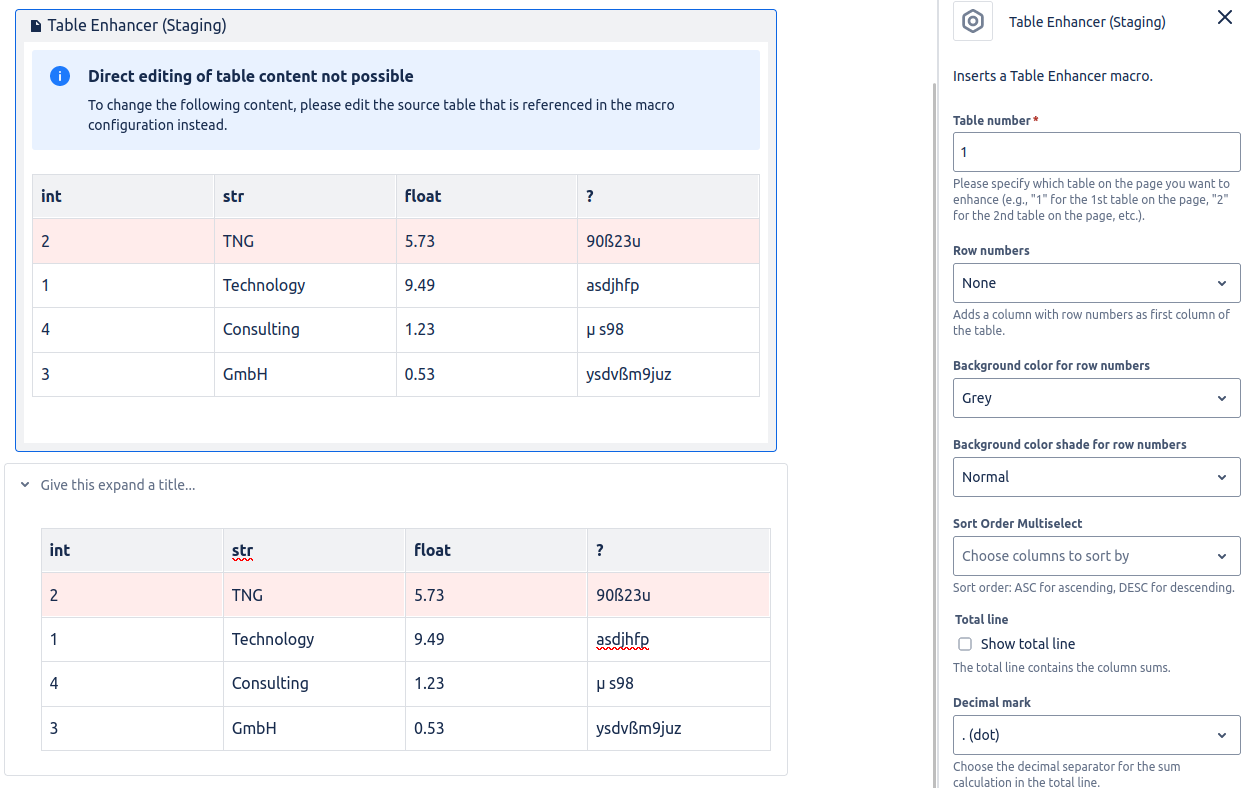
→ This opens the macro’s configuration side panel.
Enter the number of the table to be enhanced into the “Table number” input field.
→ The number 1 refers to the first table on the page, 2 refers to the second table on the page, 3 refers to the third table on the page, and so on.
Press Enter on your keyboard to confirm.
→ The new Table Enhancer macro will show a preview of the enhanced table.
Configure how the selected table is enhanced using the configuration panel.
Unfortunately, the original configuration gets truncated in the the editor view so you might need to reconfigure the new macro from scratch.
For advanced users: It is possible to retrieve the original configuration from the Storage format of the page. To do this, open the page in view mode while it still contains the legacy macro and select … → Advanced details → View Storage Format. In the source viewer that opens, search for tags with the propertyac:name="tableenhancer". The macro configuration for the corresponding legacy macro is stored in the associatedac:parametertags.
3. Delete the legacy Table Enhancer macro
The legacy macro is no longer needed and can be deleted.

Delete the legacy Table Enhancer macro once the new Cloud macro has been configured.
Result
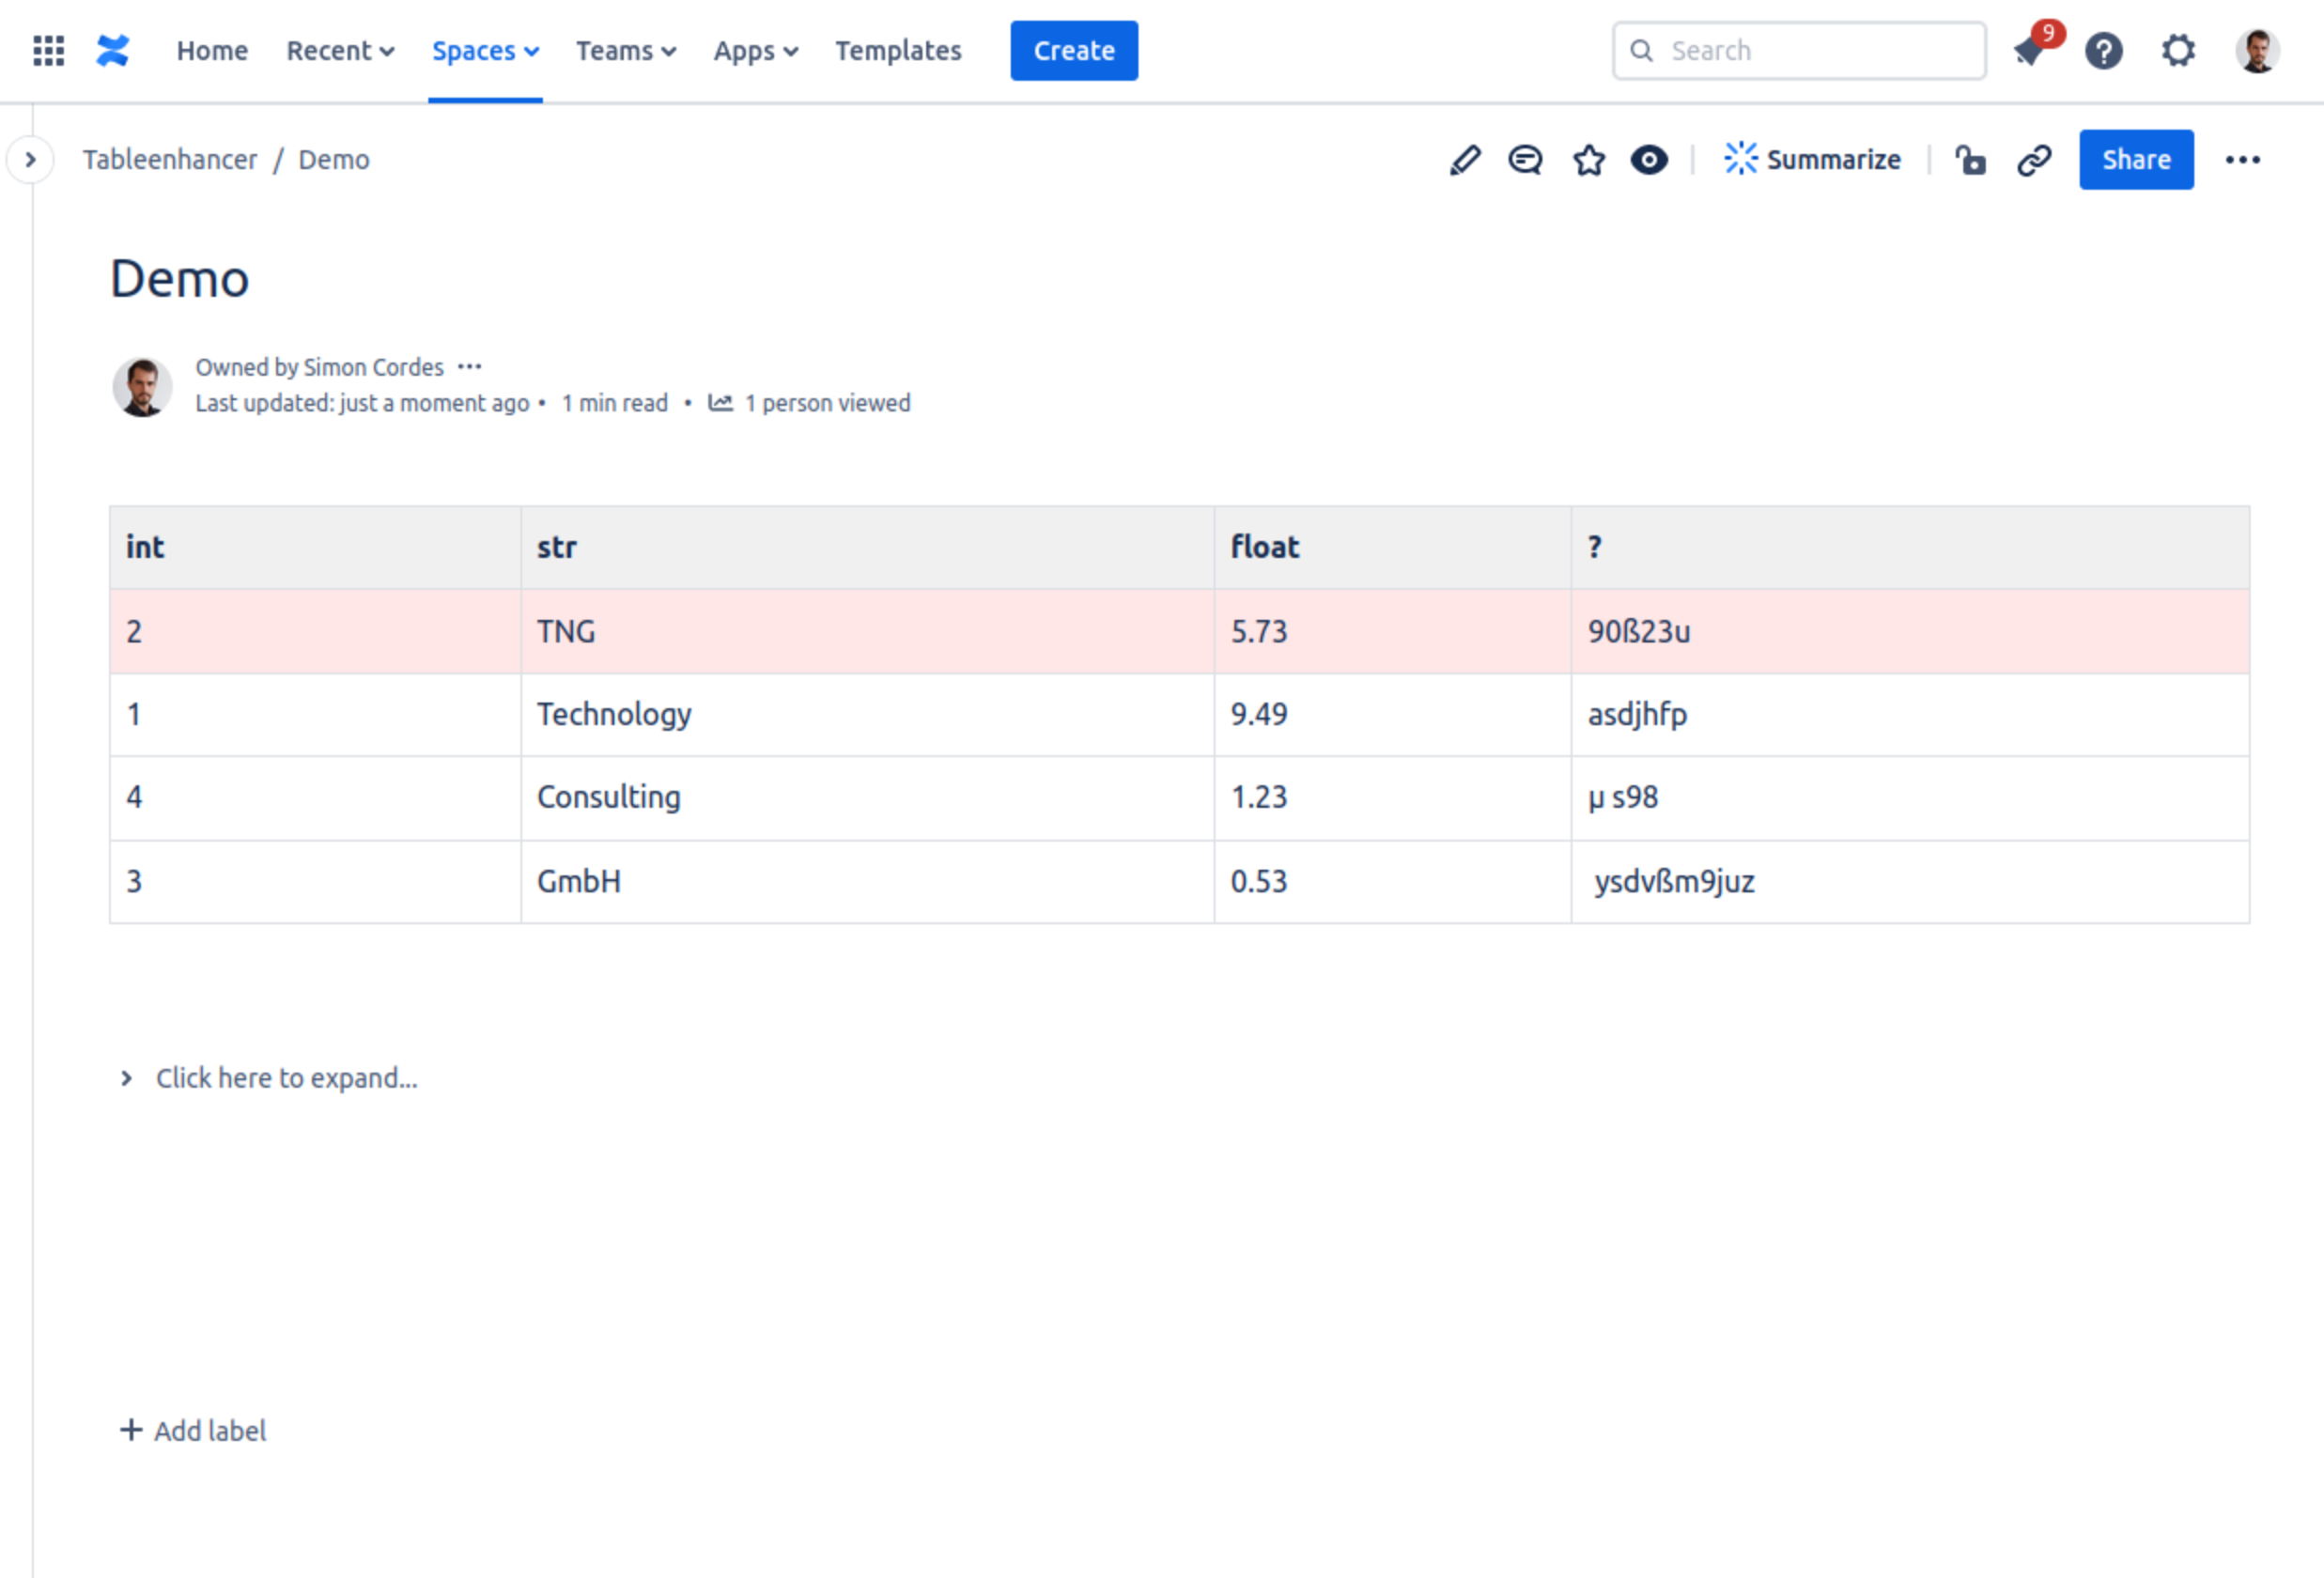
After updating the page, a single enhanced table is rendered.