
Using the Fonts Macro
Webfonts for Confluence provides you with the Fonts macro, which allows you to adjust the font of the text inserted in the macro body.
Getting Started
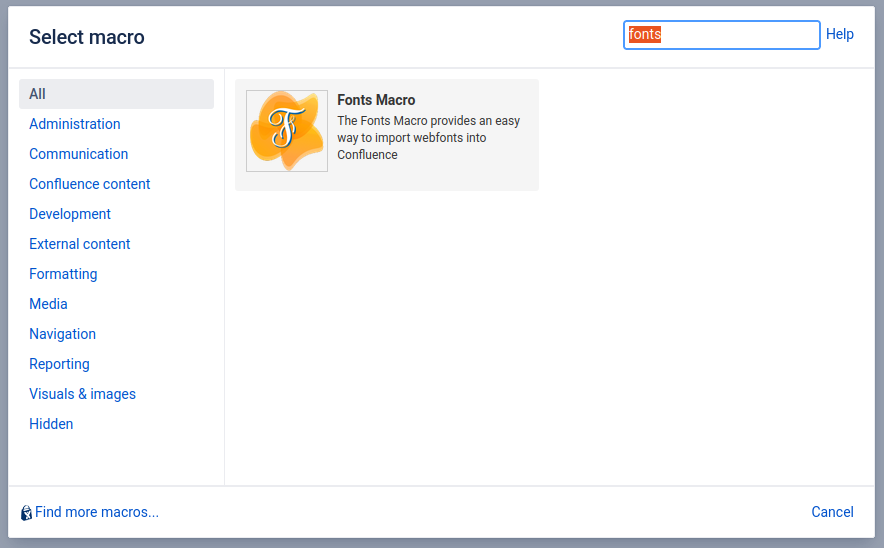
Create a new page or edit an existing page to adjust the Font. Click on the “+” icon in the toolbar and select “Other macros”, or use the shortcut
CTRL+Shift+Ato create a macro.Type “fonts” into the search field and select the Fonts macro to add it to the page.
A new dialog box appears allowing you to configure the Fonts Macro. You have to provide a “Webfont“ and a “Color”, and the rest of the configurations are optional. Learn more about optional Fonts macro configurations.
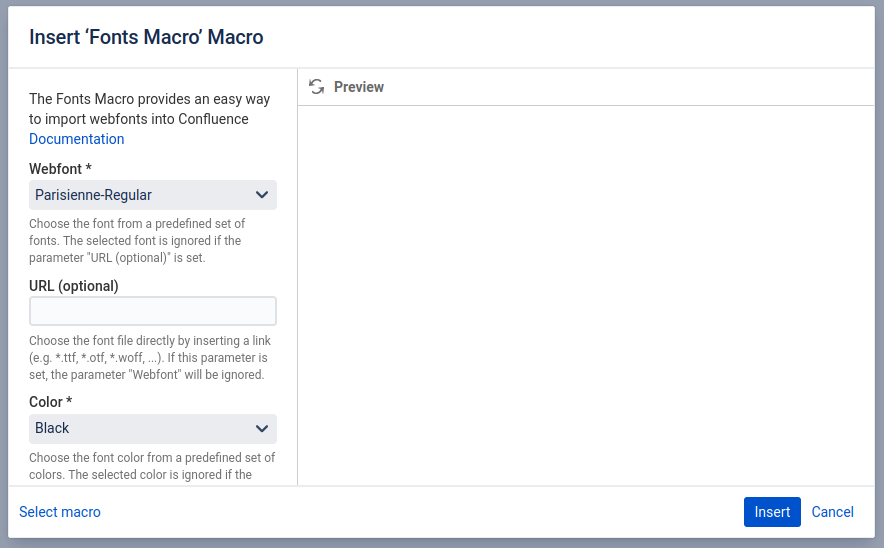
Click “Insert” to insert the Fonts macro.
Insert some text to the body of the Fonts macro.

Save the page.
Congratulations! 🎉 You have successfully adjusted your first Font.