Migration path
We provide a semi-automated migration path for Workflow Enhancer for Jira, which means that you need to take a few manual steps after you have migrated your project with Jira Cloud Migration Assistant. The conditions, validators and the post-functions offered by Workflow Enhancer will be dropped after you migrate your project to the Cloud, and you need to manually transfer your Workflow Enhancer data after your migration. We provide a migration assistant within Workflow Enhancer for Jira which allows you to seamlessly export and import your data.
Unfortunately, we cannot offer a fully automated migration path for conditions and validators at the moment, as Atlassian is currently not providing a way to support this for Forge apps. However, there is an open issue covering this topic, so we would appreciate votes there such that this blocker will be removed as soon as possible and we will be able to provide an automated solution.
Conditions and Validators
Prerequisites
For the migration of the Workflow Enhancer data, you must have completed the migration using Atlassian’s Jira Cloud Migration Assistant. After that migration, your workflows will have been migrated to the Cloud, but they will be missing all conditions, validators and post-functions from Workflow Enhancer for Jira.
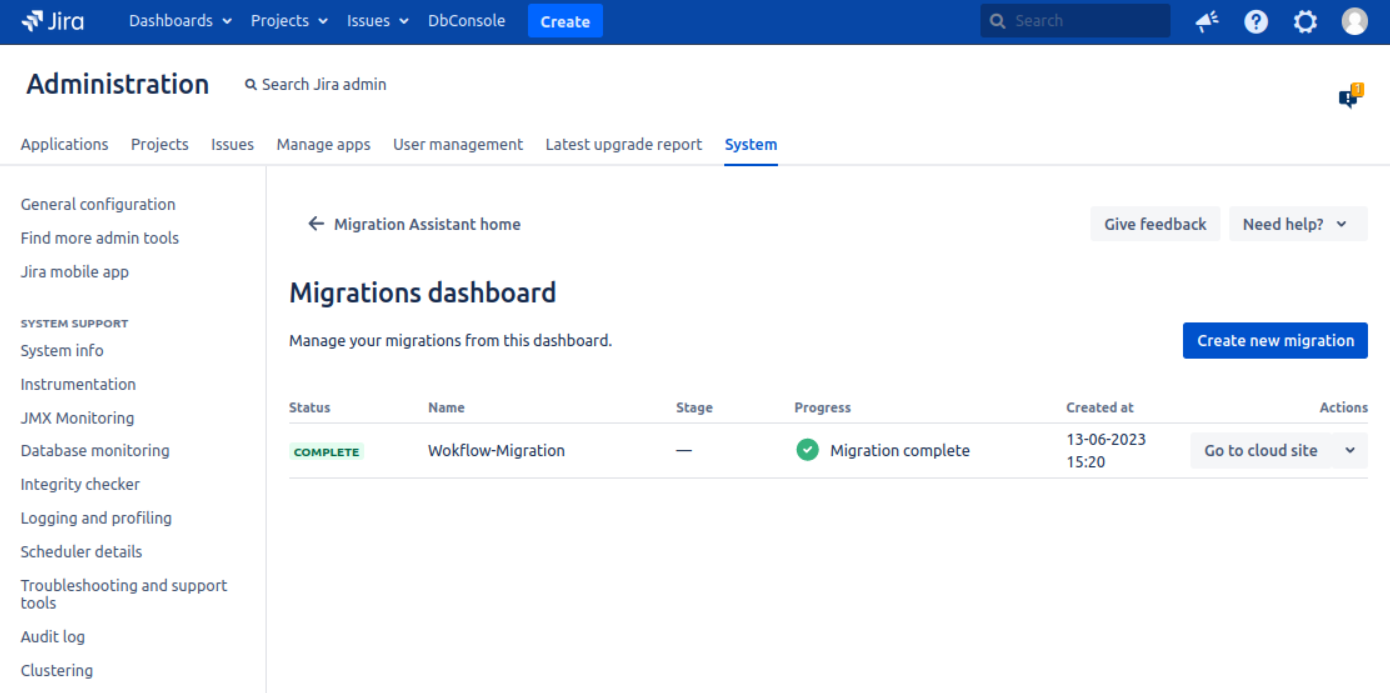
How to Export
Go to your Server respectively Data Center instance
Go to “Settings” → “Manage apps”
Go to “Workflow Enhancer” → “Cloud migration”
Click on “Download configuration”
Save the resulting JSON file on your hard drive

Please note that the export does not contain post functions as the Cloud version of Workflow Enhancer for Jira does not offer post functions.
How to Import
Go to your Cloud site
Go to “Settings” → “Apps”
Click on “Workflow Enhancer for Jira” on the left sidebar
Switch to the “Cloud migration import” tab

Click on “Upload configuration”
Upload the JSON file from the export
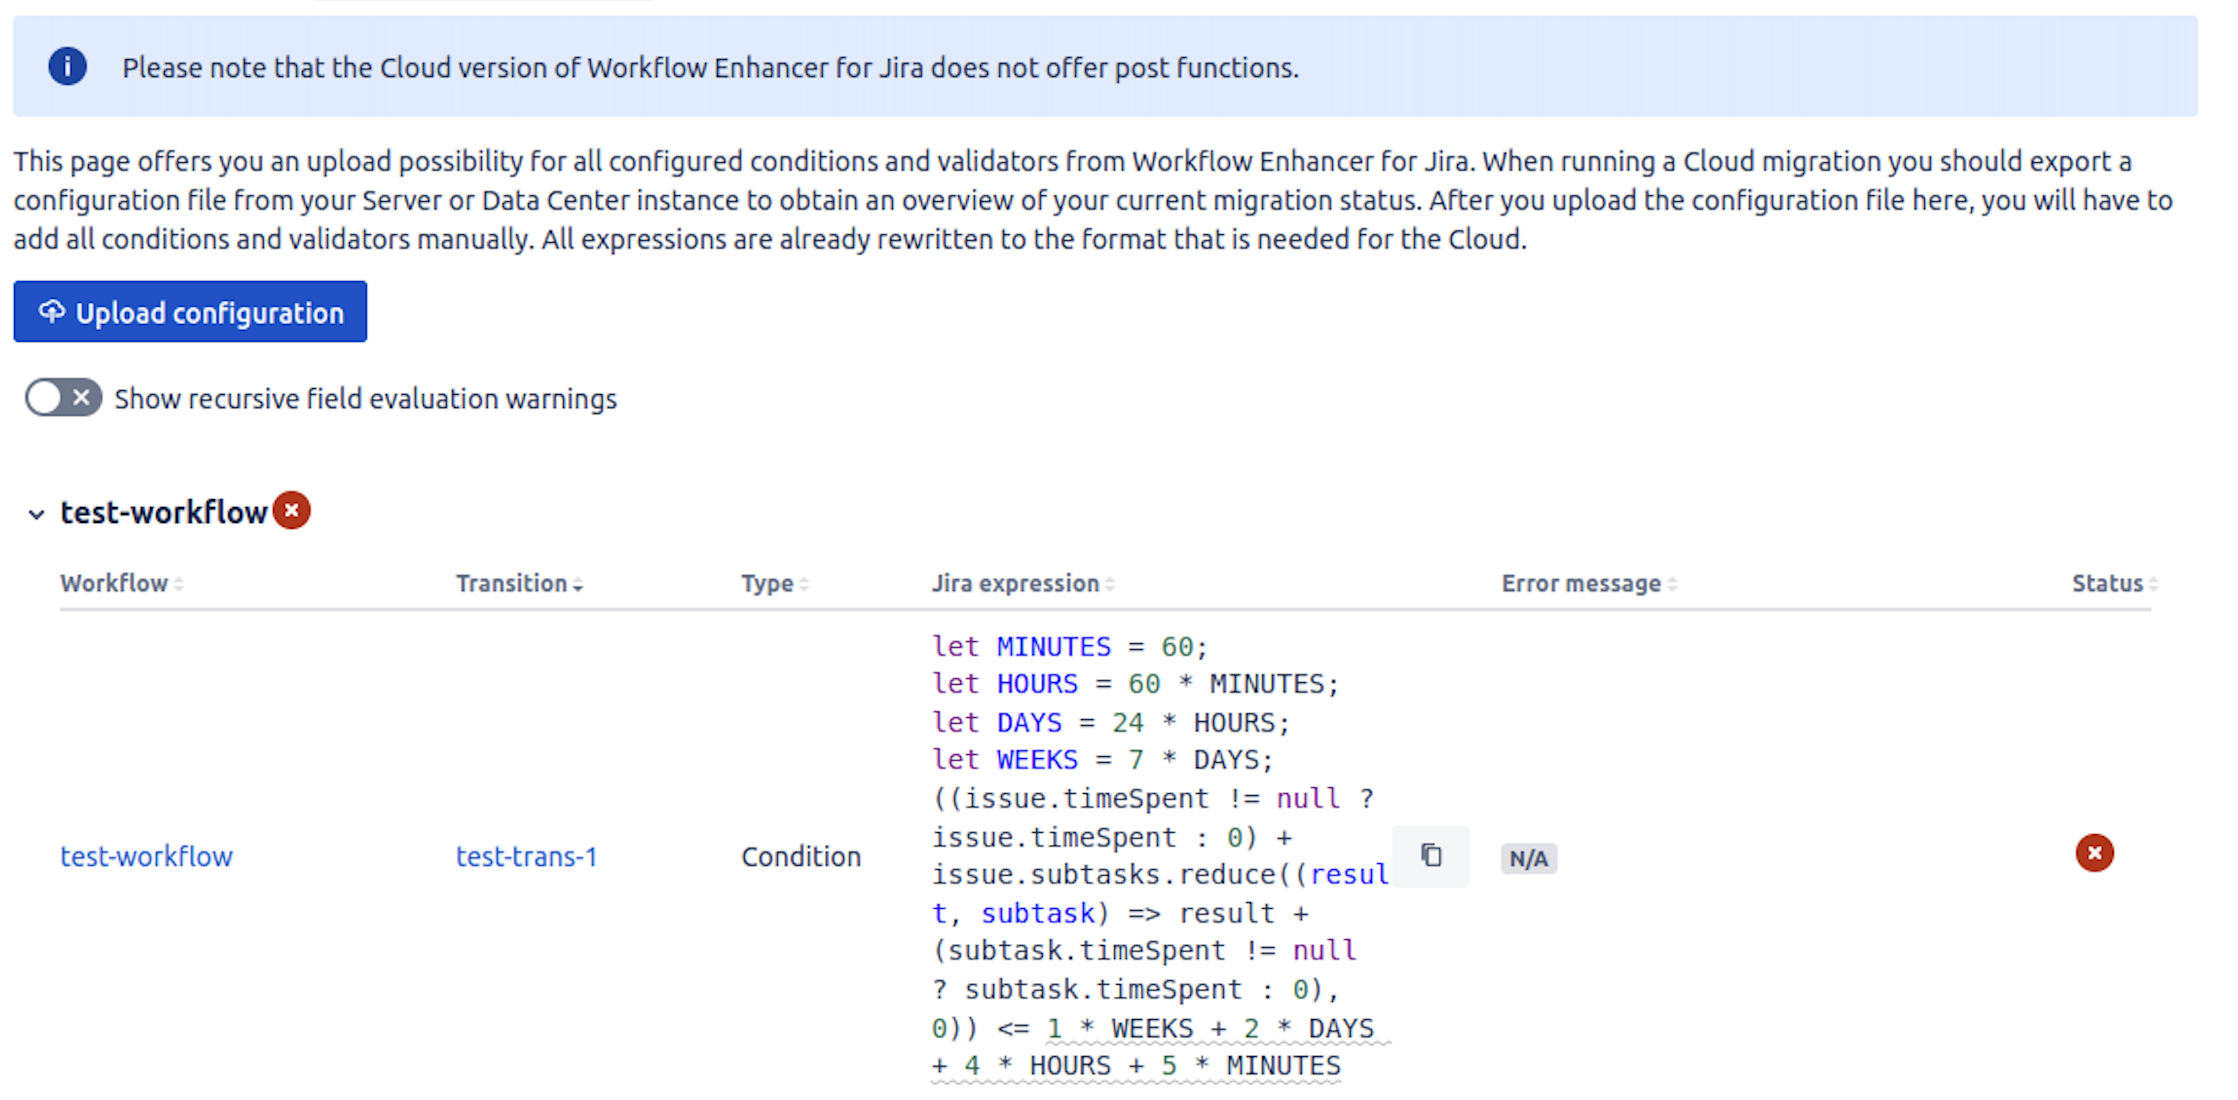
This will show you a table of all elements from Workflow Enhancer for Jira that you need to configure manually
Workflow Status
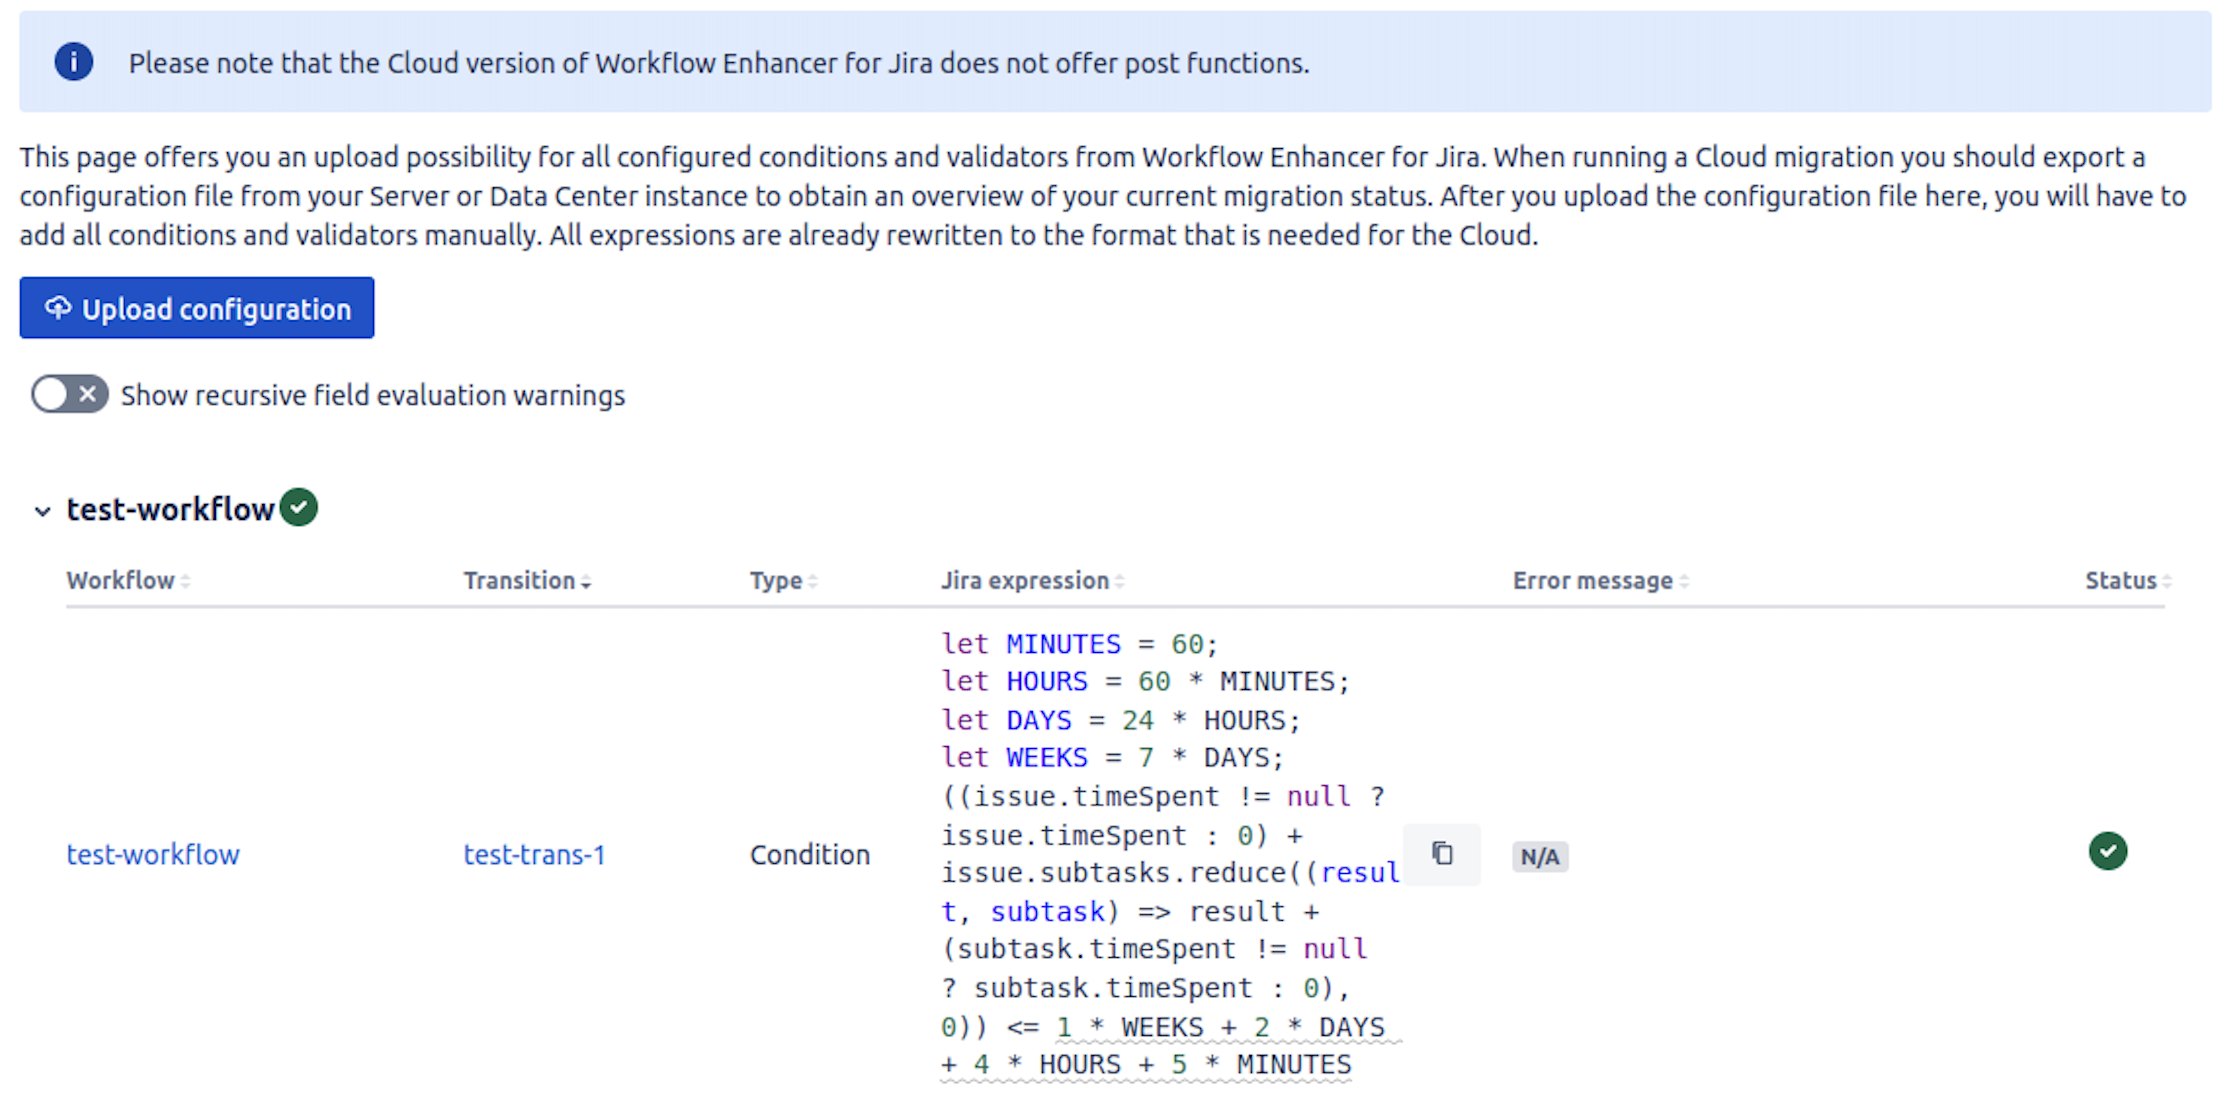
Next to the workflow name, there is a symbol that indicates the current status of the workflow, as such:
Workflow Status | Meaning |
|---|---|
| The workflow contains the correct number of validators and conditions, and also all of them are correctly configured. |
⚠️ | The number of validators or conditions in this workflow does not match with the uploaded configuration. |
| The workflow contains the correct number of validators and conditions, however some of them are not correctly configured. |
Creating the Elements
The migration importer shows a table for every workflow that has elements from the Workflow Enhancer for Jira that need to be manually added to the Workflows.
Workflow | Link to the workflow that contains the migrated condition or validator |
|---|---|
Transition | Link to the transition of the workflow that contains the migrated condition or validator |
Type | Shows whether the element is a condition or a validator |
Jira expression | The expression that is contained in the Universal Condition or Universal Validator. This is already in the Cloud format. |
Error message | For validators, this shows the configured error message. If the validator did not have an error message configured in Server, this shows a default error message. For conditions, this shows |
Status |
|
In order to manually configure your Workflow Enhancer for Jira elements, do the following steps for every condition or validator:
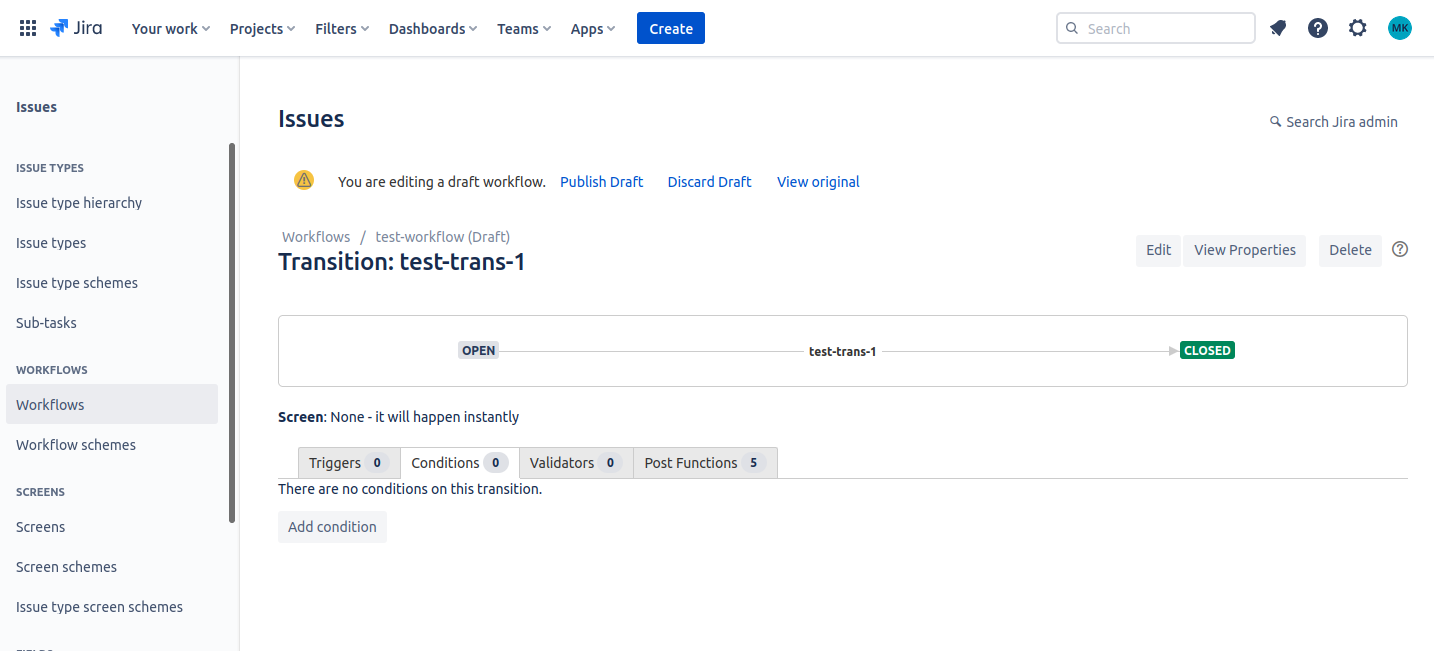
Click on the transition link to get to the correct transition
Click on “Create draft” if you do not have a draft for this workflow already
Click on “Add condition” or “Add validator”
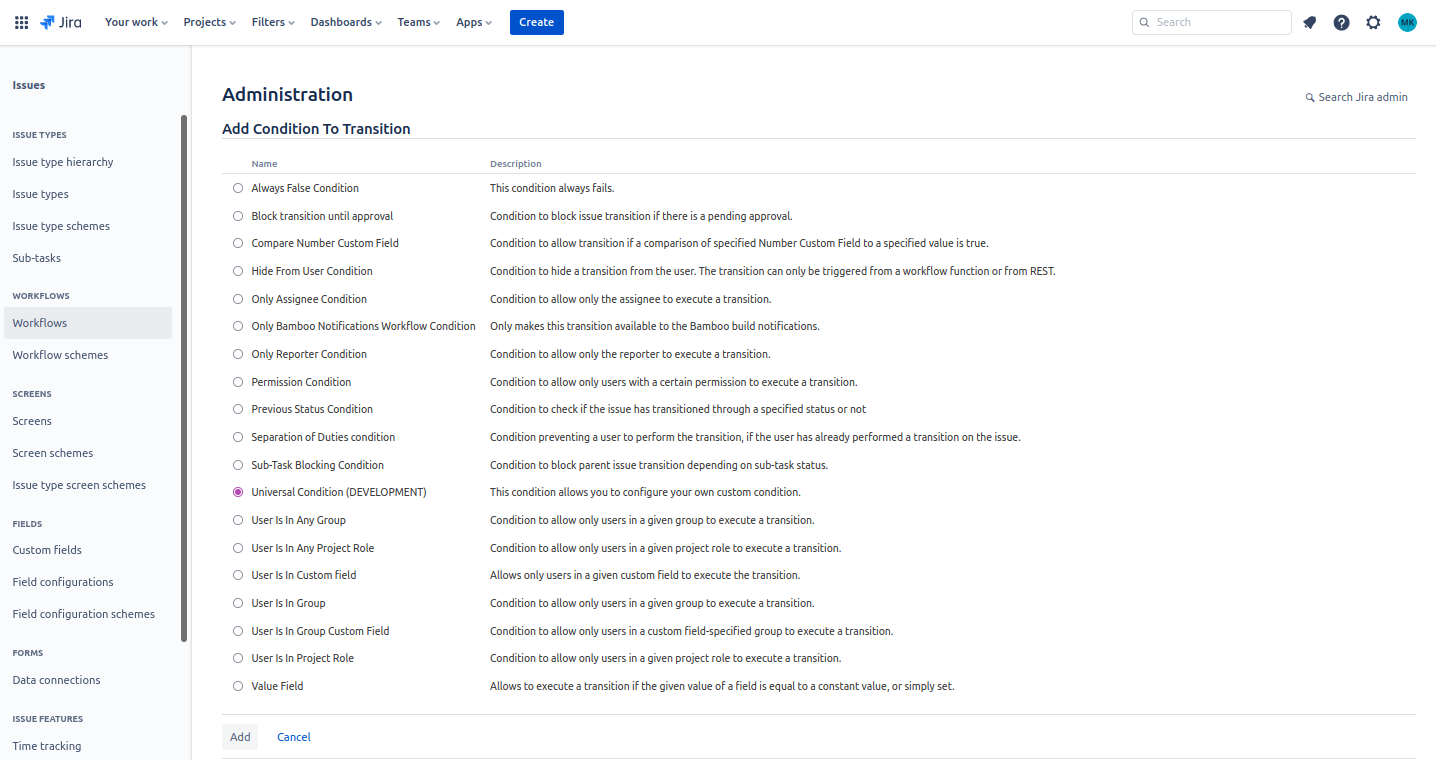
Select “Universal Condition” or “Universal Validator” from the list
Copy the correct configuration from the table
Copy the Jira expression into the Jira expression input field from the Workflow Enhancer for Jira Admin section in the “Cloud migration import” tab
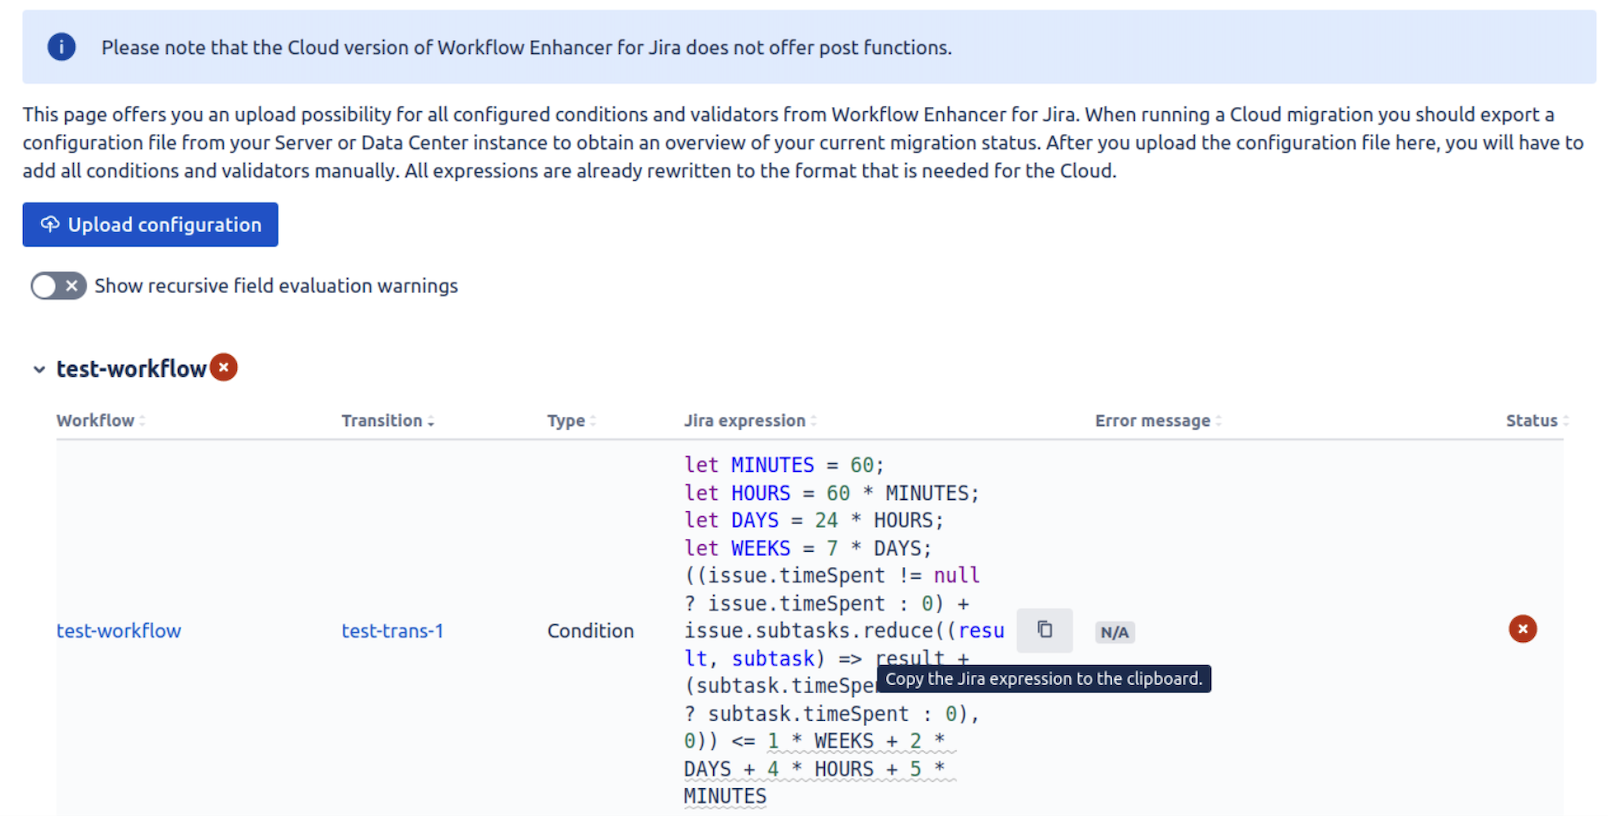
Adapt the Jira expression if it has warnings inside the table
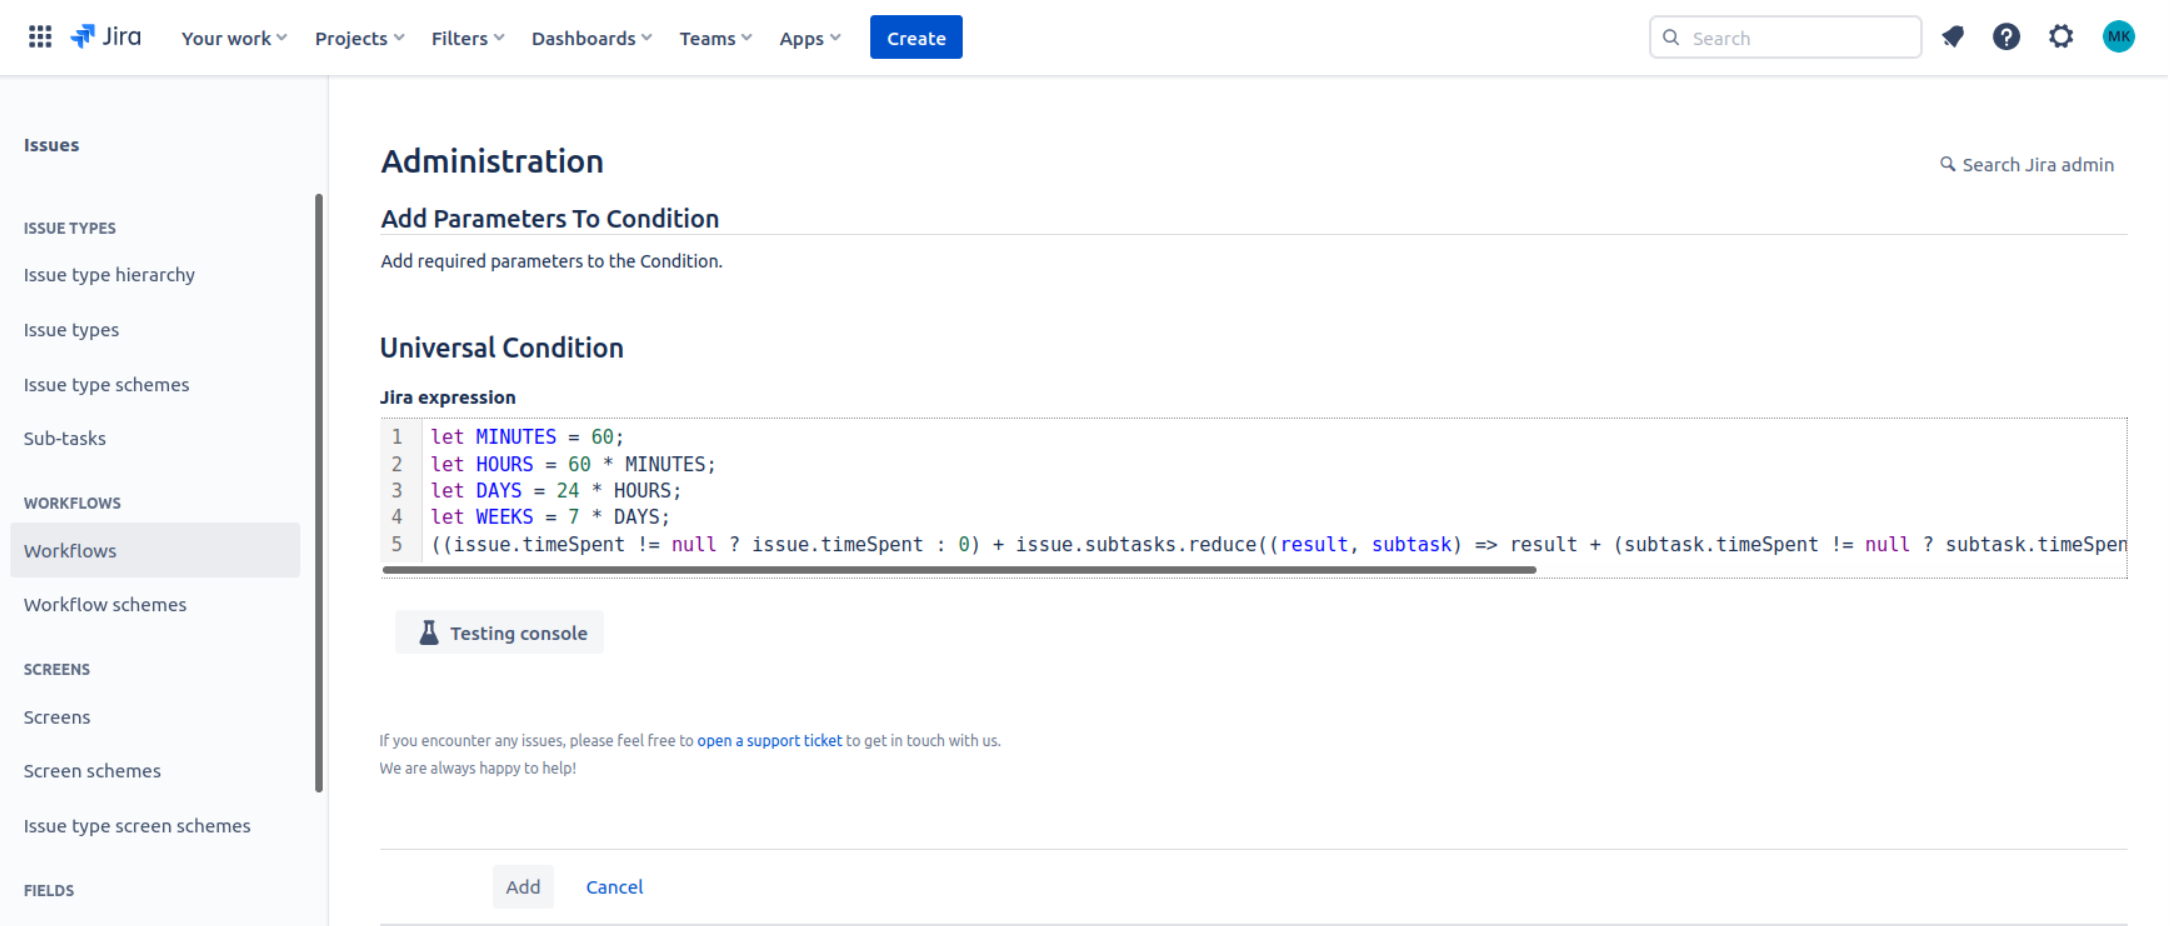
For validators: Make sure to copy the error message into the error message input field as well.
Click on “Add”
After migrating and configuring all conditions and validators for a workflow: Publish the workflow.
You can check whether you configured everything correctly by reloading the “Cloud migration import” page in the admin section and re-uploading your configuration file.
Custom field migration
We are also offering Cloud migration support for expressions using custom fields.
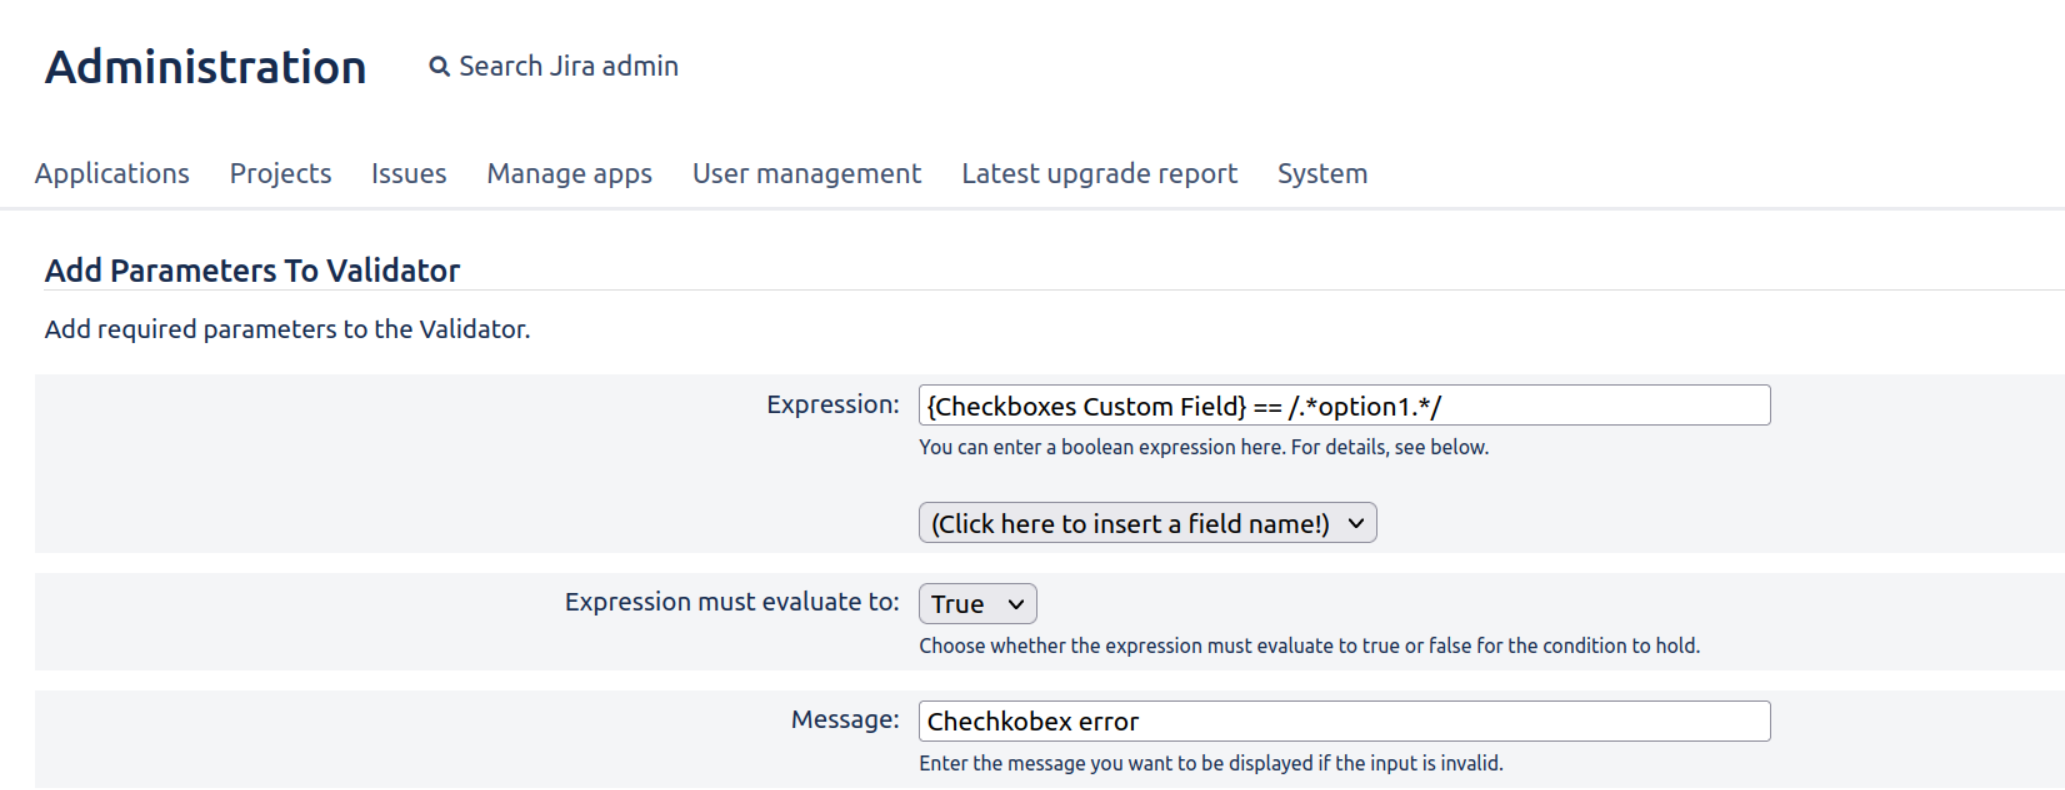
Have a Universal Validator or Universal Condition with an expression that checks a custom field
Migrate the project including its custom fields using the Jira Cloud Migration Assistant
Check the warnings and the custom field id in the “Cloud migration” admin section

Find the custom field id in the Cloud inside the Custom Field administration or using the Workflow Enhancer
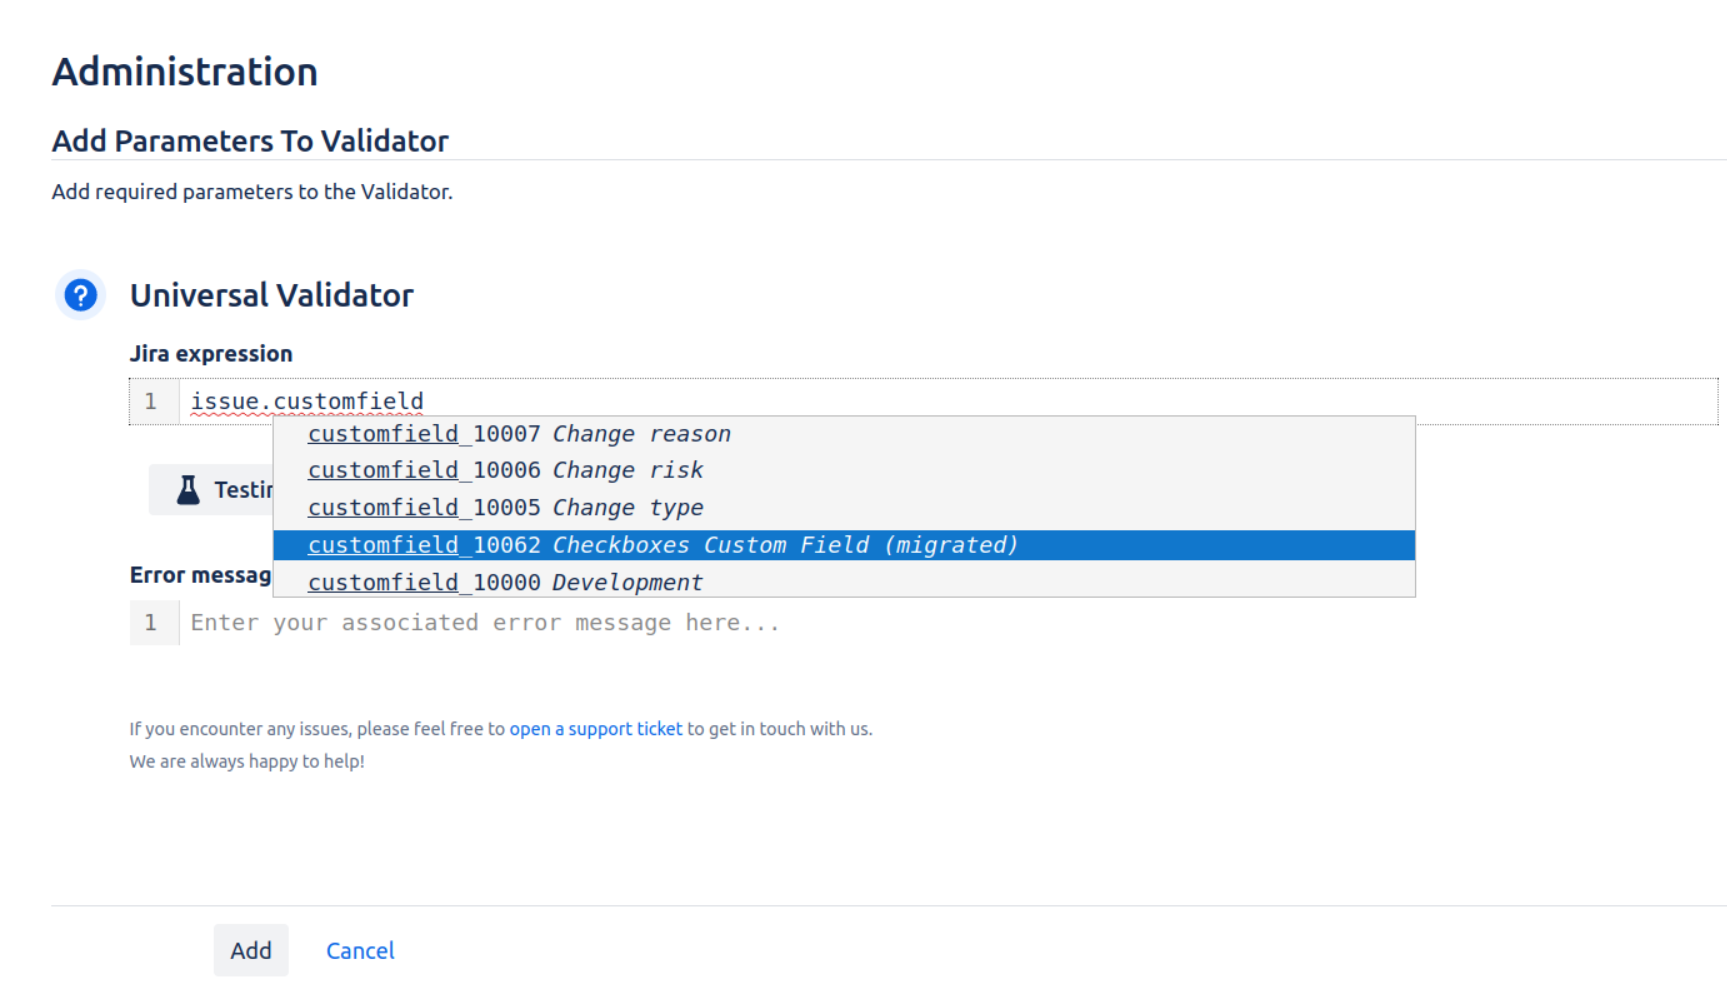
Make sure that the Server id is mapped to the correct id in the Cloud.
Warnings
There are several elements that cannot be migrated automatically or can have potential for improvements after migration. These will be underlined in the table and you can get more information when hovering over these areas. For more information, refer to the child page Migration Import Warnings.
Note that the Jira expression syntax in Cloud works a bit differently than Server/DC, but allows for substantially simpler and more powerful expressions if used correctly, so it is worth spending some time adjusting your expressions once you are comfortable with the syntax in Cloud. You can familiarize yourself with the syntax and see example expressions here.
Post Functions
The functionality of post functions in the Cloud is very different, as it is not possible to execute other post functions from another app. Instead, Workflow Enhancer Cloud allows you to execute Jira REST API calls conditionally, offering a different but none the less powerful set of new functionality for post functions. However, this means that there is currently no migration path for post functions from Data Center to Cloud. We invite you to review our Cloud post function documentation page, or get in touch with us, to see how you can use the new functionality to achieve your business requirements.
