
If you have dashboards with Custom Content gadgets in your Data Center (DC) instance and you want to migrate them to your Cloud instance, you can do this as part of the standard migration process. This walkthrough explains how.
Prerequisites / Pre-migration checks
As a first prerequisite, please make sure that you use compatible versions of all the apps in questions. We recommend using the latest versions.
-
On the Data Center instance:
-
The latest version of the Jira Cloud Migration Assistant.
-
The latest version of Custom Content for Jira (DC), minimum version requirement is
4.1.0.
-
-
On the Cloud instance:
-
The latest version of Custom Content for Jira (Cloud), minimum version requirement is
7.0.0.
For details on updating apps see https://confluence.atlassian.com/upm/updating-apps-273875710.html.
-
Before starting the migration process,
-
please have a look on the Scopes & Permissions to verify that you have the necessary permissions to migrate,
-
please check that Custom Content gadgets in your DC site does not have empty string in their
Refresh intervalconfiguration. See Migration troubleshooting | Gadgets with empty string in their Refresh interval configuration: for more information.
1. Migration of projects/apps, starting from Data Center (DC)
1.1 Assess your apps
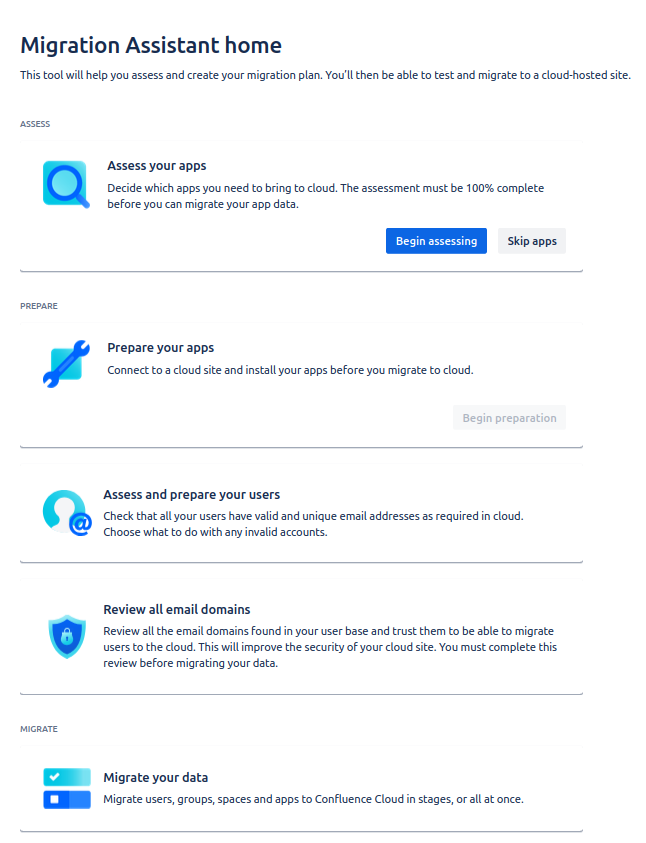
First select the Atlassian Cloud Migration Assistant and begin assessing your apps:
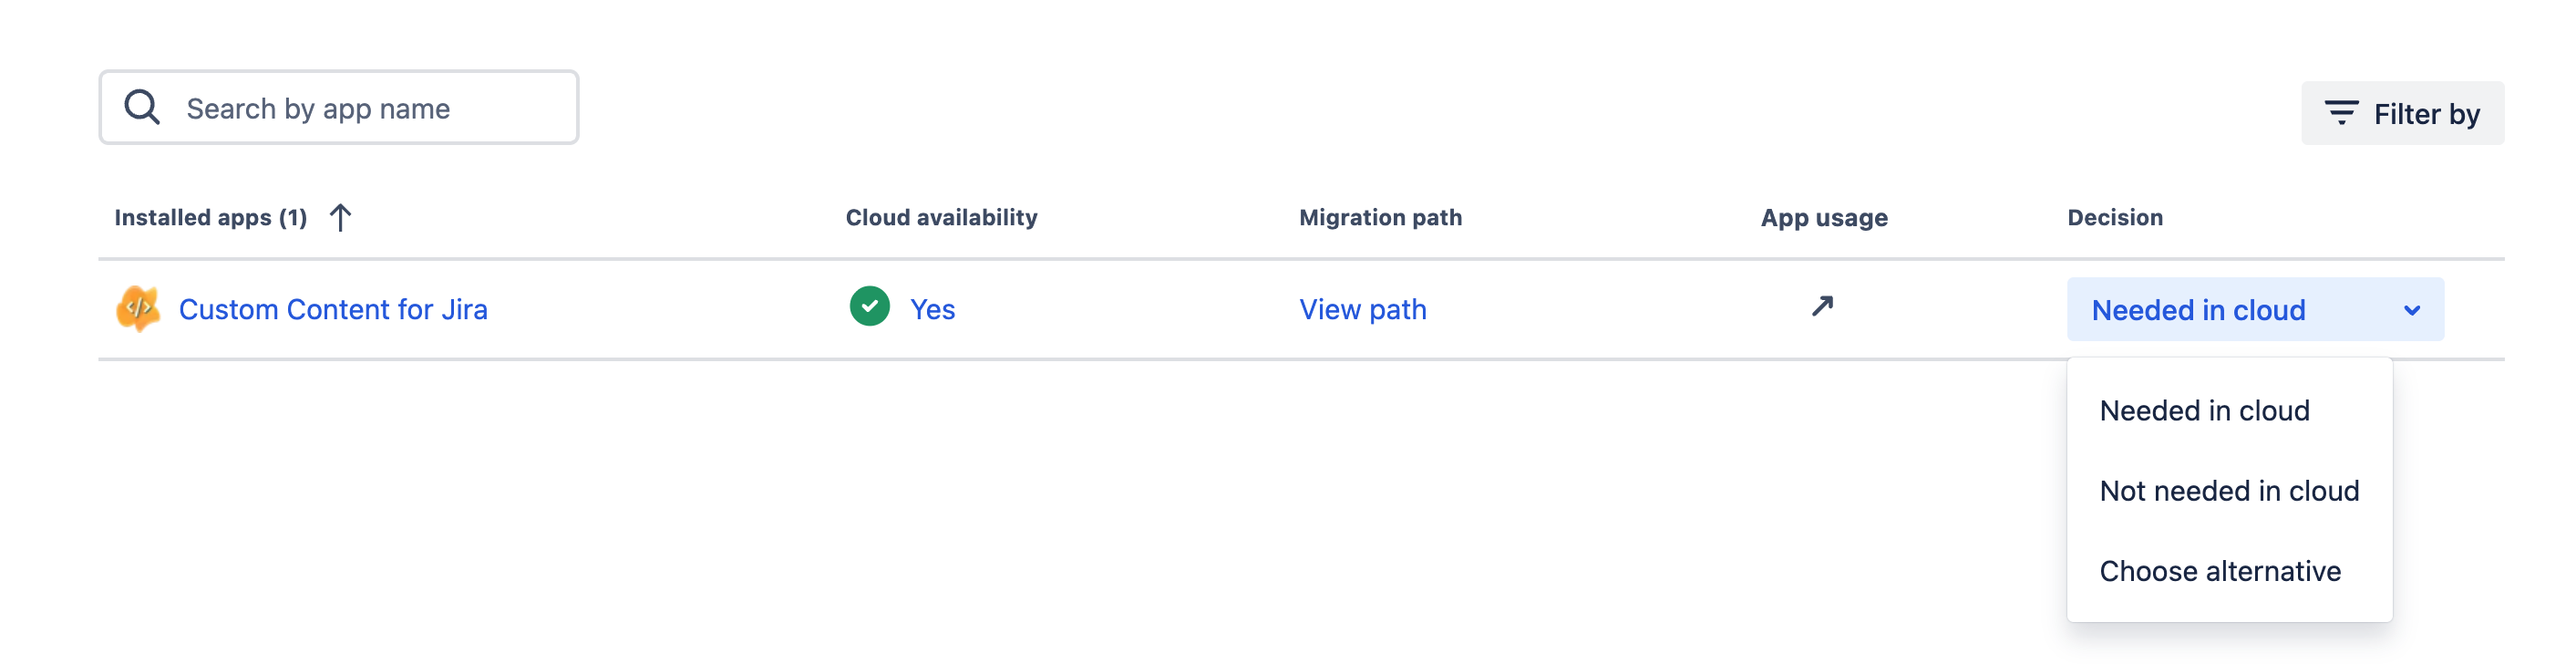
Next, select that you will need Custom Content for Jira in the Cloud, click Done.
1.2 Assess your apps
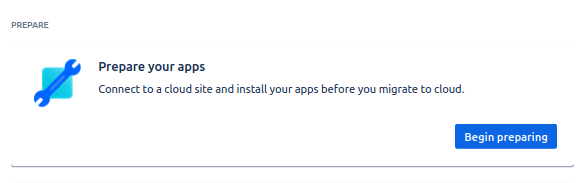
Then it is time to prepare your apps.
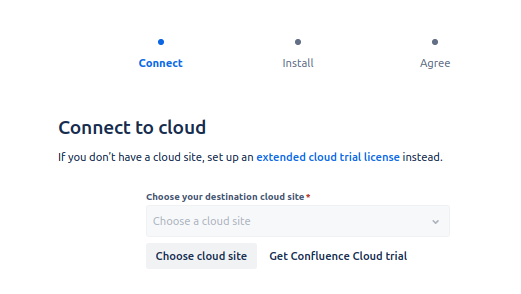
You will need to connect to your Cloud site and will have to install Custom Content for Jira on it (if you haven’t already 😉 )
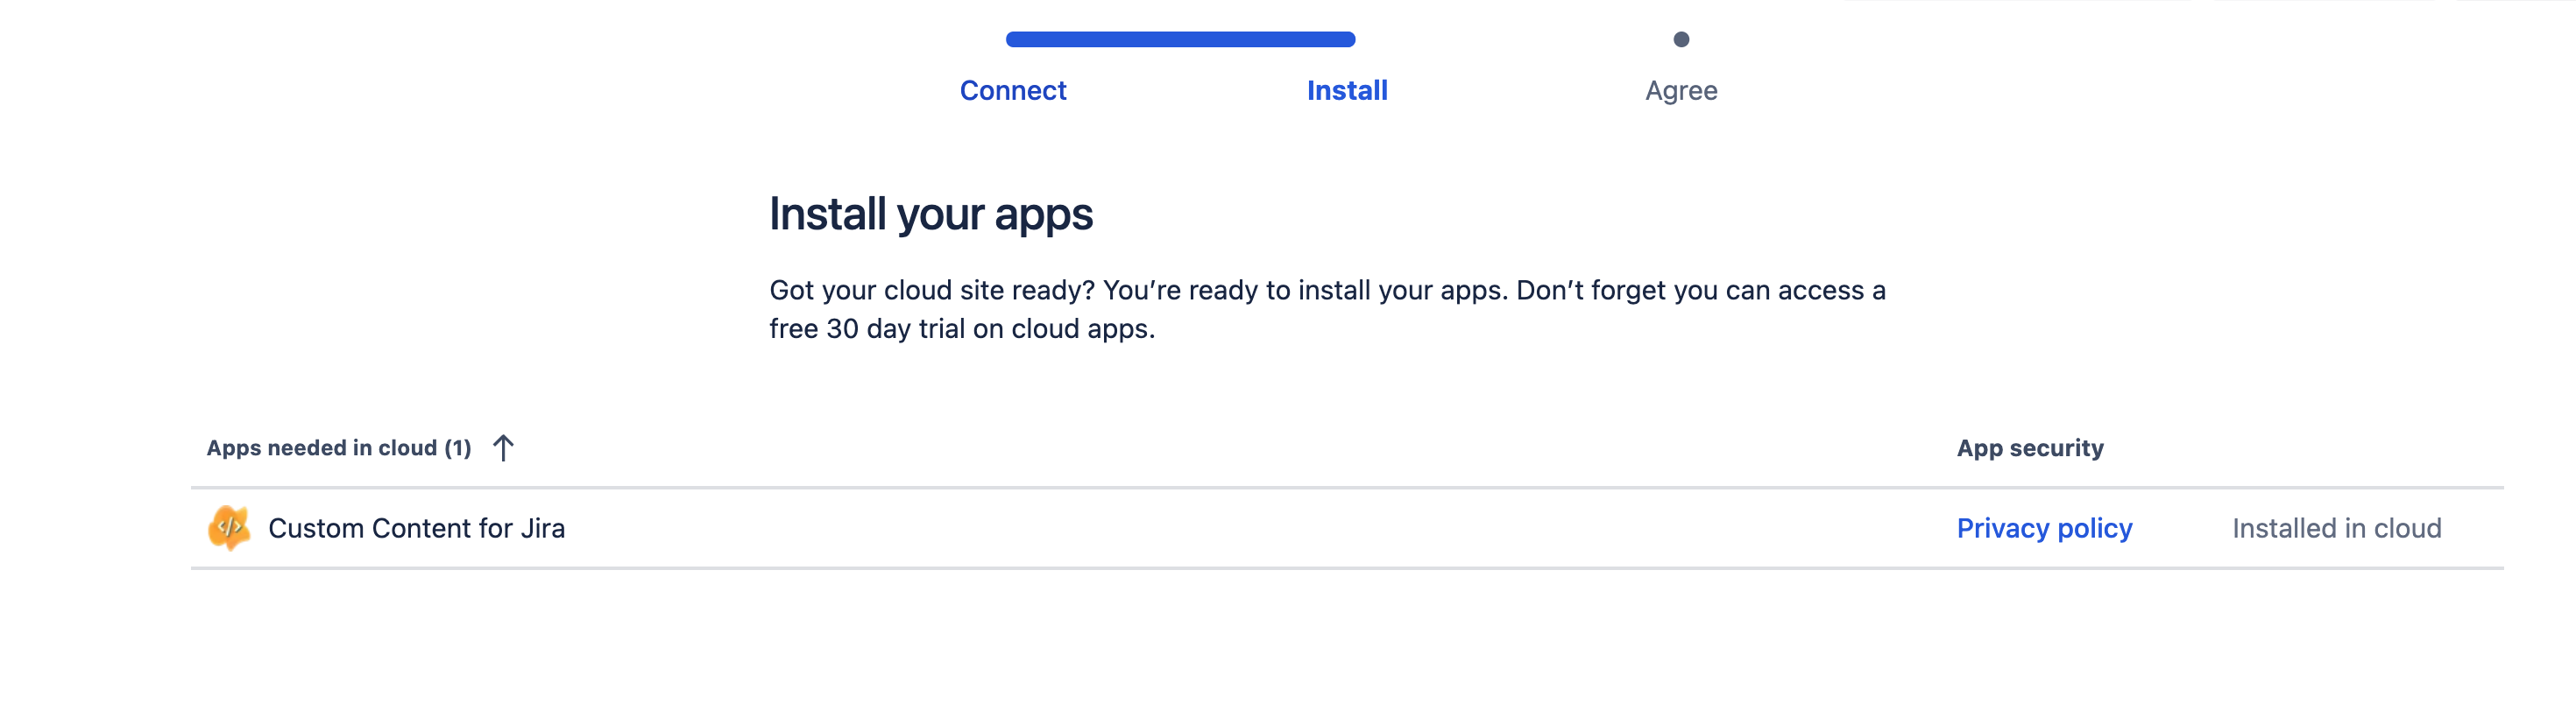
finally, agree to the app migration and click on “Done”.
1.3 Review your email domains/Assess and prepare your users
Before you can start a migration, you have to review your email domains and assets and prepare your users. Please follow the Atlassian documentation here.
1.4 Migrate your data
Finally, click on “Migrate your data” to start a new migration:
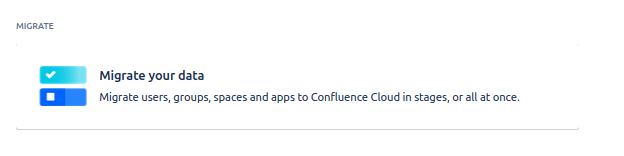
This leads you to the migration dashboard. Click on “Create new migration”.
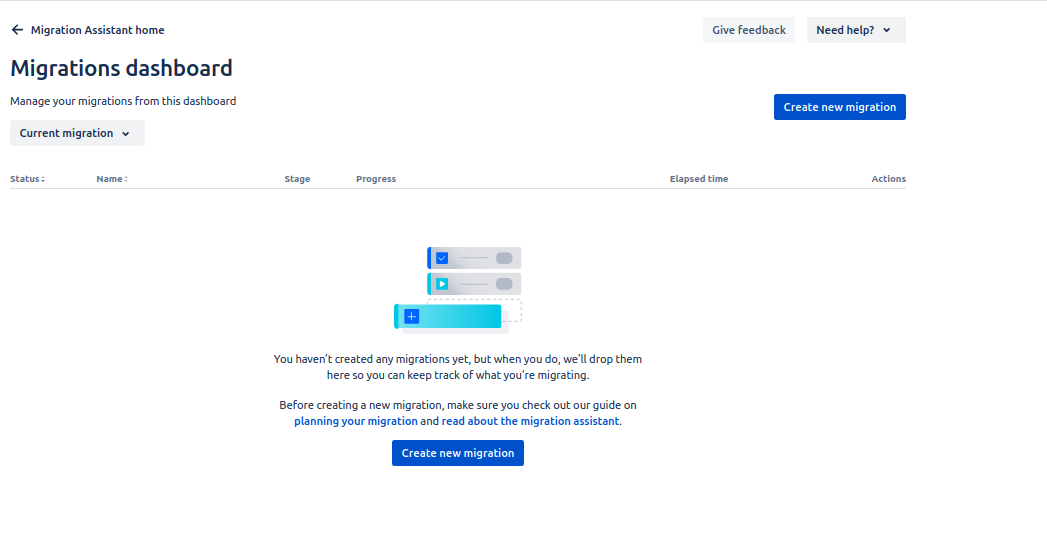
This will guide you through the different steps, as shown below. After having (again) connected to the Cloud.
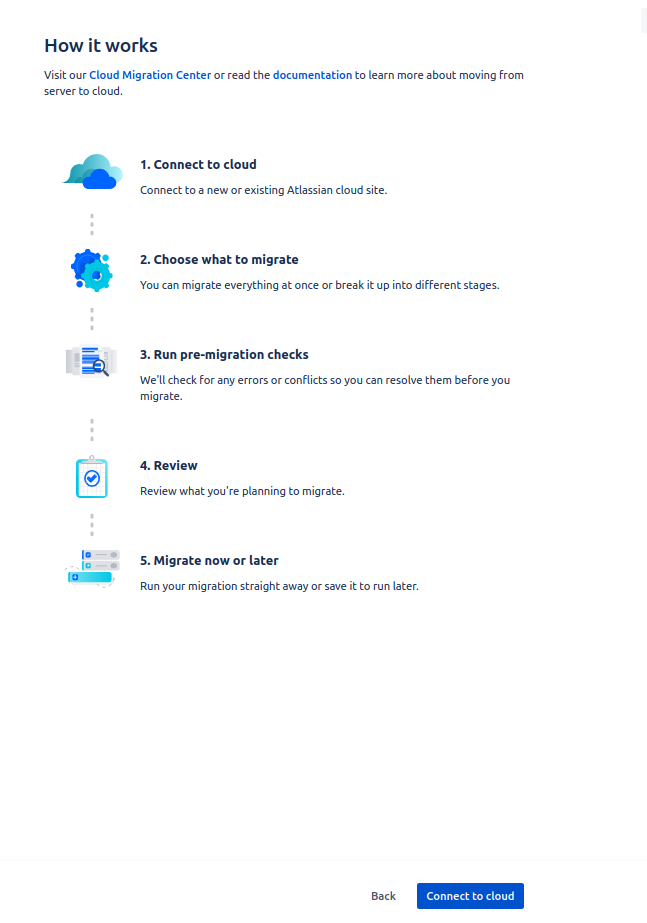
Click on “Choose what to migrate”. Here you can choose your migration options, such as projects, spaces, dashboards, boards, filters, automation rules, users and groups as well as apps, including the Custom Content for Jira.
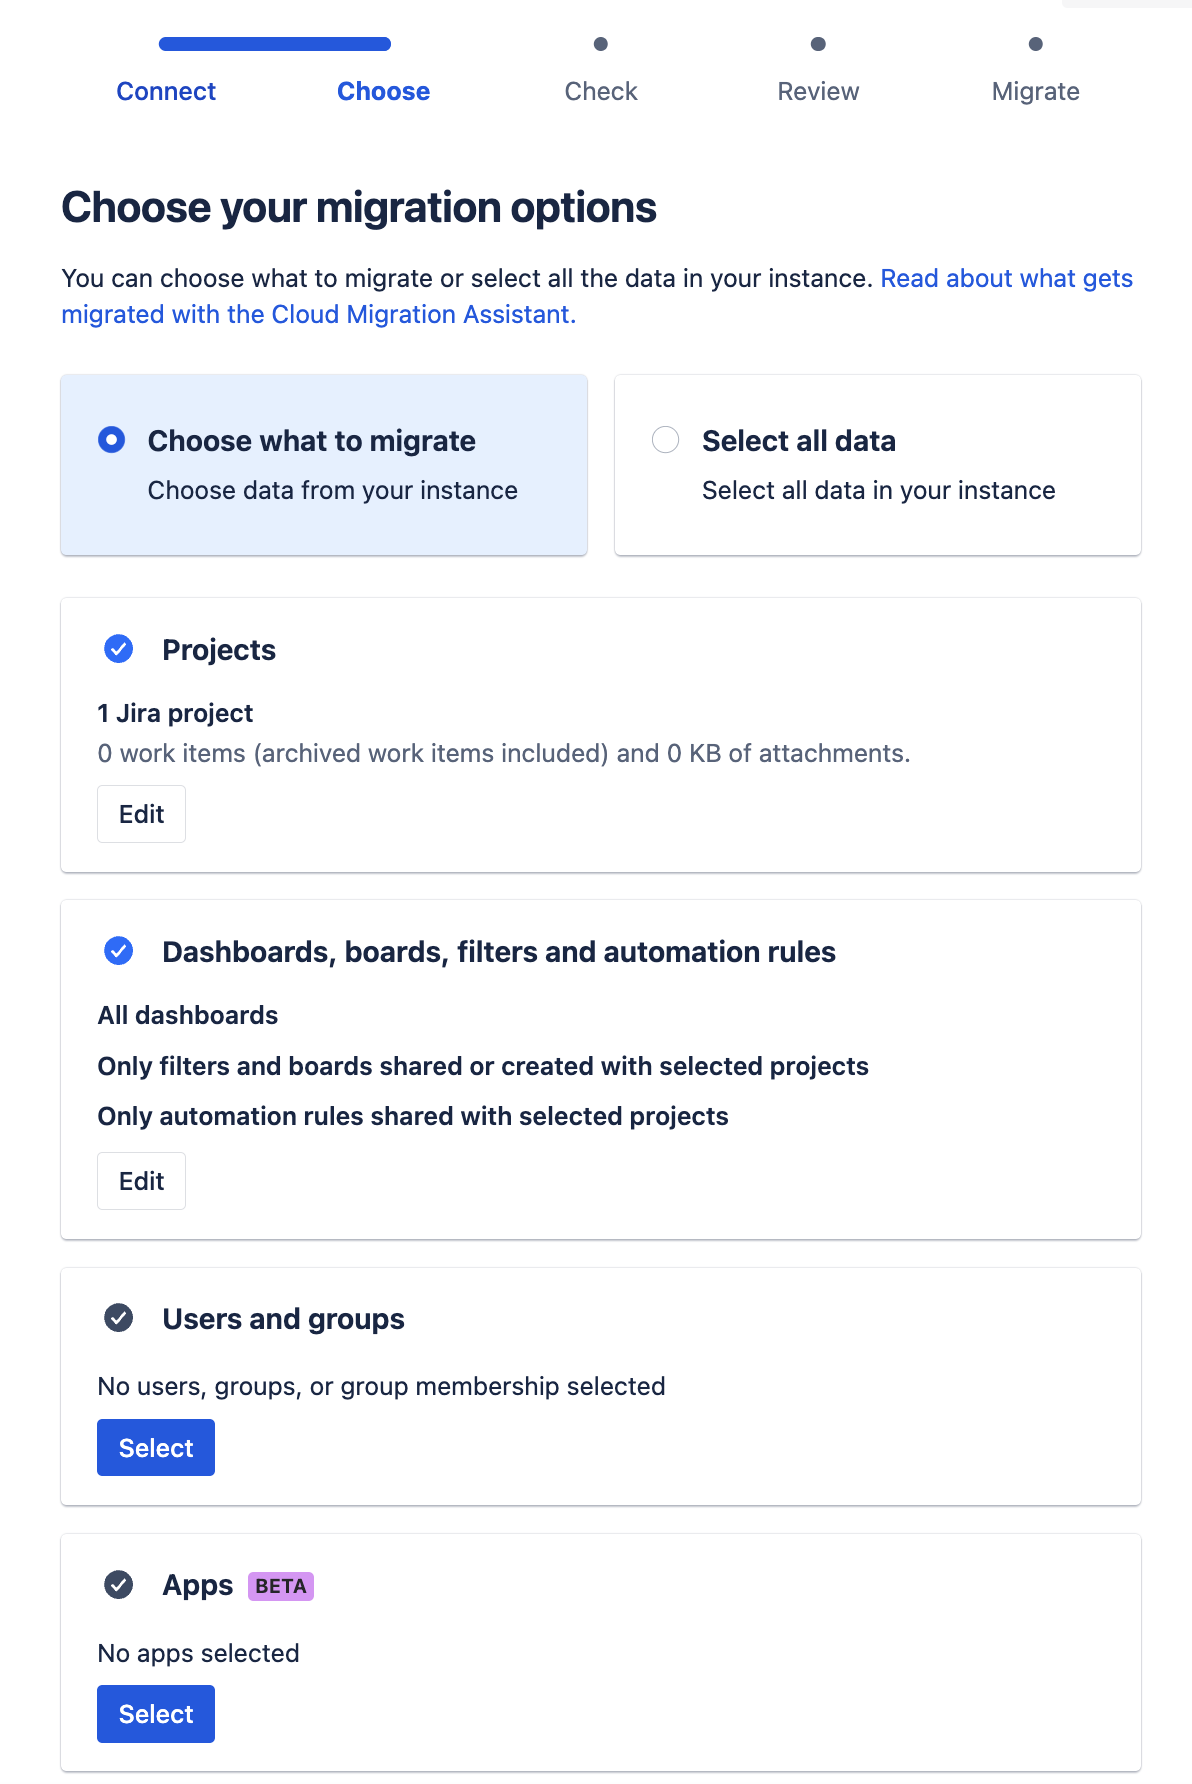
Finally, you can then hit the button “Save and run pre-migration checks”. This will trigger Atlassian’s pre-migration checks.
It may be that Custom Content for Jira is listed in the success rate check with a warning:
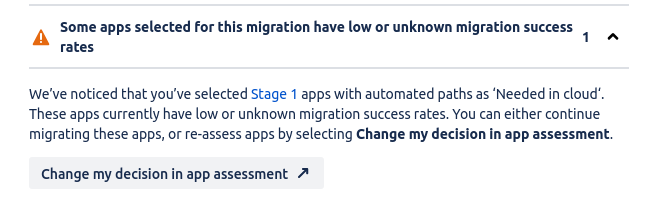
You can ignore this warning for now, as our migration assistant for Custom Content was only recently introduced and therefore has an unknown success rate.
The migration will then appear in your dashboard.
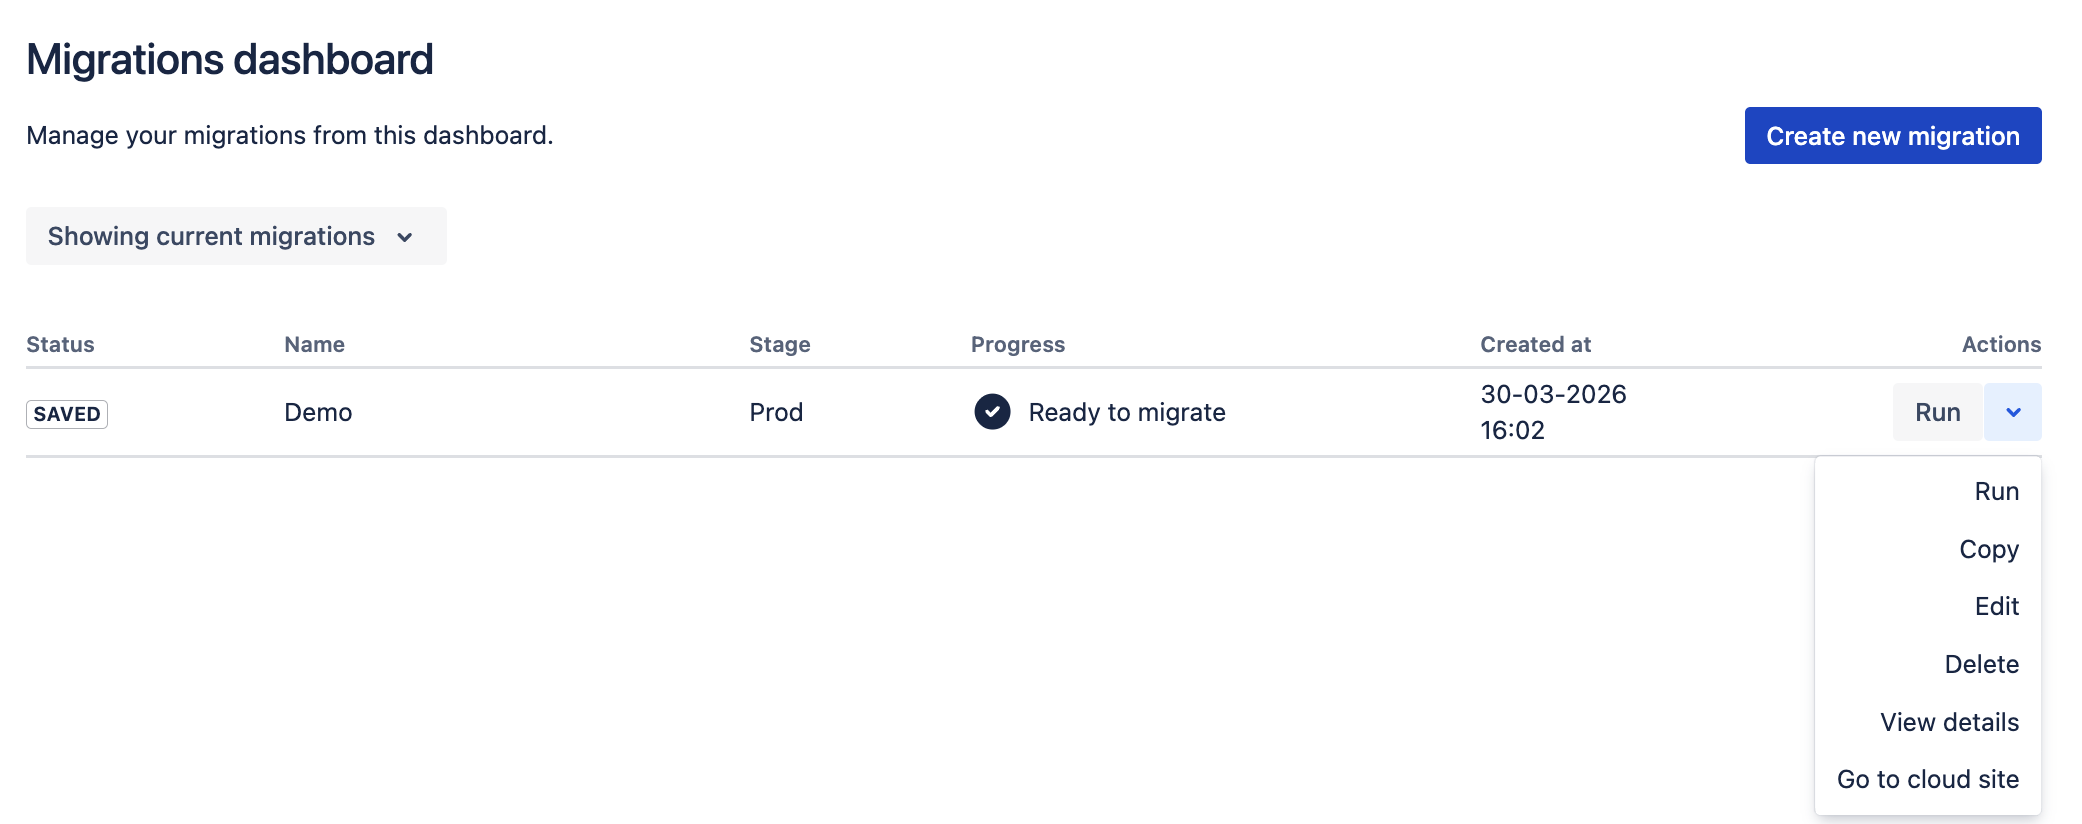
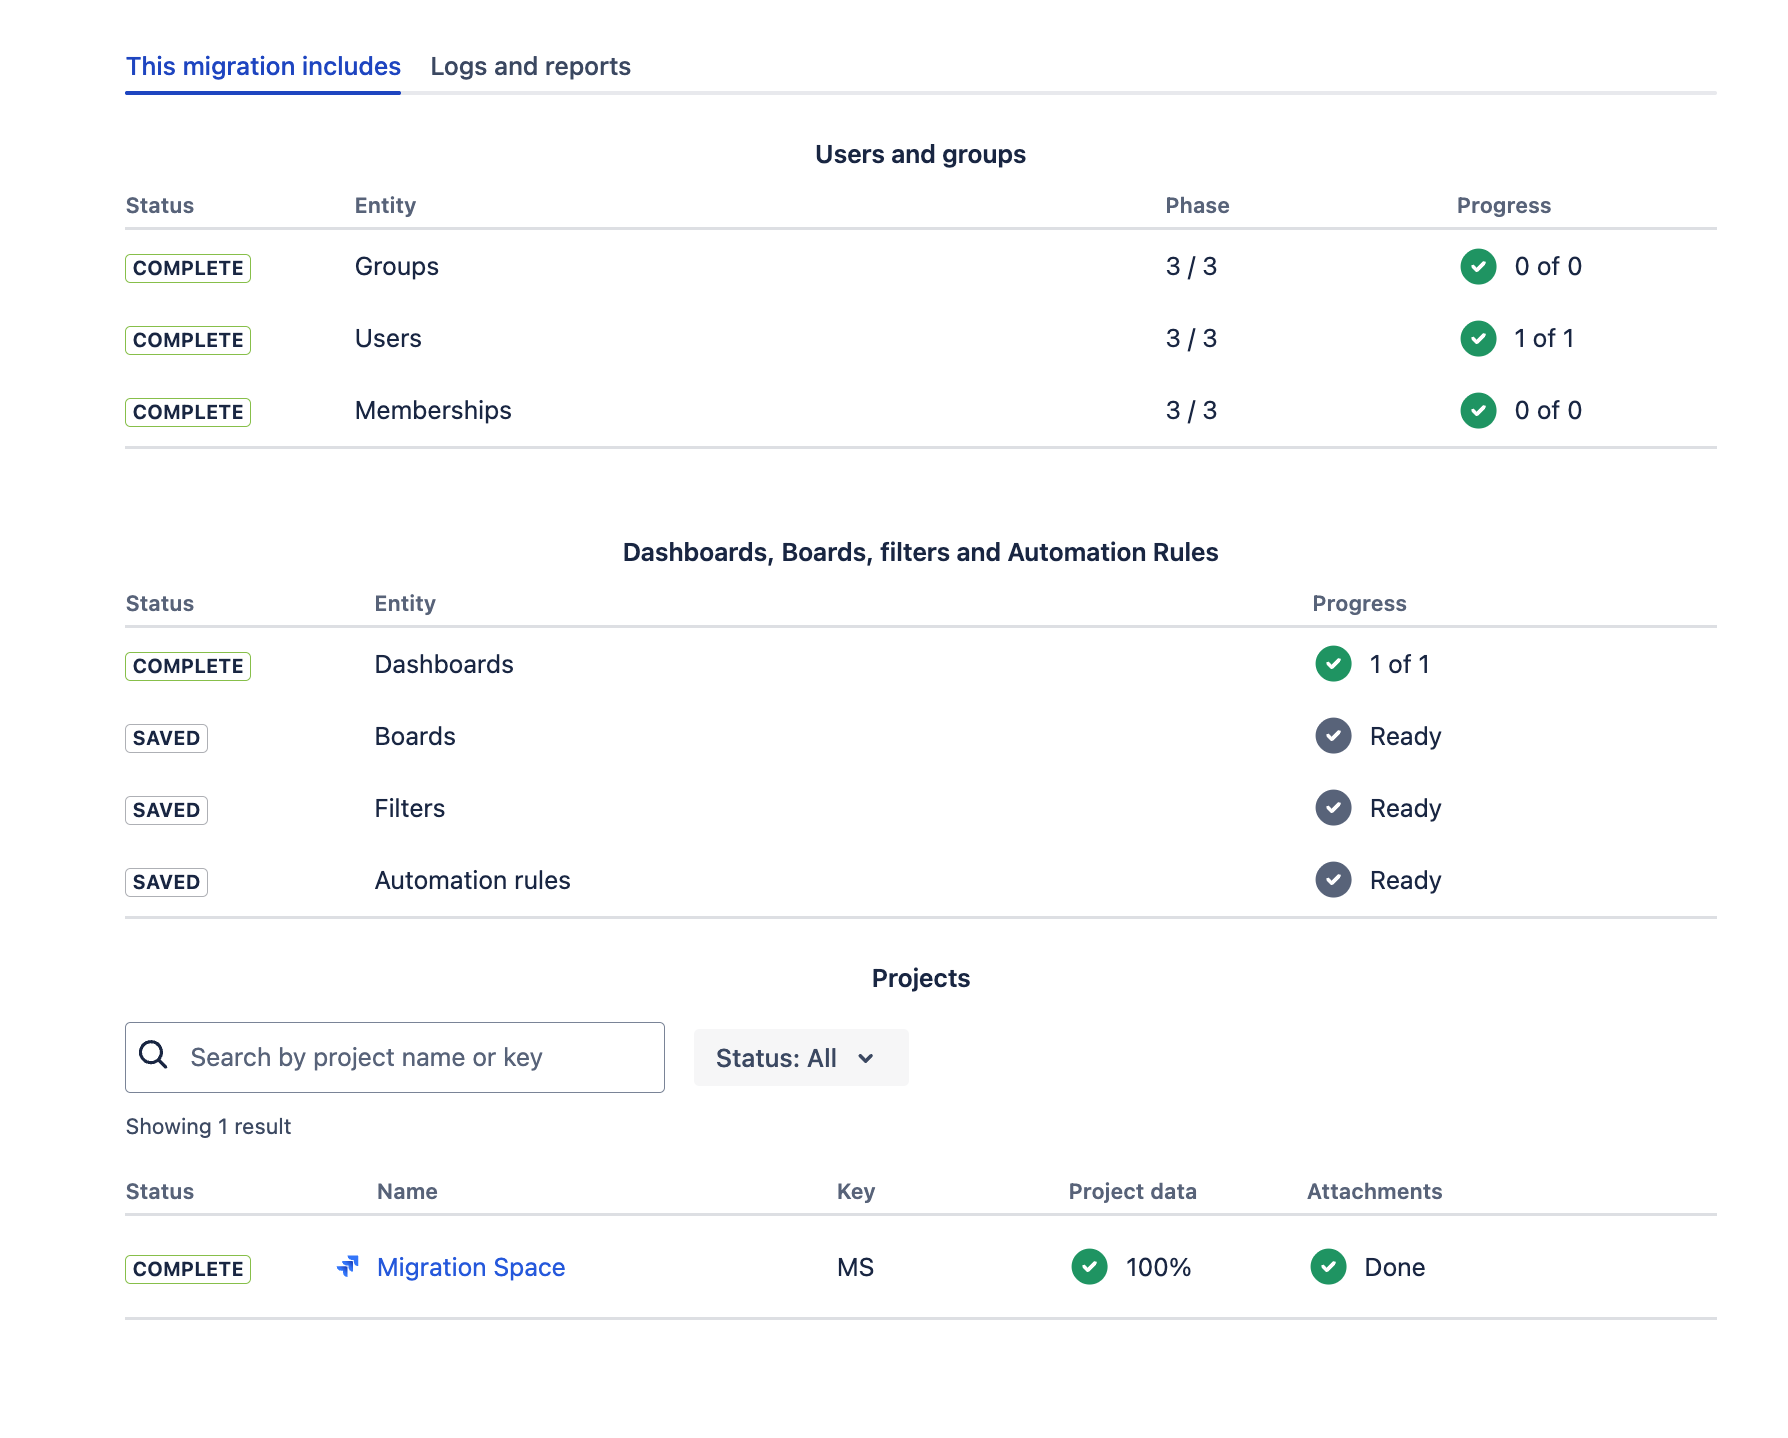
By clicking on “View details”, you can follow its progress.
2. Post-migration checks
1.1 Allowlist configuration
Manually check the admin configuration after migration. Since the migration merges the app’s previous admin configuration settings of the Cloud instance with the app’s admin configuration from the DC instance in a permissive way, the admin might want to make changes after the migration.
-
If a domain was whitelisted either in the DC instance or in the Cloud instance before the migration, then it will be whitelisted in the Cloud instance after the migration.
-
For “Allow arbitrary domains” and “Allow redirection to arbitrary domains” holds, if it was allowed in either the DC instance or the Cloud instance before the migration, then it will allowed in the Cloud instance after the migration.
Please, have a look at the admin configuration after the migration is finished and clean up the permissions according to your Cloud instance needs.
1.2 Download report
Check the migration status in the app’s migration assistant and, if necessary, the migration report. Verify that the datetime is after the start of the migration to make sure that you are looking at the correct status and not the status of an earlier migration.
To find the migration report, just go to “Apps” -> “Custom Content for Jira” → “Resources” → “Admin settings”,
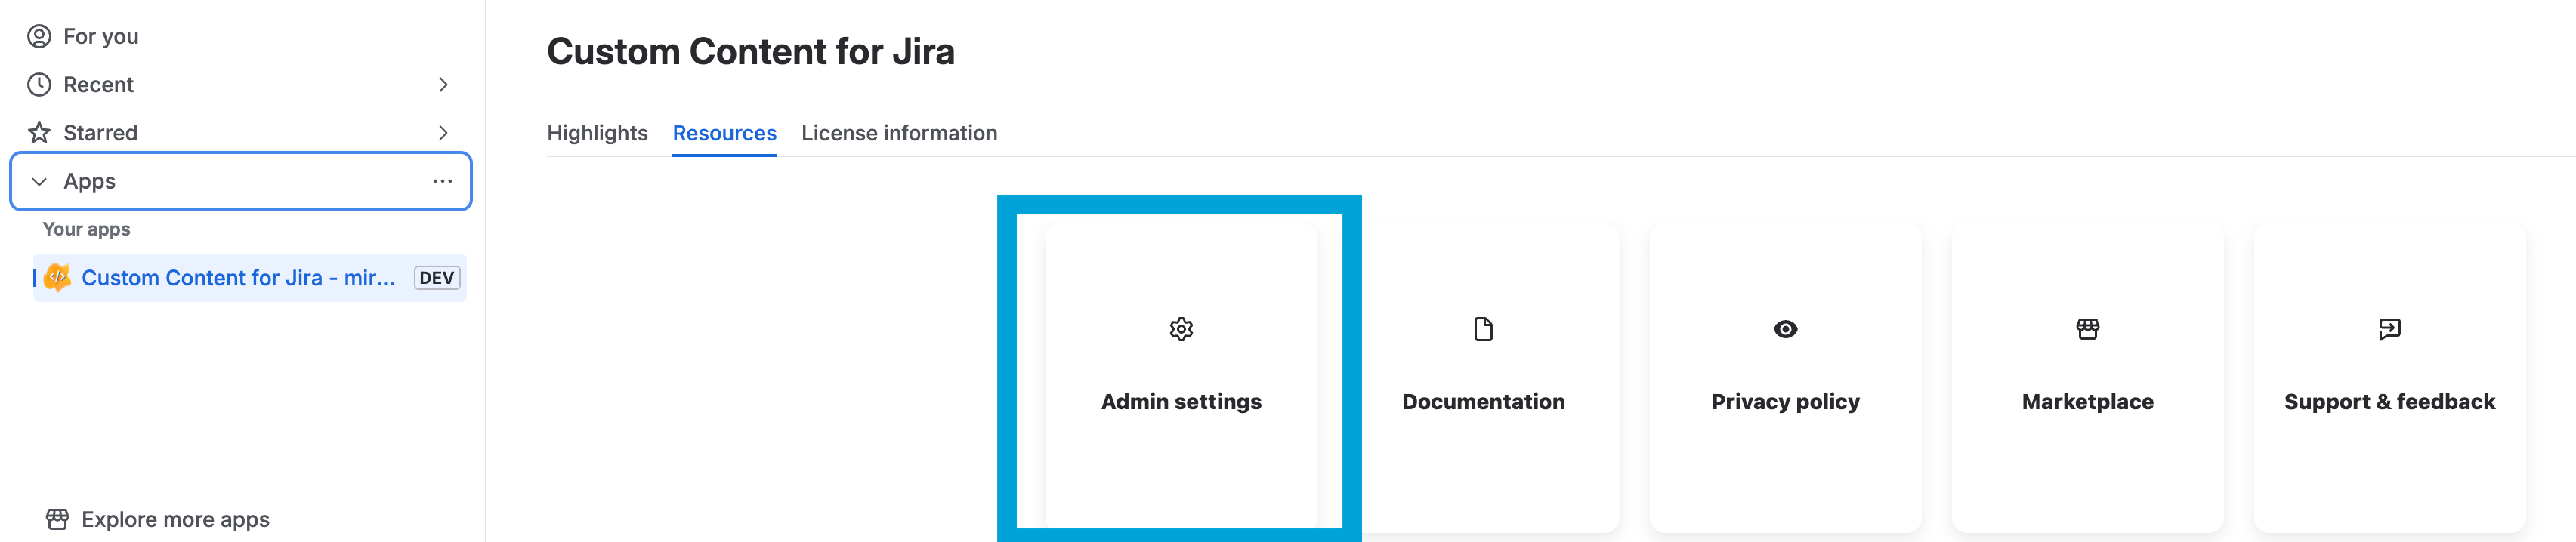
finally, open the tab “Migration Assistant”.
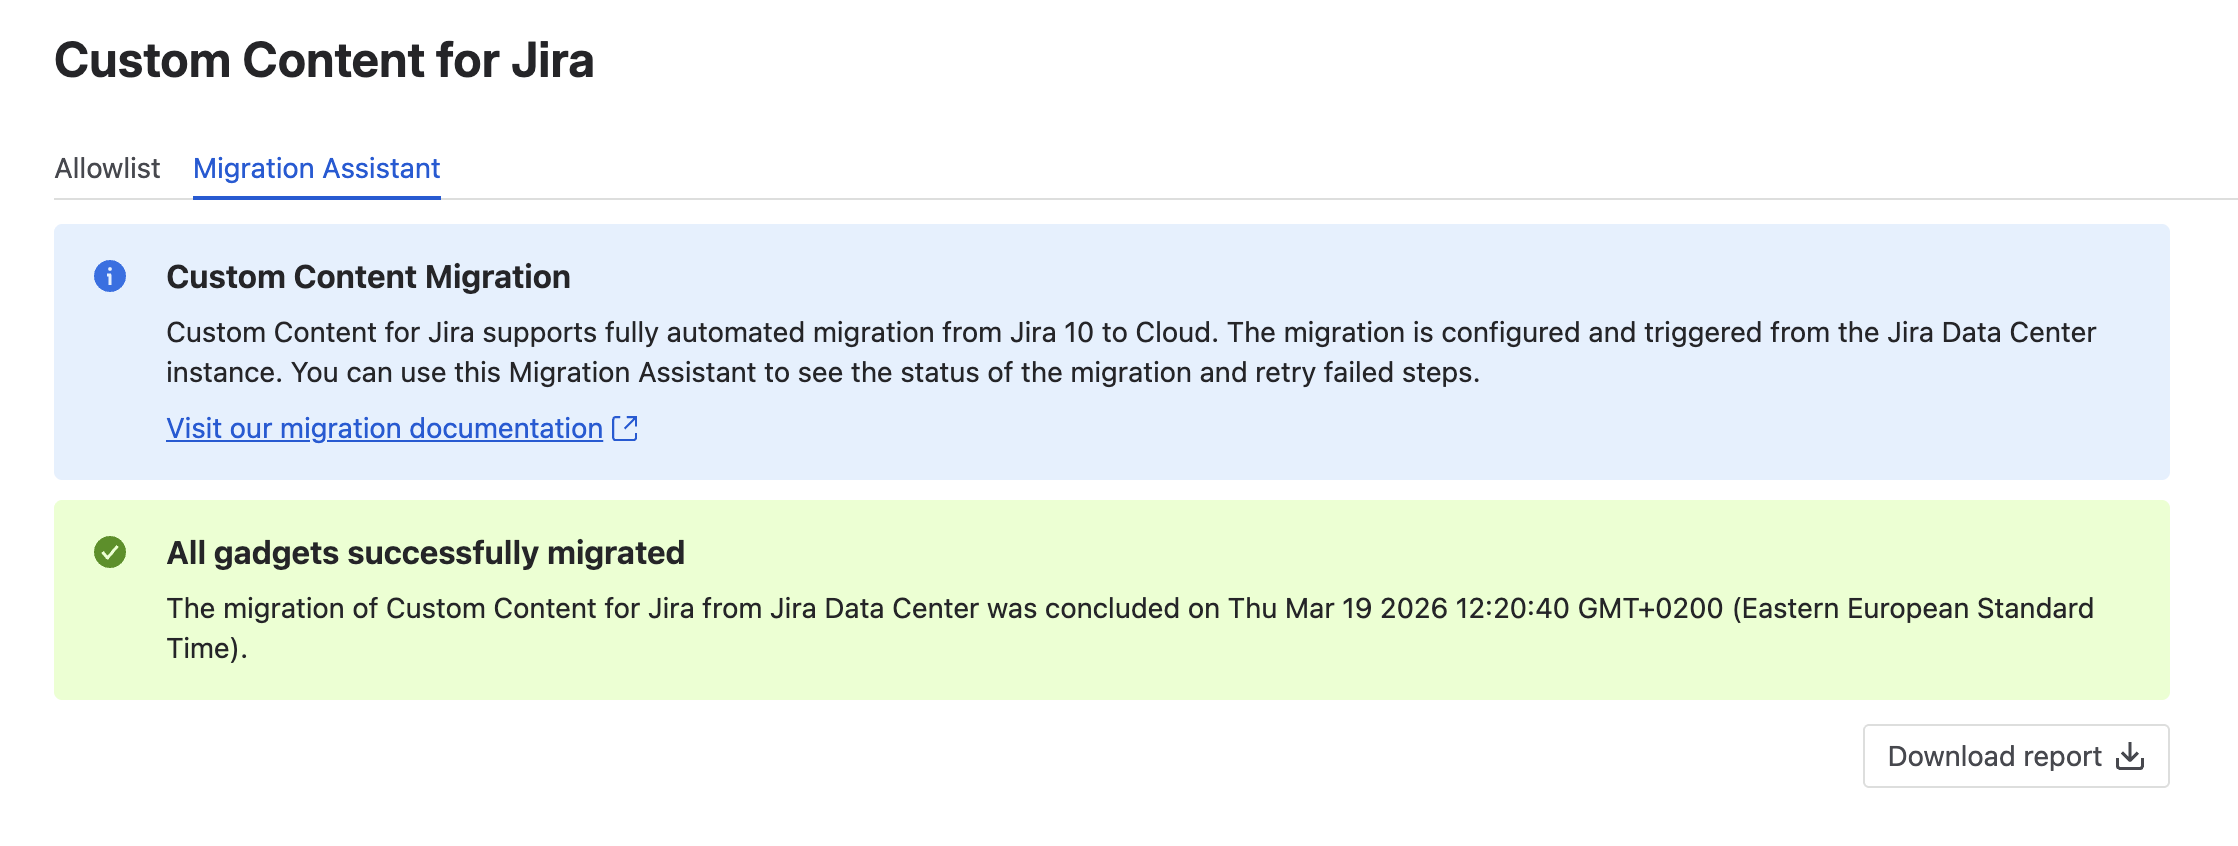
In the case that the Migration Assistants reports an error, look at the Migration troubleshooting page to find help hints for resolving any problems.
1.3 Open your dashboards on the Cloud site
Have a look at a few migrated dashboards containing Custom Content gadgets while keeping the known limitations of the migration in mind to check if the dashboards look as expected.
To do it, go to your Cloud site, then open ‘Dashboards’ → ‘View all dashboards’ to see them. If you open one of the migrated dashboards, its Custom Content gadgets should be there.
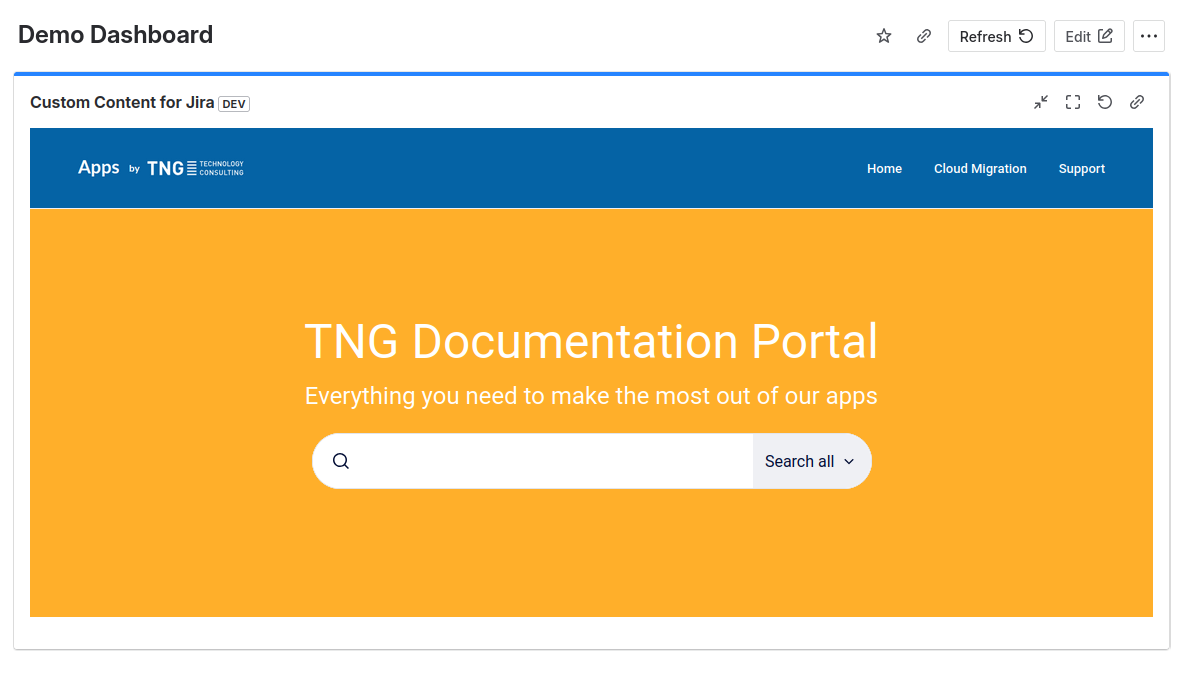
If you don’t see your migrated dashboards, the reason could be that your user on Cloud site does not have the necessary permissions to see it. Visit our Migration troubleshooting for details.