
This walkthrough will explain the steps for migrating your Workflow Enhancer for Jira enhanced workflows from your Data Center (DC) instance to your Cloud instance using the Jira Cloud Migration Assistant.
Automated migration of app data to Cloud is only supported for Workflow Enhancer for Jira Data Center versions since 7.1.0 (Data Center 10.3). If you are using an older version of our app or Jira, consider upgrading or using our Legacy Migration Assistant.
Prerequisites
Please make sure that you use compatible versions of all the apps in questions. We recommend using the latest versions.
-
On the Data Center instance:
-
Jira Data Center version
10.3.0or greater. -
The latest version of the Jira Cloud Migration Assistant.
-
The latest version of Workflow Enhancer for Jira (DC), minimum version requirement is
7.1.0.
-
-
On the Cloud instance:
-
The latest version of Workflow Enhancer for Jira (Cloud).
For details on updating apps see https://confluence.atlassian.com/upm/updating-apps-273875710.html.
-
Before starting the migration process, please have a look on the Scopes & Permissions to verify that you have the necessary permissions to migrate.
Limitations
Currently it is not possible to migrate your post functions due to differences in how they work on Data Center and Cloud.
We invite you to review our Cloud post function documentation page, or get in touch with us, to see how you can use the new functionality to achieve your business requirements.
1. Migration of projects/apps, starting from Data Center (DC)
1.1 Assess your apps
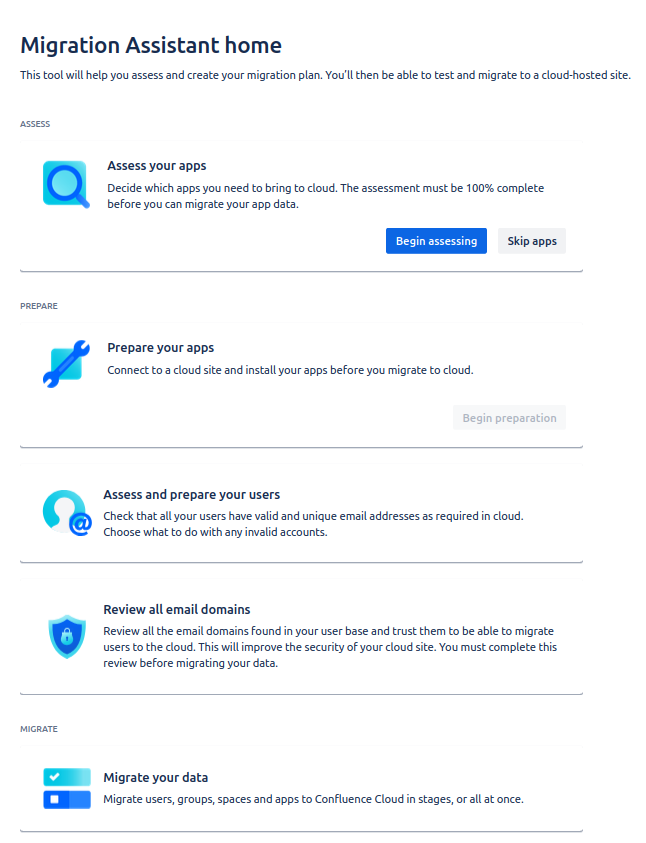
First select the Atlassian Cloud Migration Assistant and begin assessing your apps:
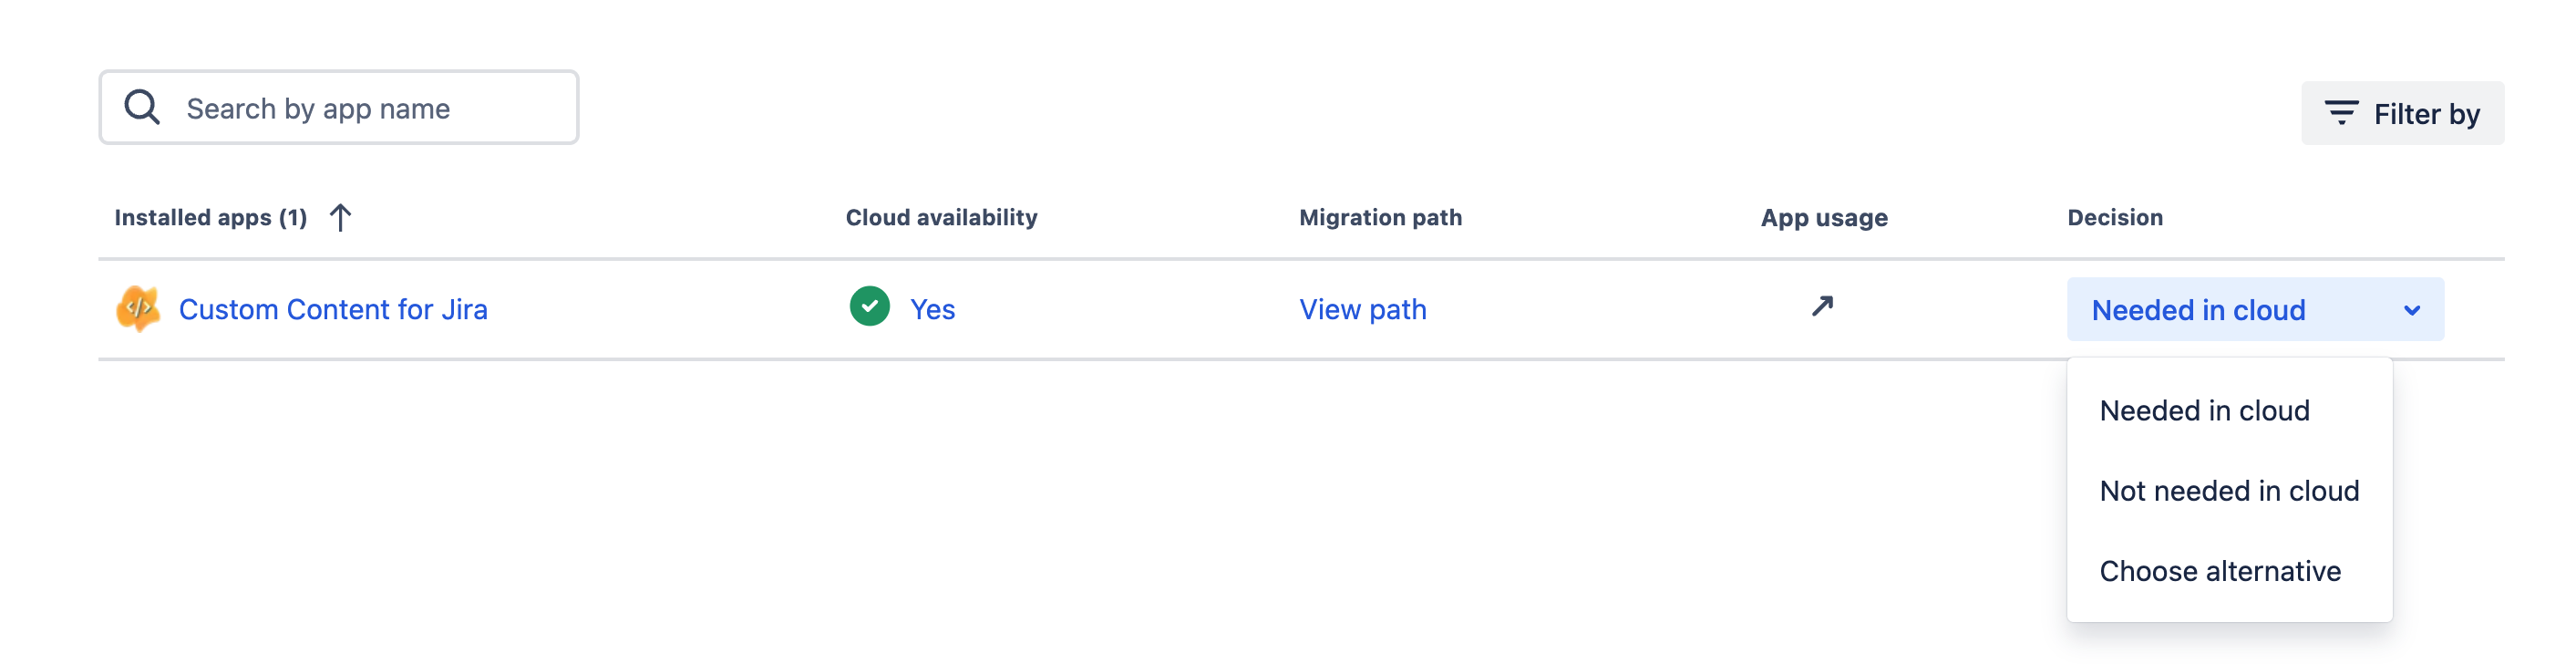
Next, select that you will need Workflow Enhancer for Jira in the Cloud, click Done.
1.2 Assess your apps
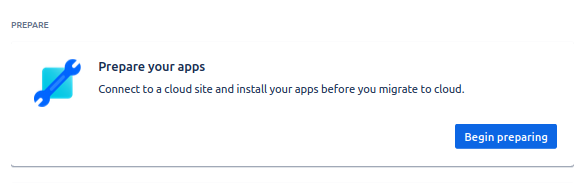
Then it is time to prepare your apps.
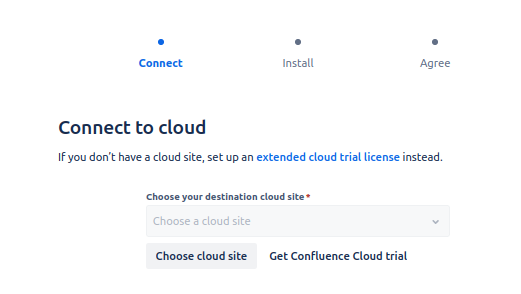
You will need to connect to your Cloud site and will have to install Workflow Enhancer for Jira on it (if you haven’t already 😉 )
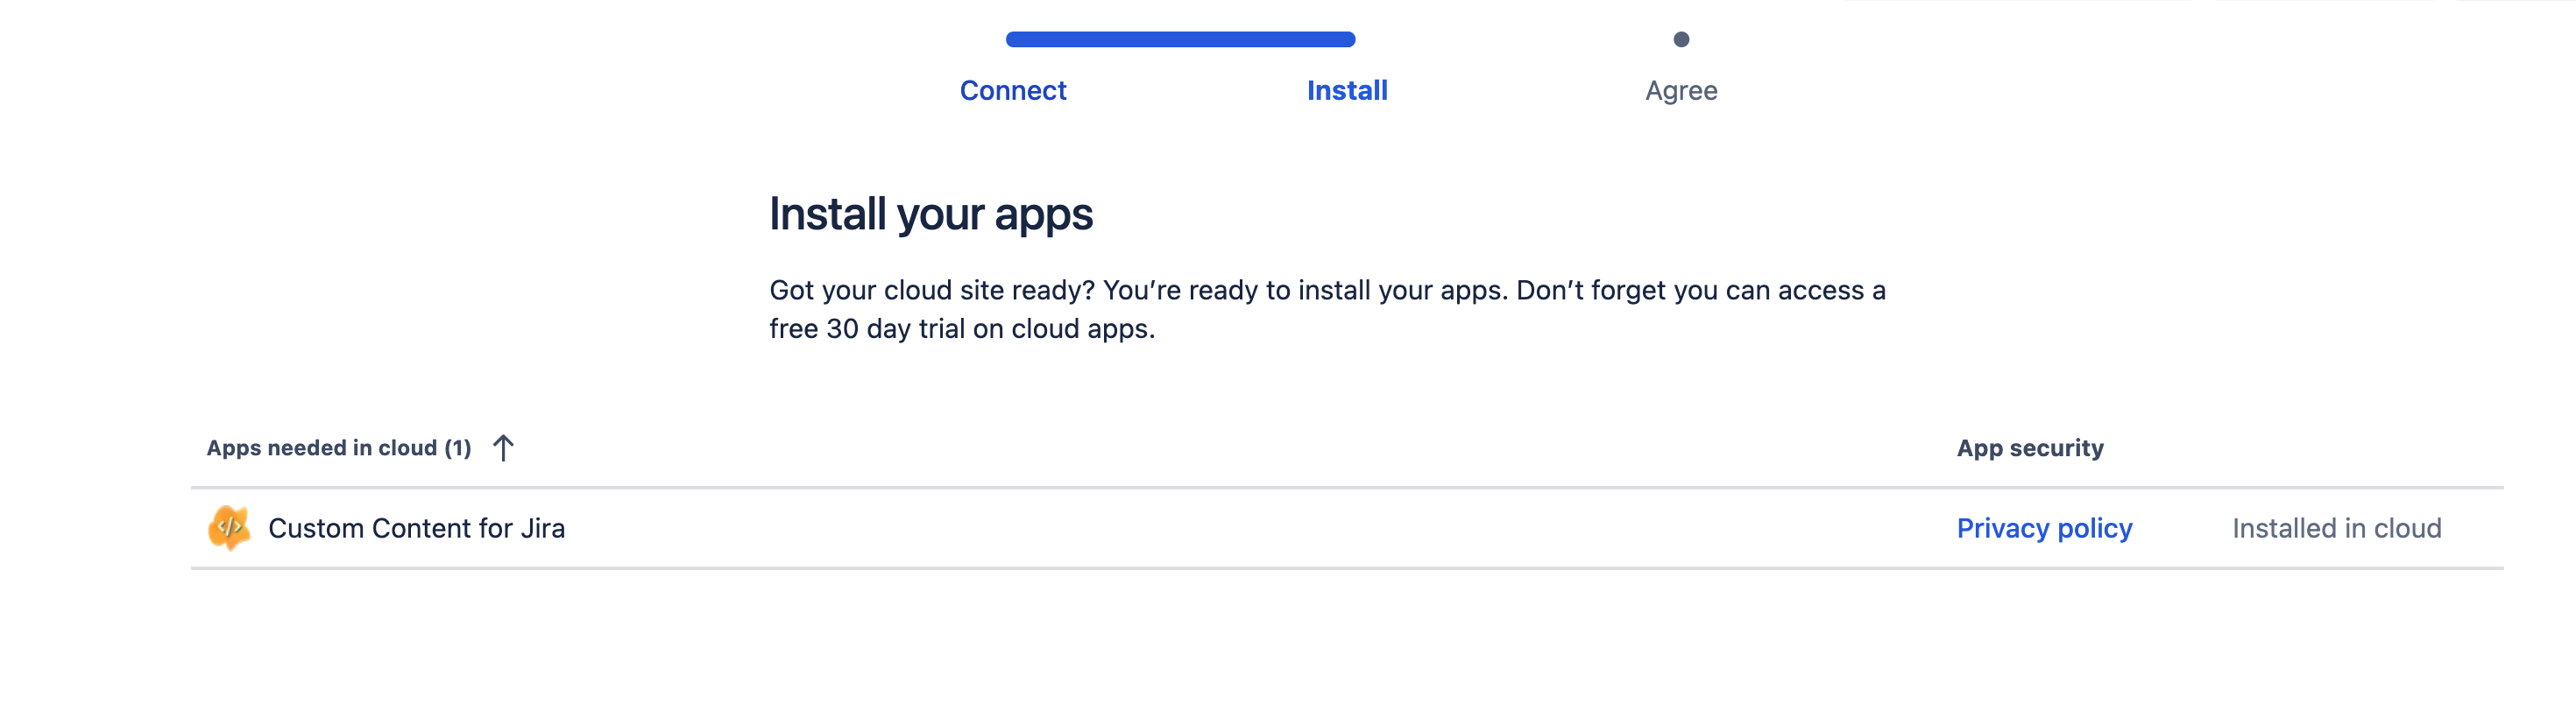
finally, agree to the app migration and click on “Done”.
1.3 Review your email domains/Assess and prepare your users
Before you can start a migration, you have to review your email domains and assets and prepare your users. Please follow the Atlassian documentation here.
1.4 Migrate your data
Finally, click on “Migrate your data” to start a new migration:
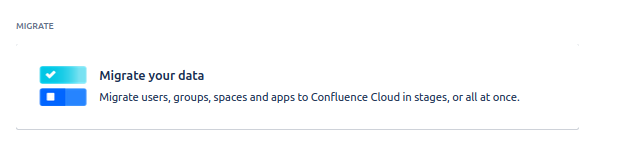
This leads you to the migration dashboard. Click on “Create new migration”.
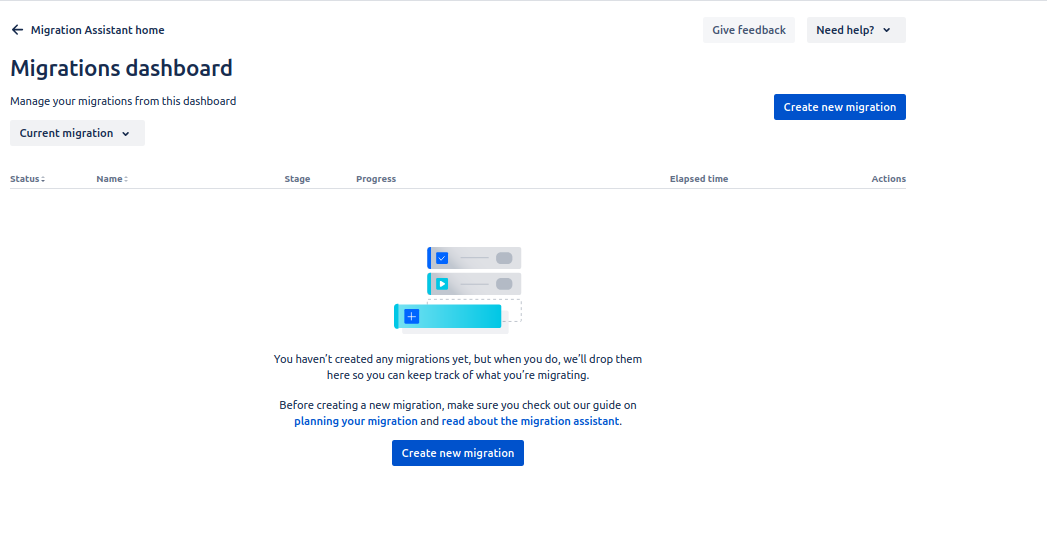
This will guide you through the different steps, as shown below. After having (again) connected to the Cloud.
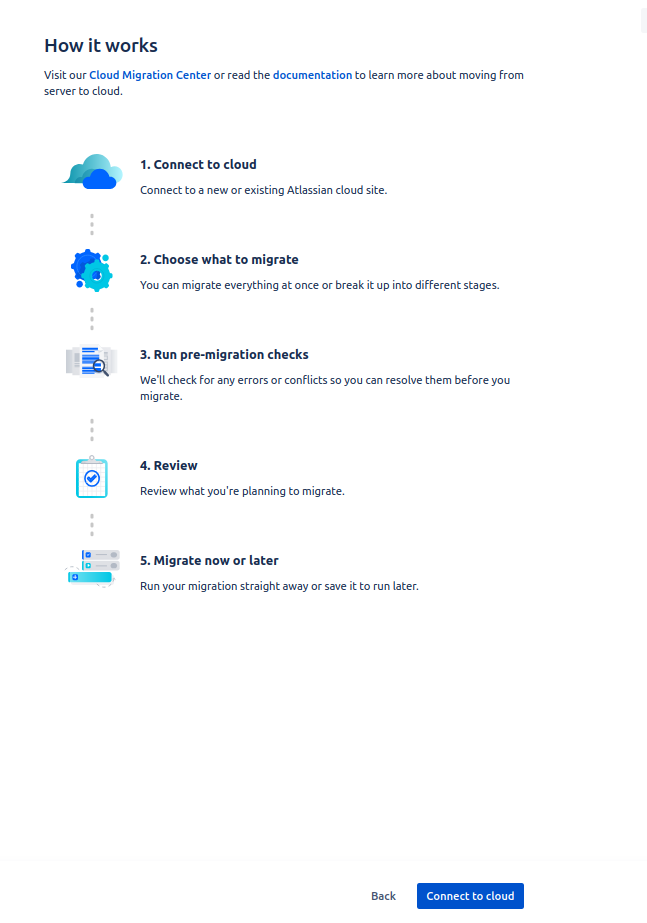
Click on “Choose what to migrate”. Here you can choose your migration options, such as projects, spaces, dashboards, boards, filters, automation rules, users and groups as well as apps, including Workflow Enhancer for Jira.
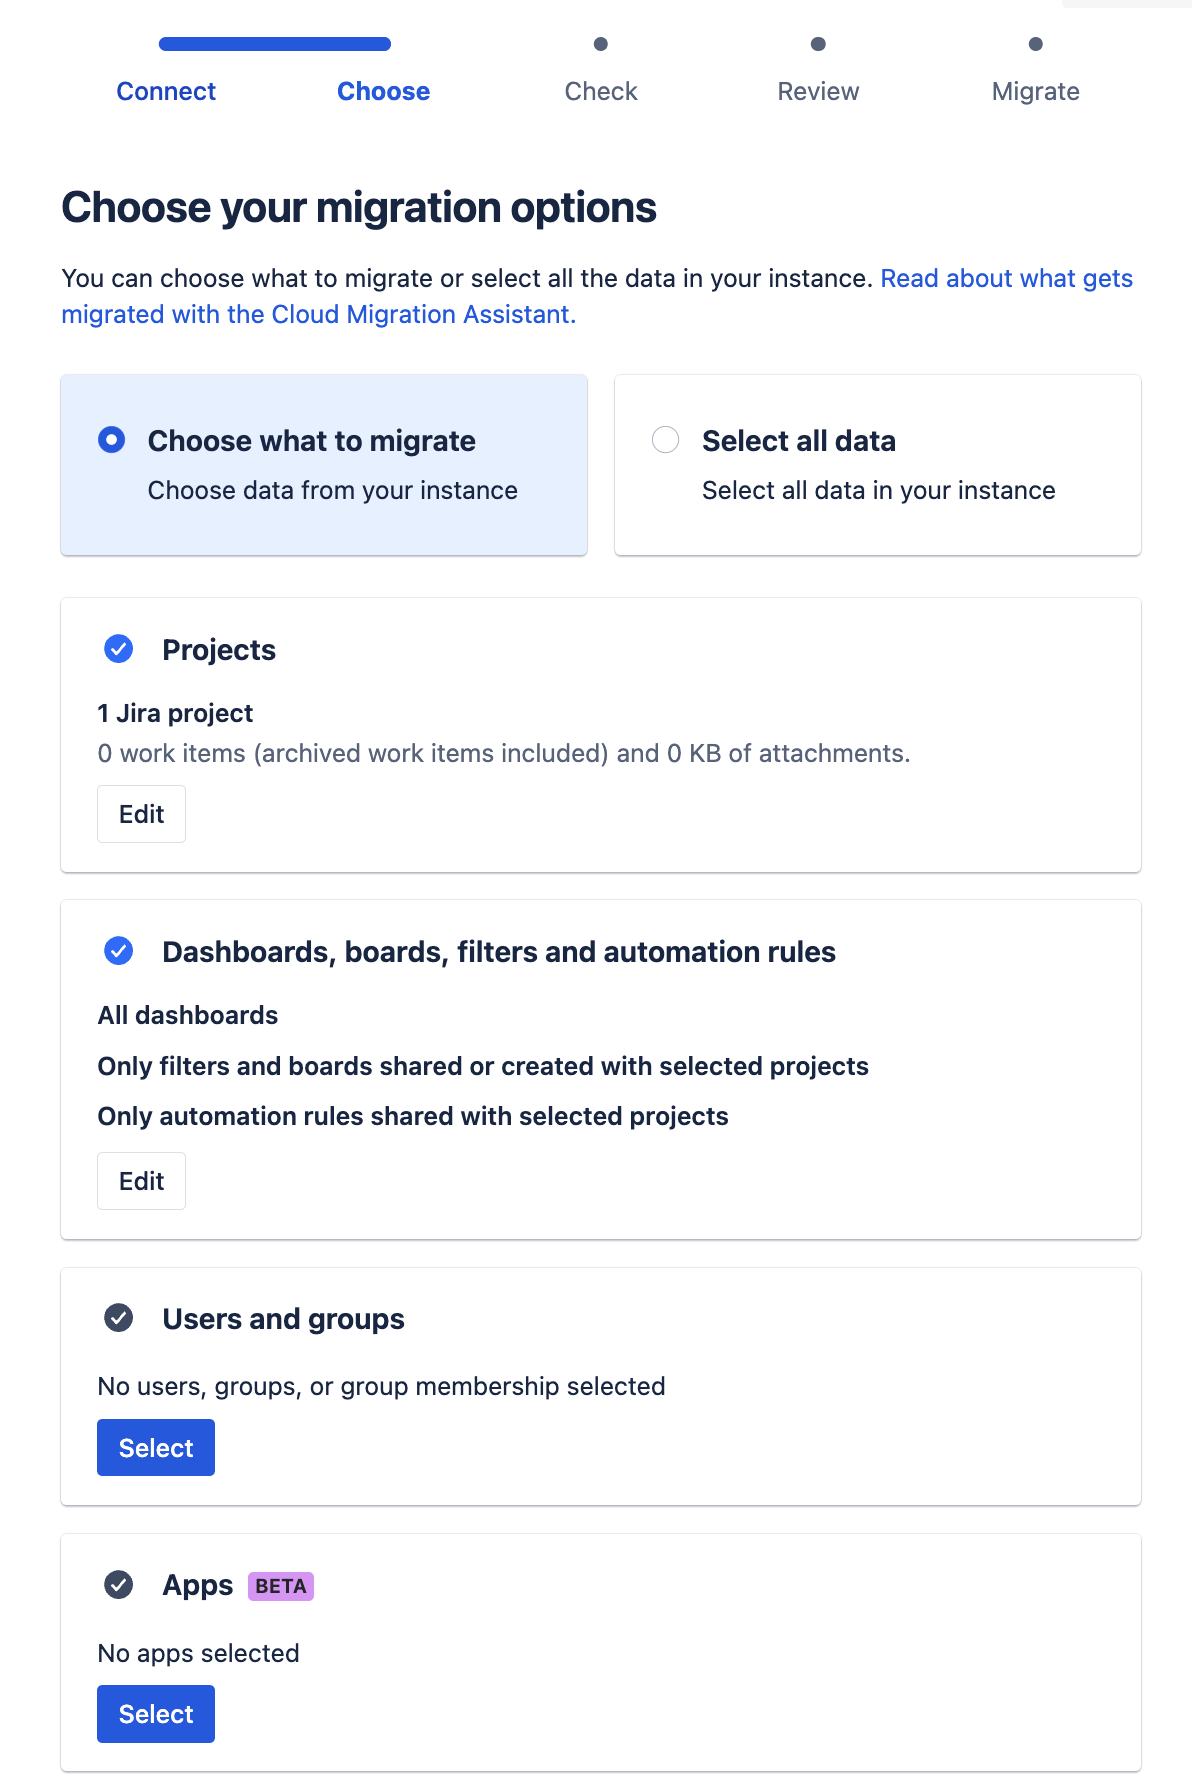
Finally, you can then hit the button “Save and run pre-migration checks”. This will trigger Atlassian’s pre-migration checks.
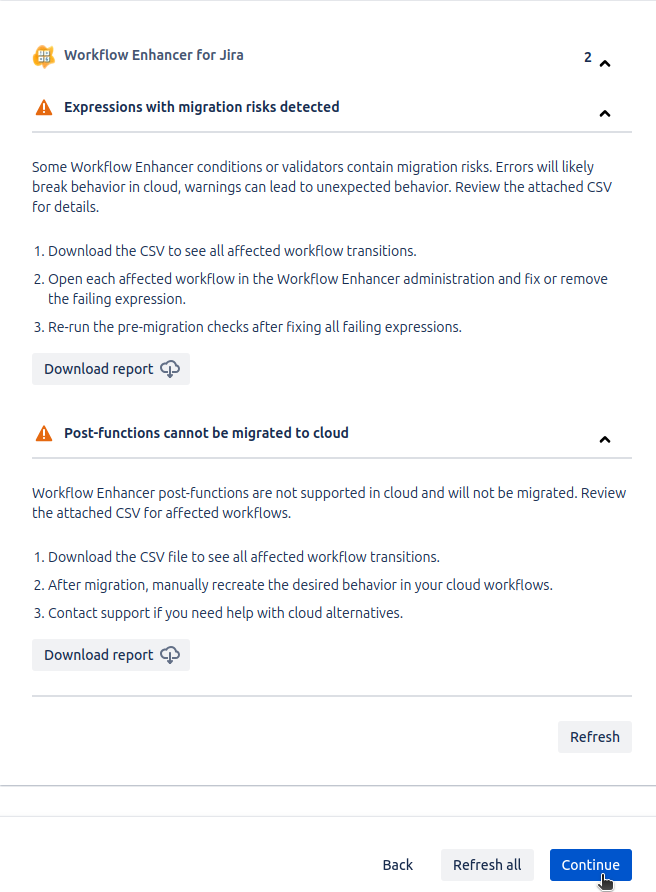
You may notice some warnings on the app pre-migration screen:
-
“Expressions with migration risks detected” Appears if the app has detected any enhanced condition or validator rules which may be broken, or may translate incorrectly onto cloud.
-
You can download the report to review these expressions, although they can also be fixed post migration on your Cloud instance
-
-
“Post-functions cannot be migrated to Cloud” Will always appear as a final warning that post-functions cannot be migrated from DC to Cloud due to differences in their functionality.
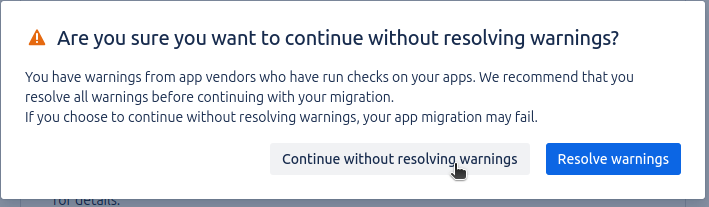
Once these warnings have been reviewed, click on “Continue” → “Continue without resolving warnings”.
The migration will then appear in your dashboard.
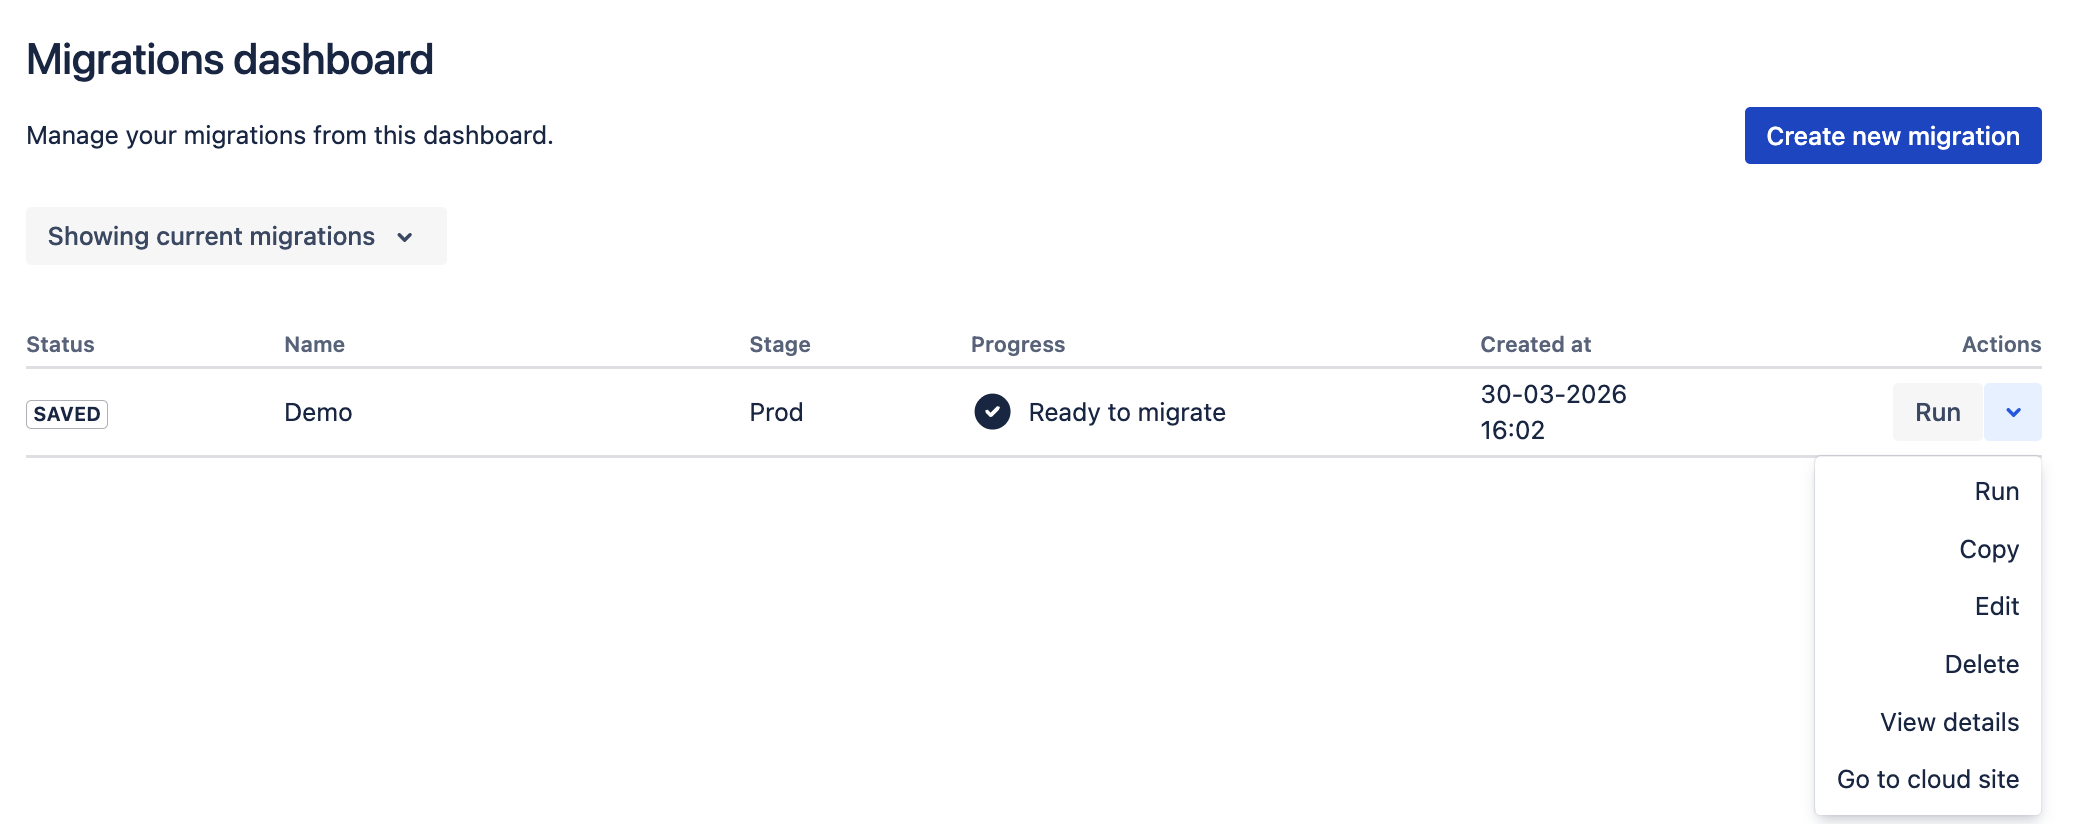
By clicking on “View details”, you can follow its progress.
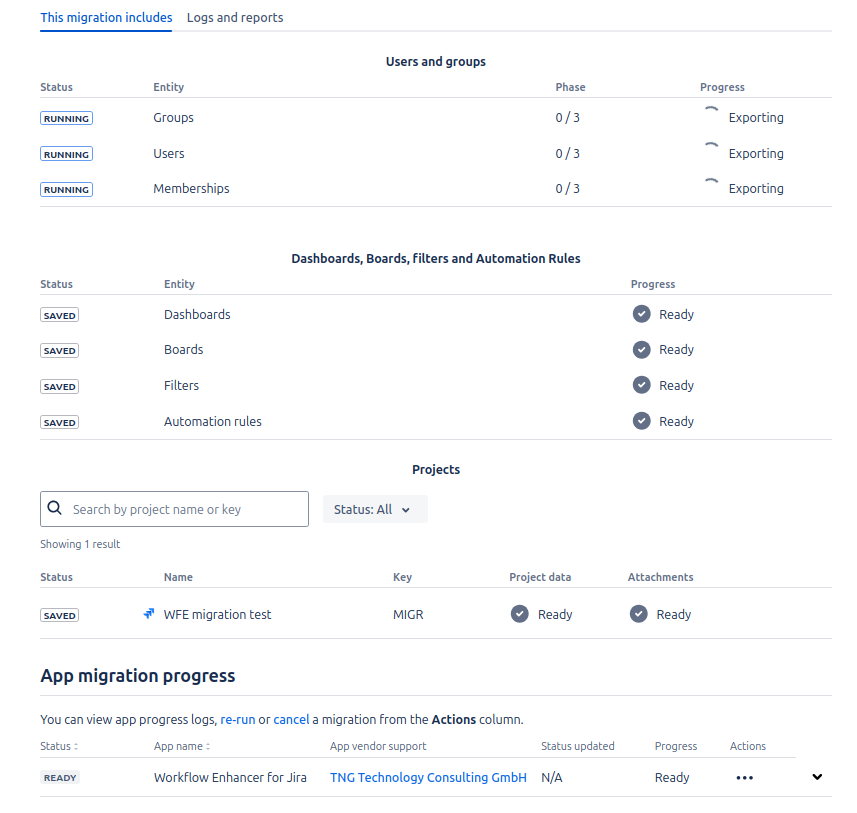
2. Assessing the migration status on Cloud
Once a migration has progressed to the App Migration phase, you can track its status from the Workflow Enhancer for Jira Cloud administration page.
From the left navigation bar, go to “Apps” -> “Custom Content for Jira” → “Resources” → “Admin settings”.
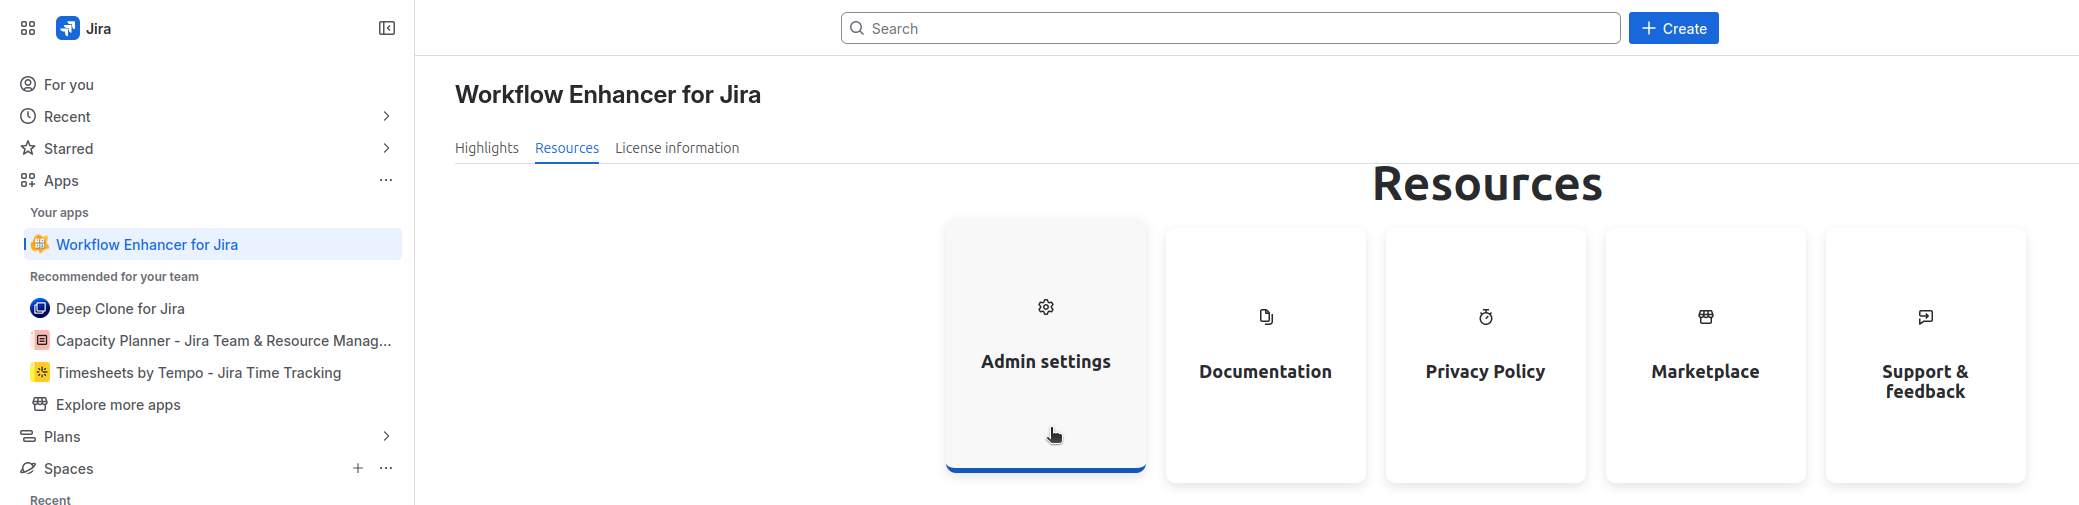
Then select the ‘Cloud Migration Assistant’ tab.

2.1 Migration Statuses
There are 5 potential stages the migration could be in:
|
Status |
Description |
|---|---|
|
No Migration |
No migration has been detected for this Cloud site |
|
Migration In Progress |
The Cloud site has received app data from the DC instance and is currently updating the enhanced workflows |
|
Migration Success |
The Workflow Enhancer enhanced workflows have been successfully migrated |
|
Migration Failure |
An unexpected error occurred during the migration. If the error occurred after app data had been transferred from DC to Cloud, the migration can be retried from this stage. If however the error occurred during the app data transfer, this migration cannot be retried and must be completed manually, or a new migration must be started from the DC instance. |
|
Migration Completed with Errors |
There are one or more warnings or errors associated with the migrated Jira expressions. These expressions may not work correctly on Cloud and need to be edited manually. |
2.2 Download report
You can download a report of a completed migration. On a failed migration, this report may be useful in helping you assess and fix any problems before attempting another migration. On a successful migration, This report will contain additional information on the workflows that were migrated, as well as any warnings, errors, or informational improvement suggestions that may be associated with the migrated Jira expressions.
2.3 Fixing Migrated Jira Expressions
Due to differences between the syntax of Jira expressions on DC and cloud, some of the migrated workflow rules may not work as expected on Cloud.
These will appear in a table in the “Cloud Migration Assistant” administration tab.
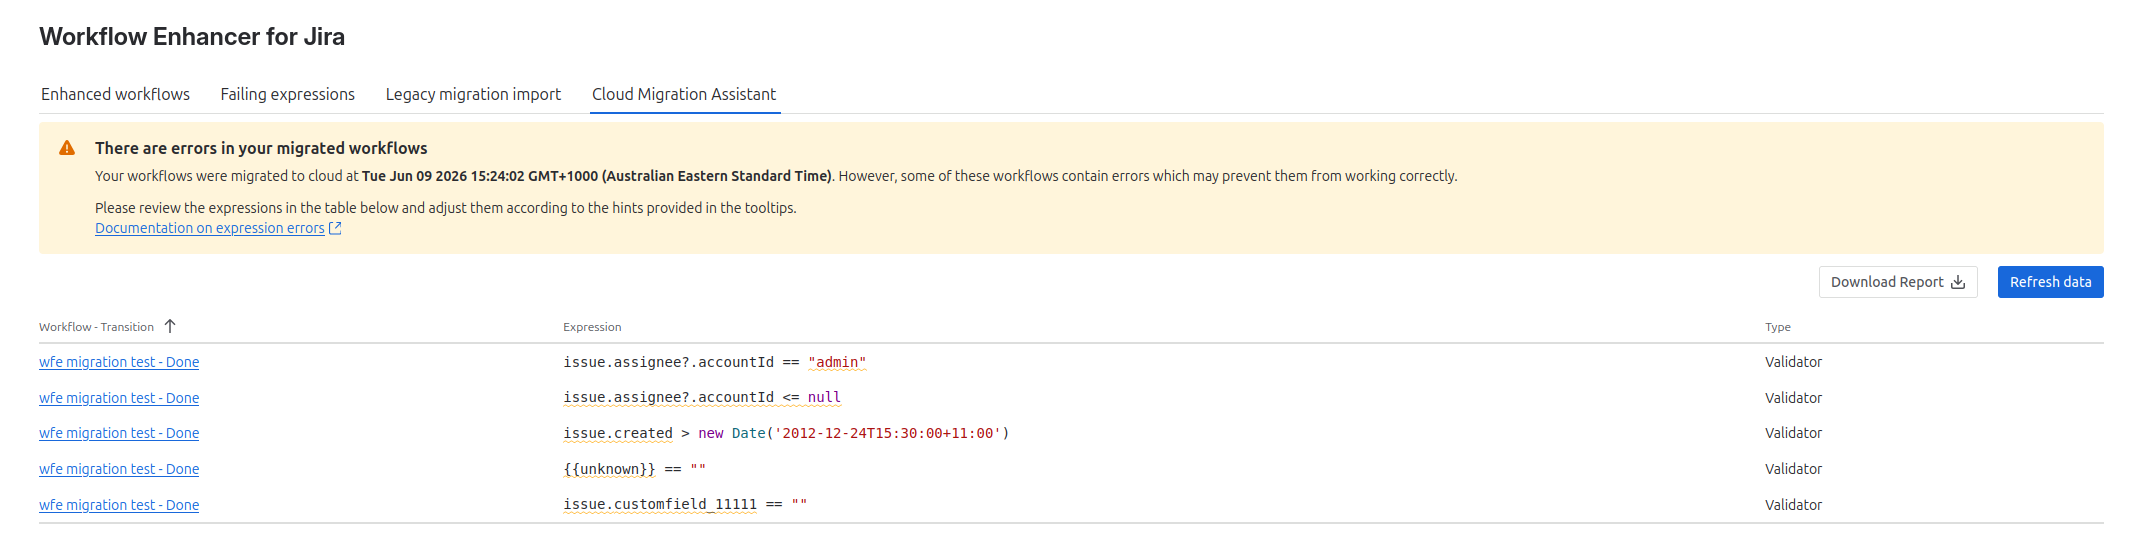
The specific errors for each Jira expression will appear as a tooltip when hovering over parts of the expression with the yellow squiggly underline.

In order to fix each expression, first navigate to the edit page of the associated transition using the links in the left most column of the table. Then Select the erroneous condition or validator from the right panel and adjust the Jira expression accordingly. You can view our documentation on recommended fixes for each error here.
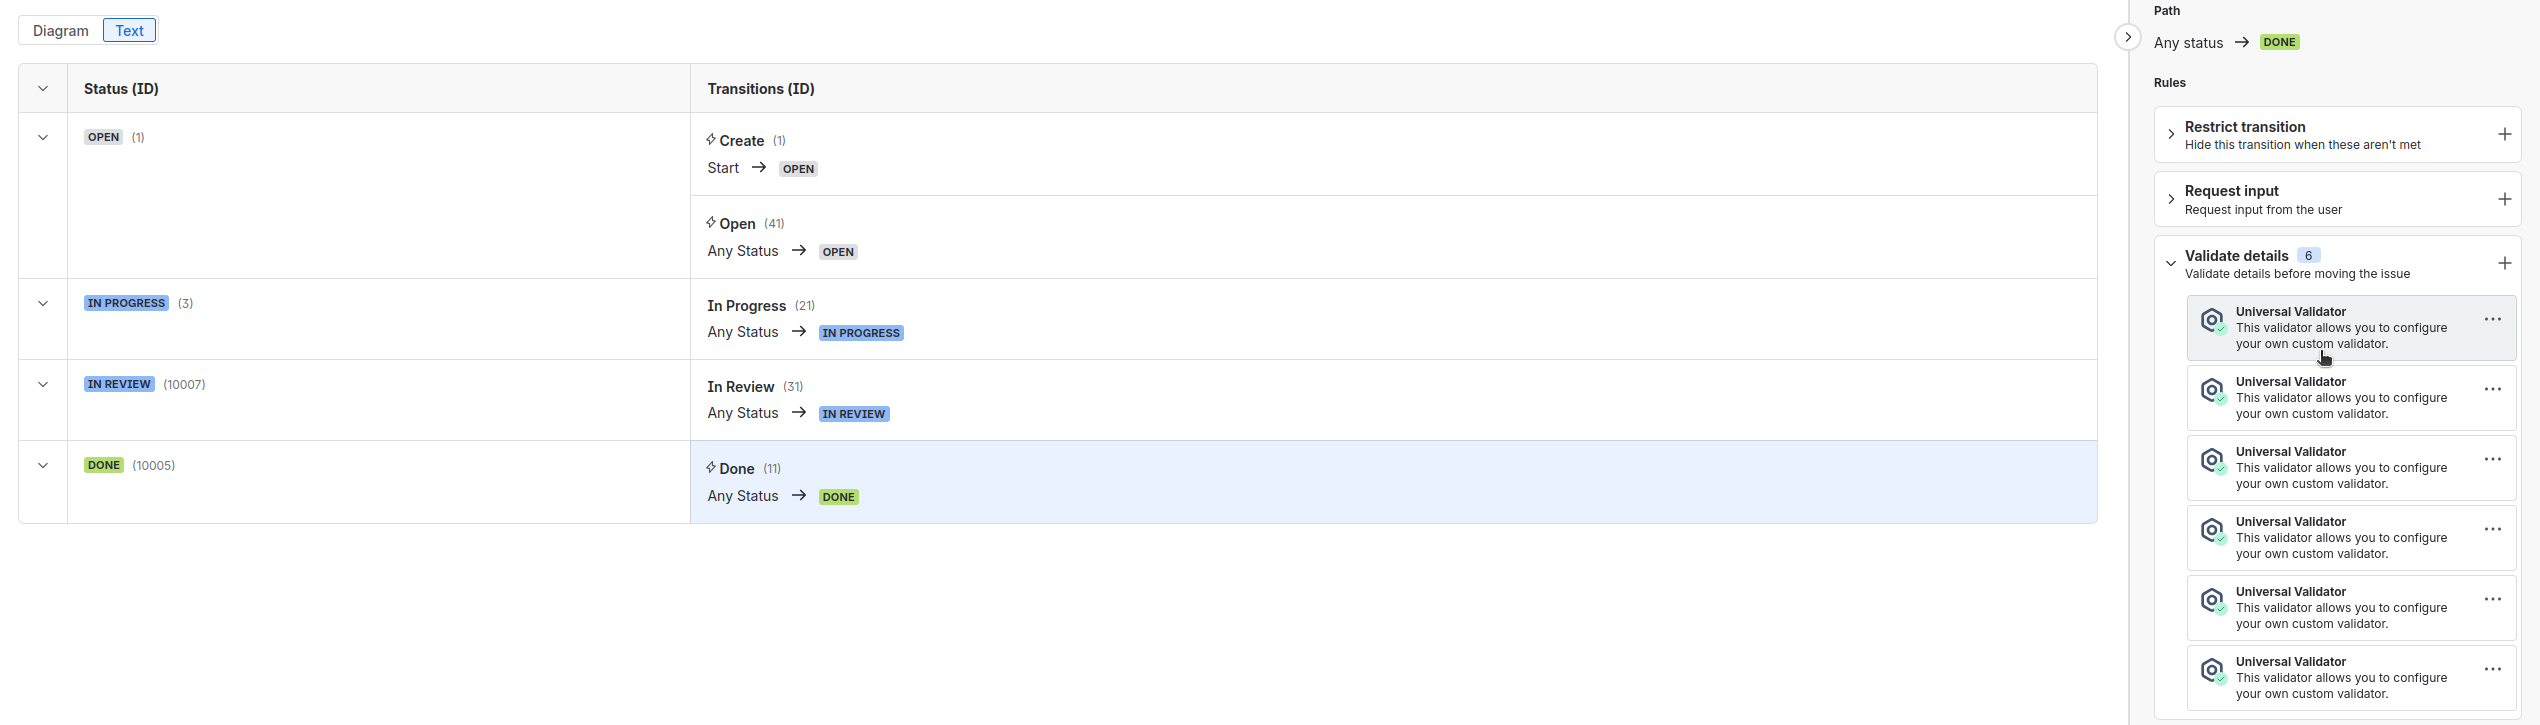
Once fixed, ensure that you update the workflow before returning to the table.
After the workflow has been updated, you can click on “Refresh data”. Any previously erroneous Jira expressions which have been altered will no longer appear in the table.
This table does not check that the condition or validator is now “correct”, but only that it has been edited by the user.
Once all expressions in the table have been fixed, the migration status will change to “Migration Success”.
Troubleshooting
In case you run into any problems, please refer to our documentation on Migration Troubleshooting.