
Multivote & Enterprise Survey for Confluence is a powerful tool that offers several features. This tutorial shows you how to set up a survey, put it on a page and manage it using the interface.
Create surveys
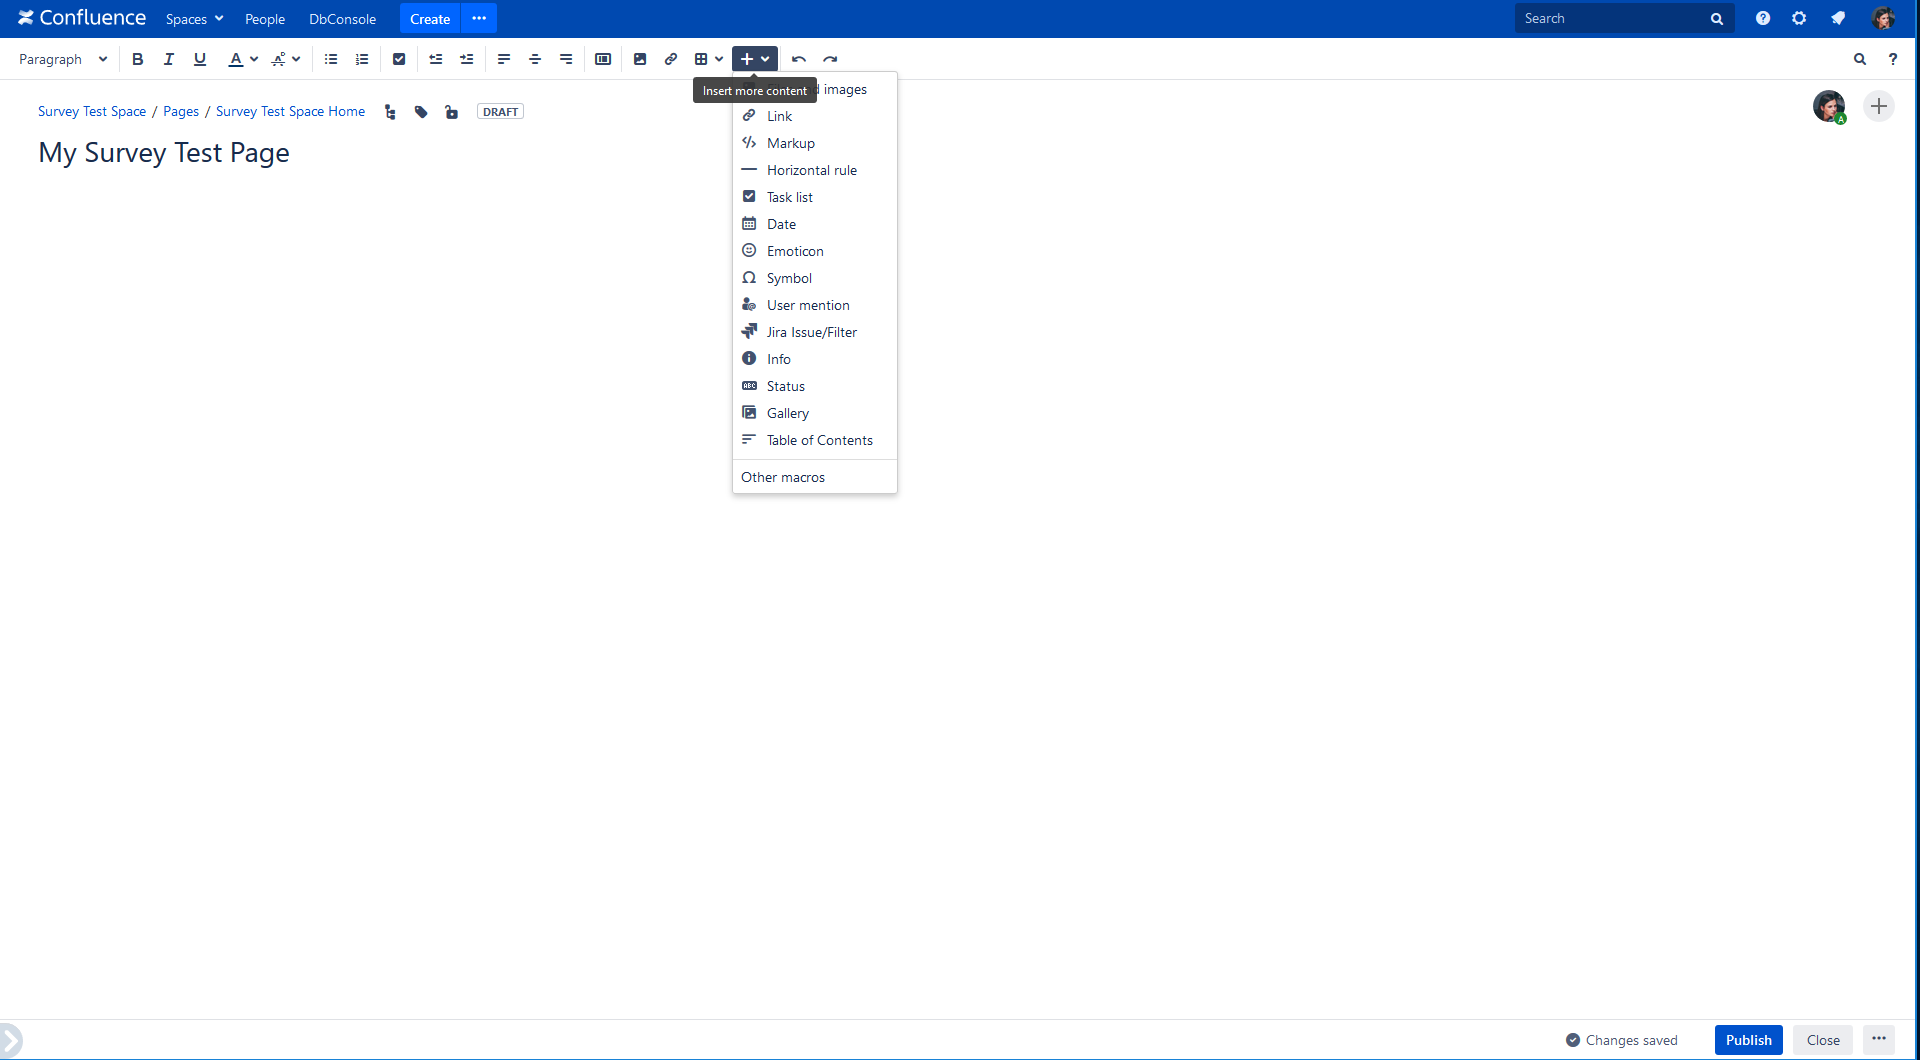
Enter the Edit-mode on the page where you want to create the survey. Click on the "Insert more content" menu (using the "+" icon in the toolbar) and select "Other macros" from the drop-down menu.
Show me
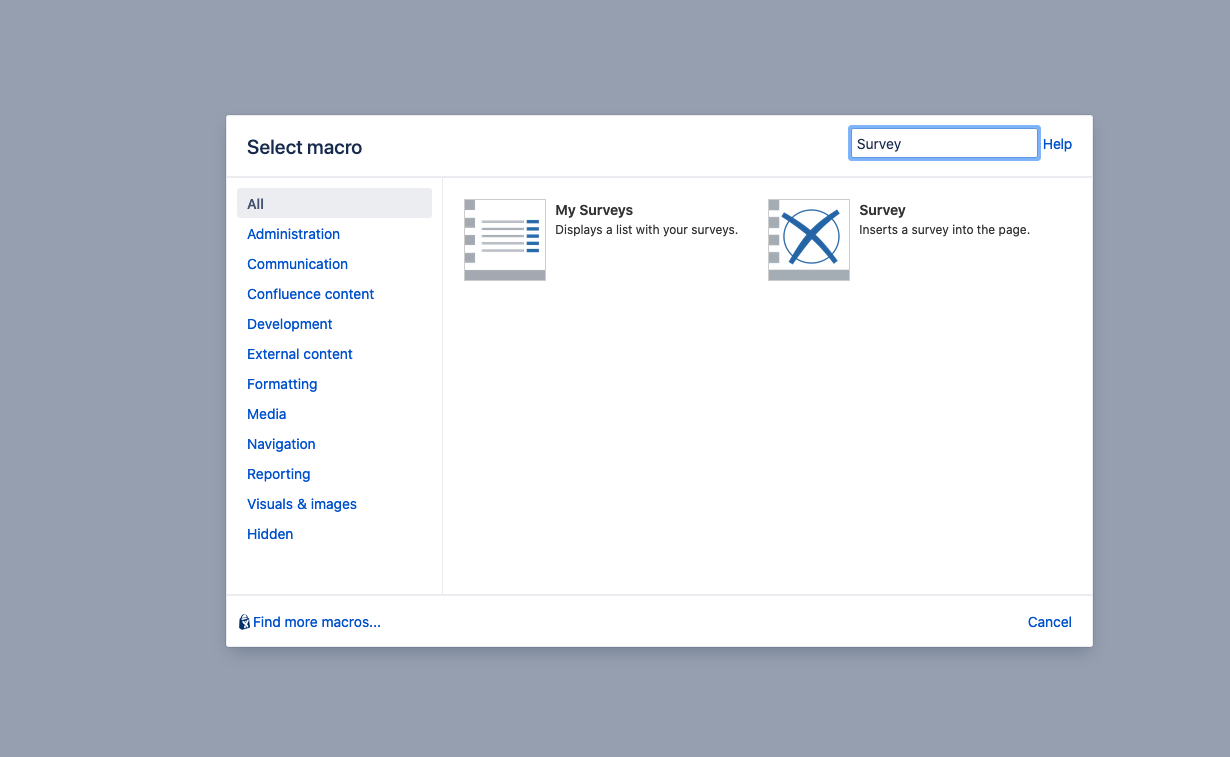
Type "Survey" into the search box and select the "Survey” macro.
Show me
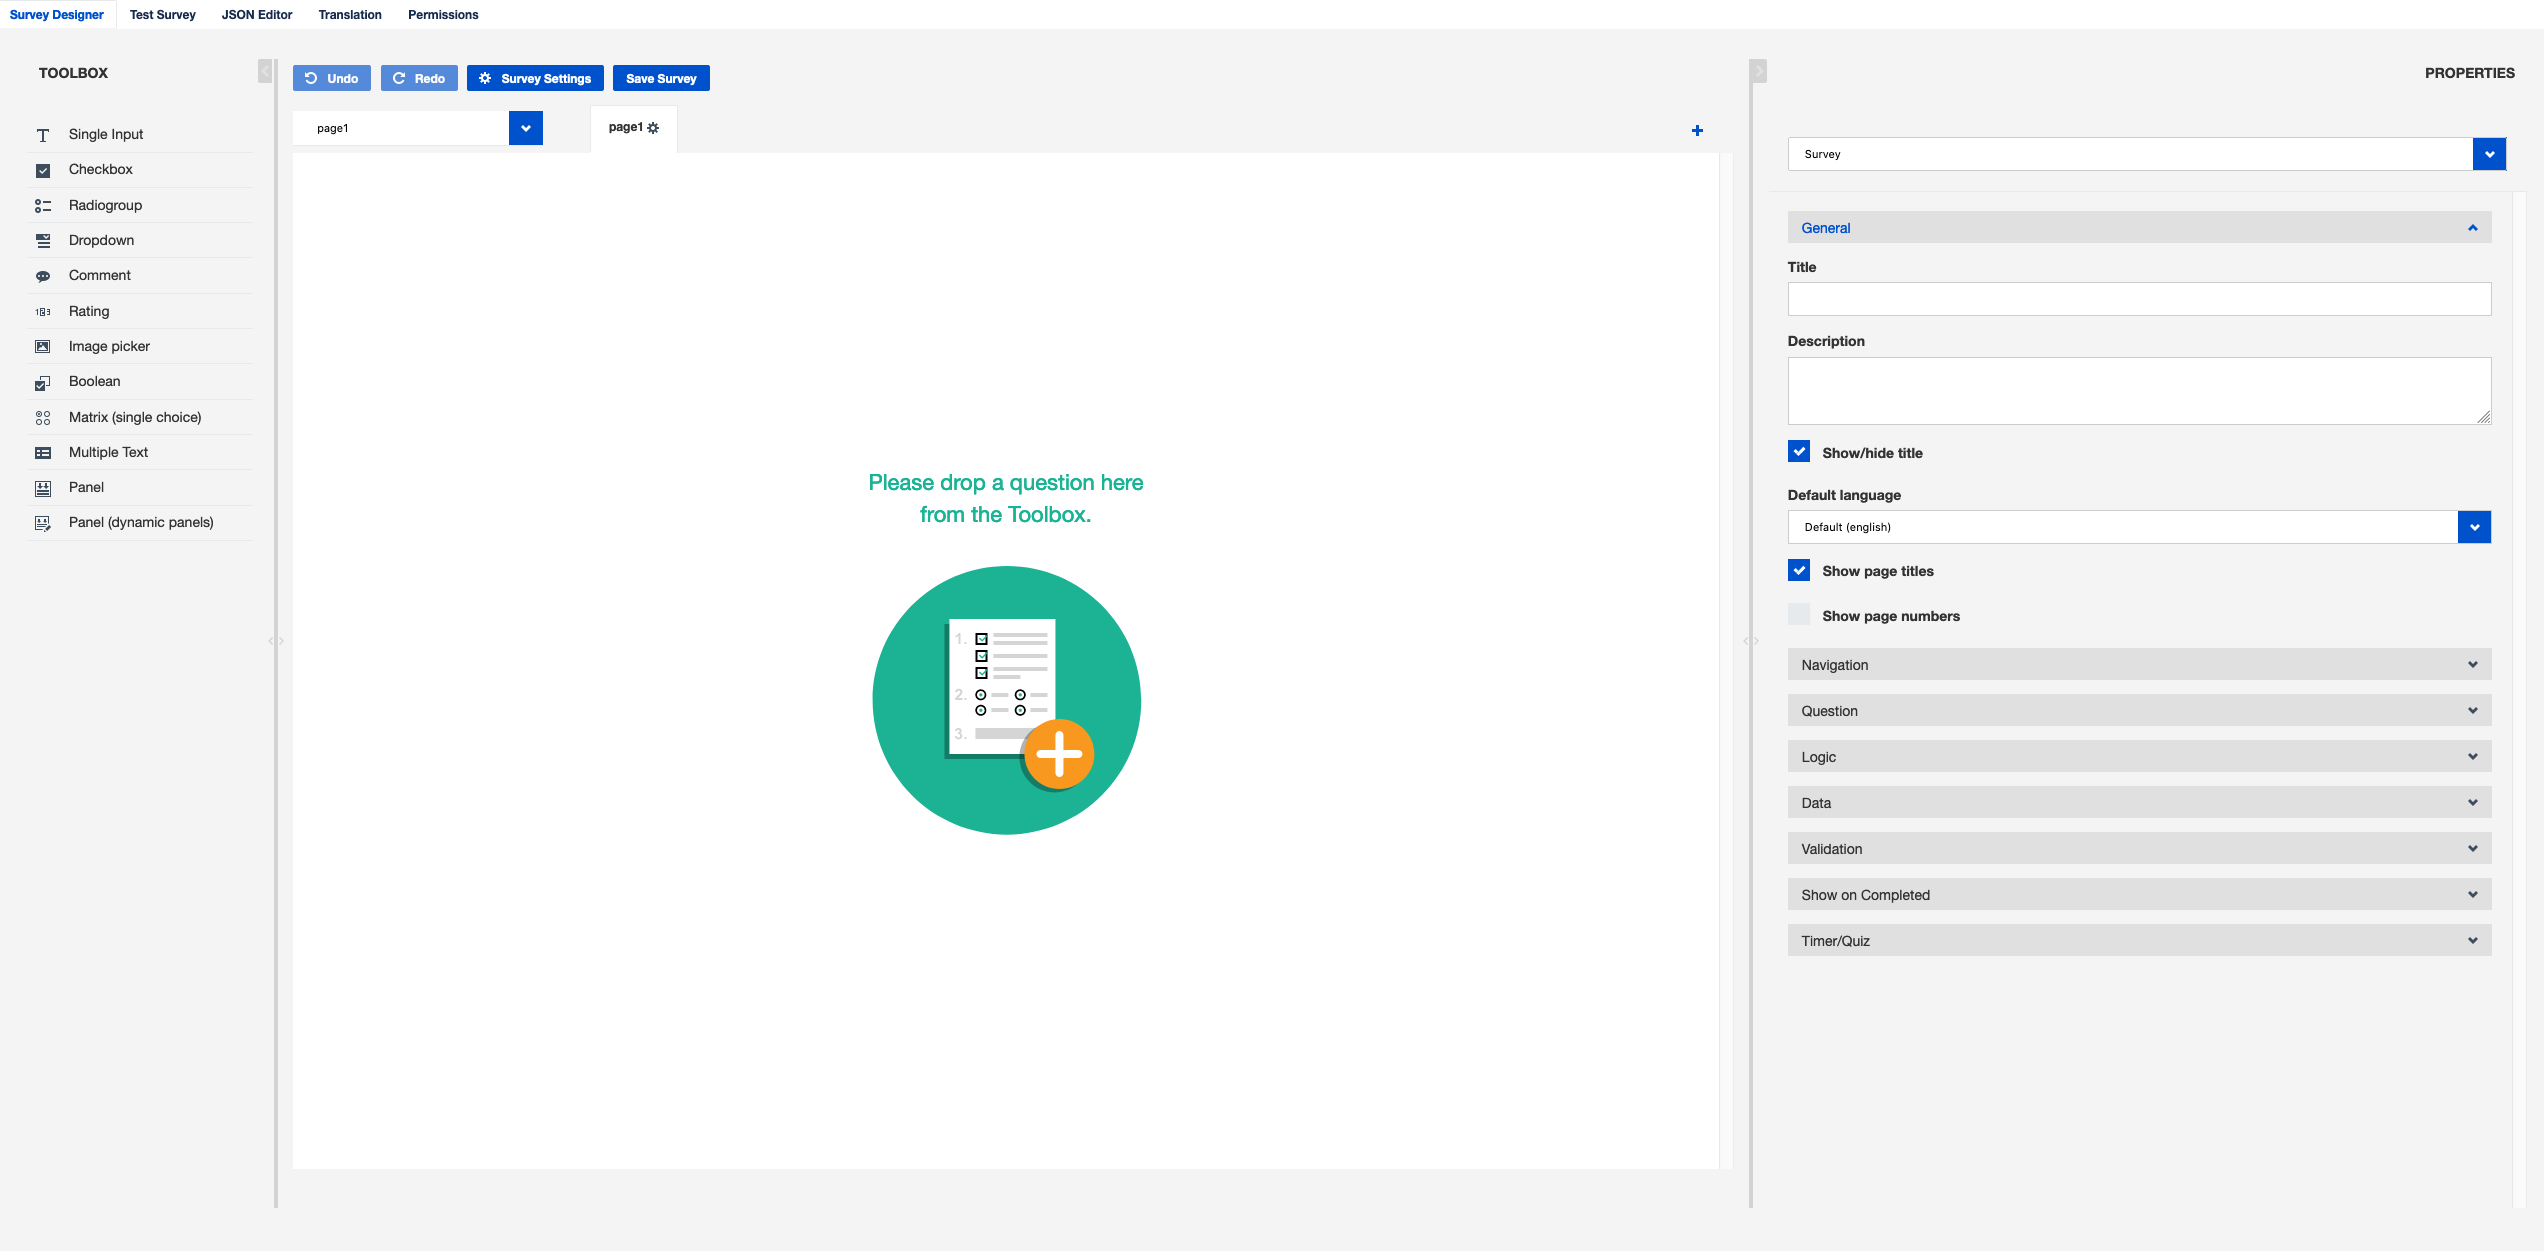
Once you have embedded the macro "Survey” into your page, the survey builder opens.
Show me
You can now edit your survey by dragging questions from the toolbox into survey. You can also edit questions in-place, e.g. the header or the response options, add more pages by using the "+” icon or adjust the general settings of the survey.
Show me
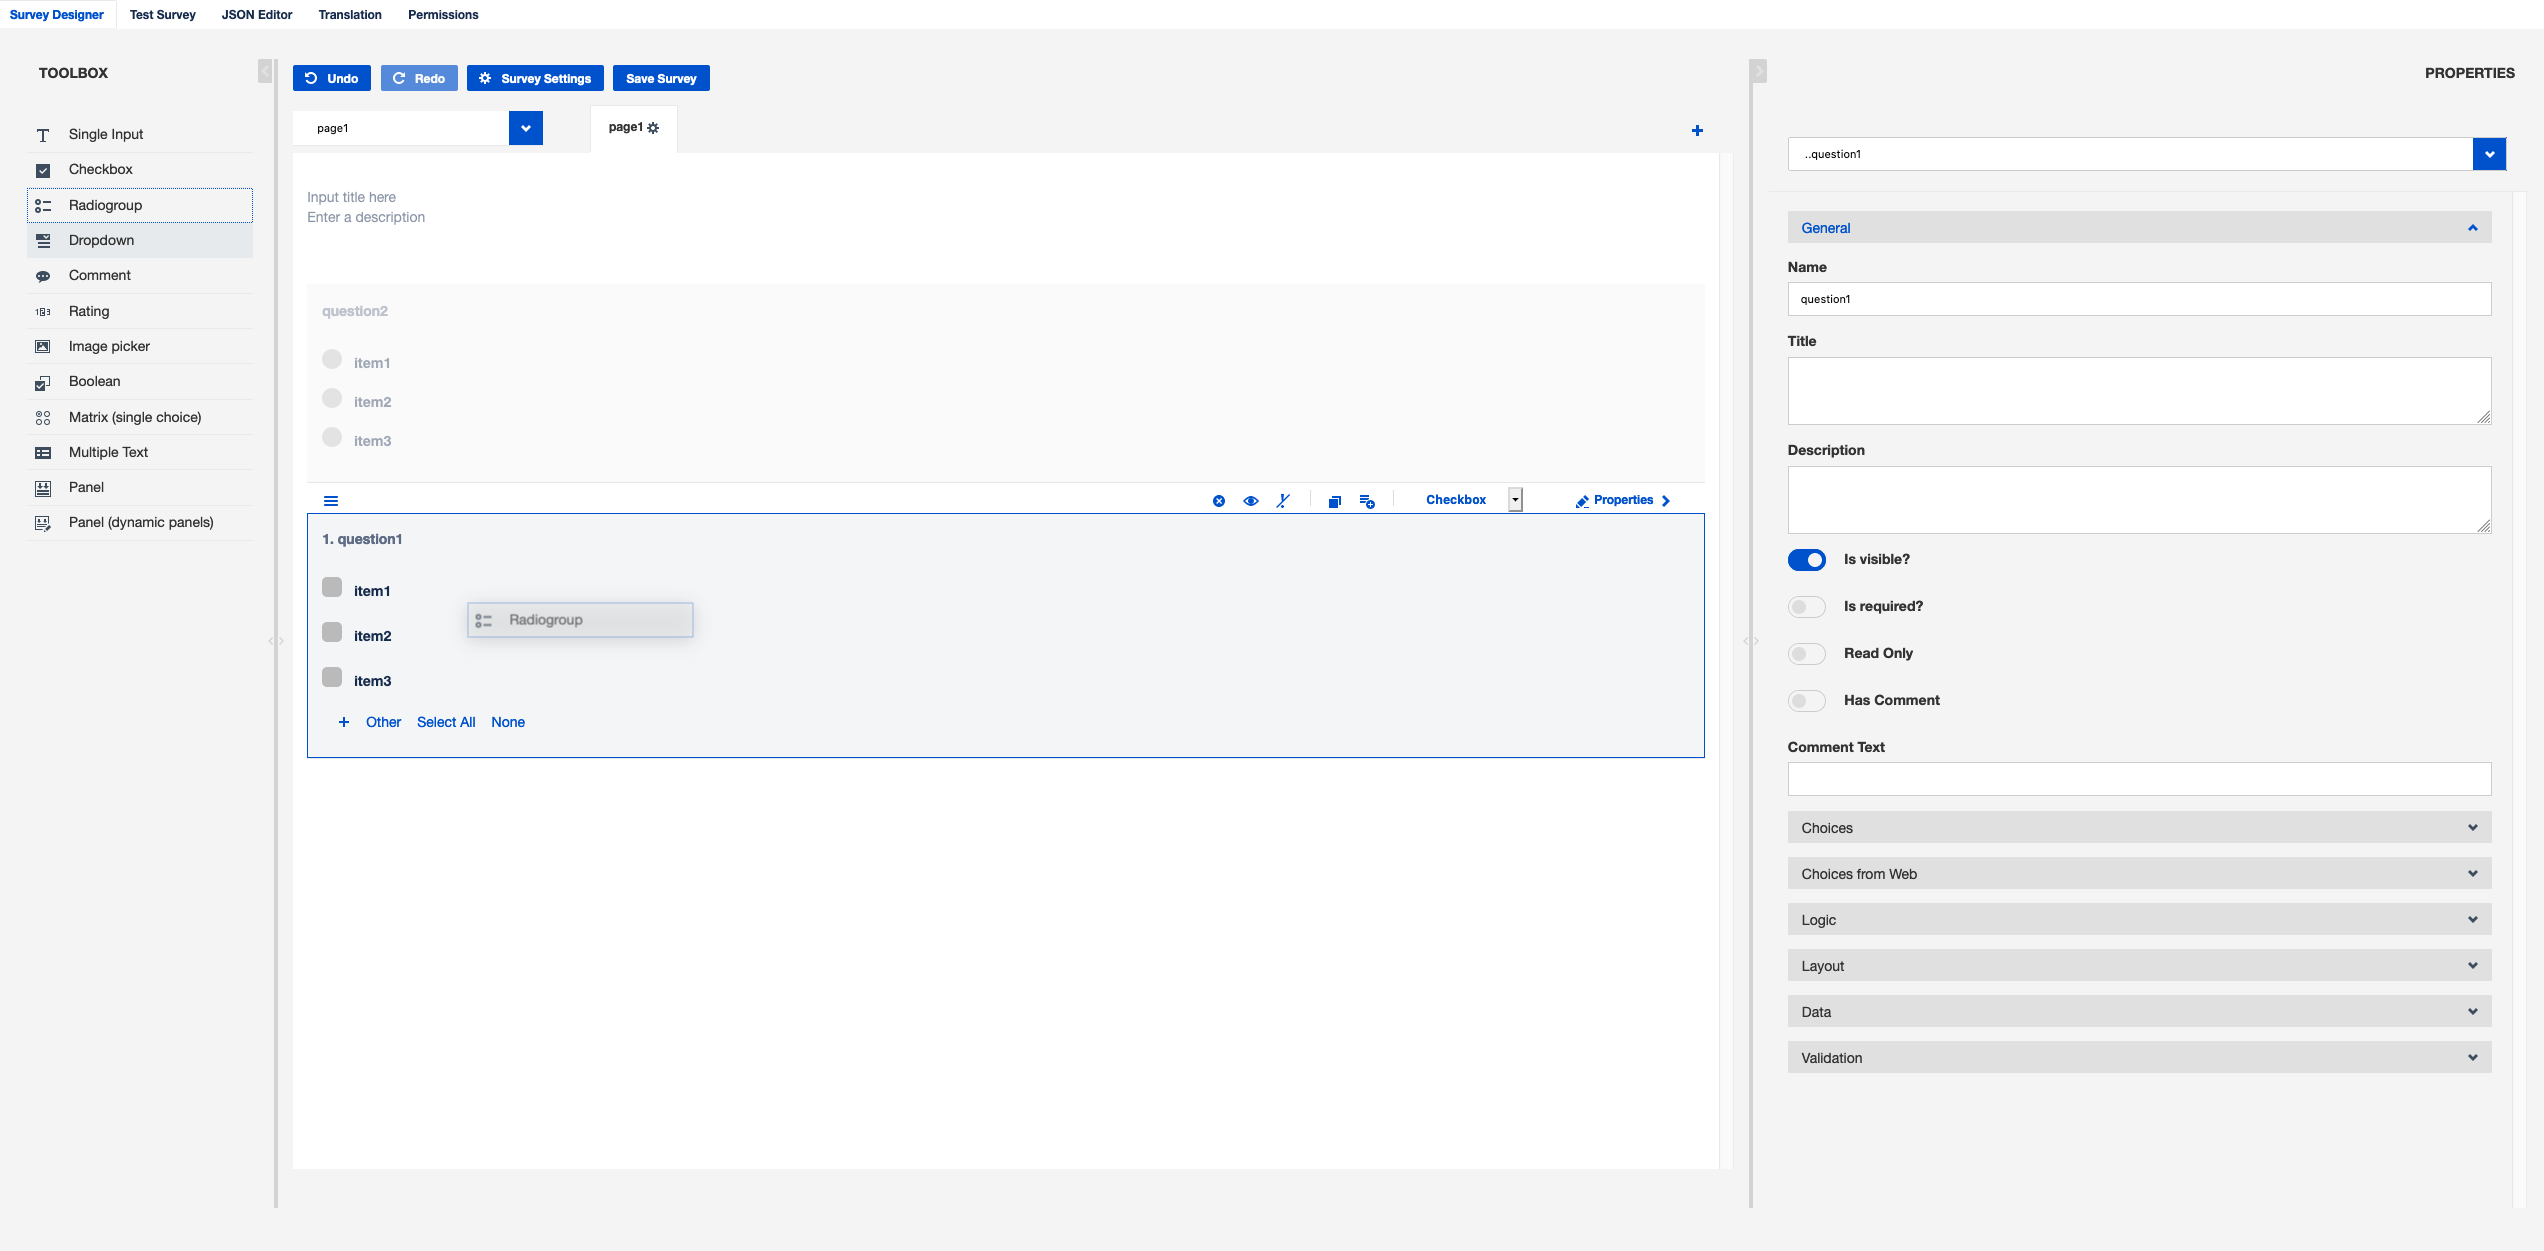
Questions can easily be rearranged with drag and drop.
Dynamic questions
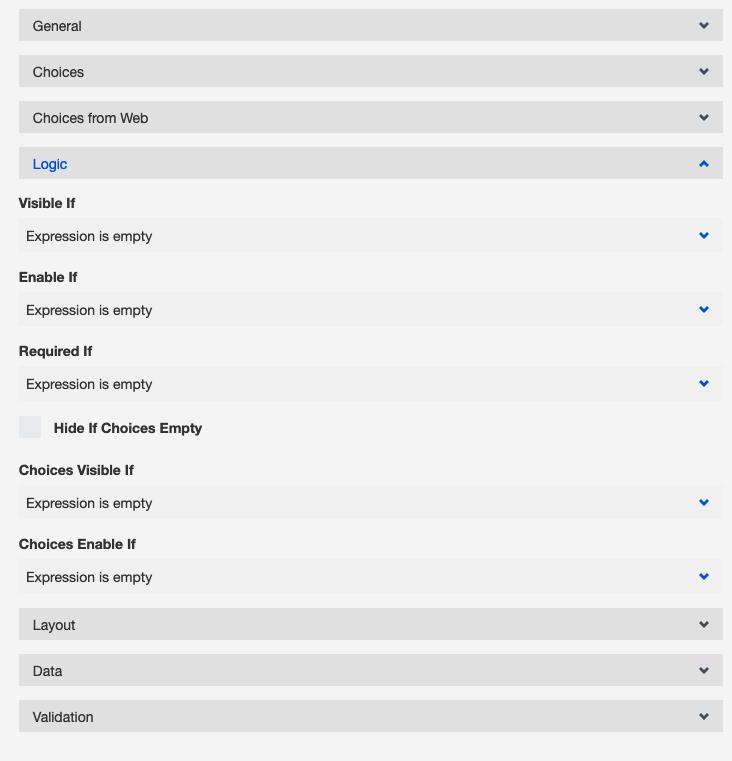
If you want to add a question which is only visible if the user answered "yes" to the question before, you must first add a new question.
In the "Logic” menu on the right, conditions for the visibility may be set.
Show me
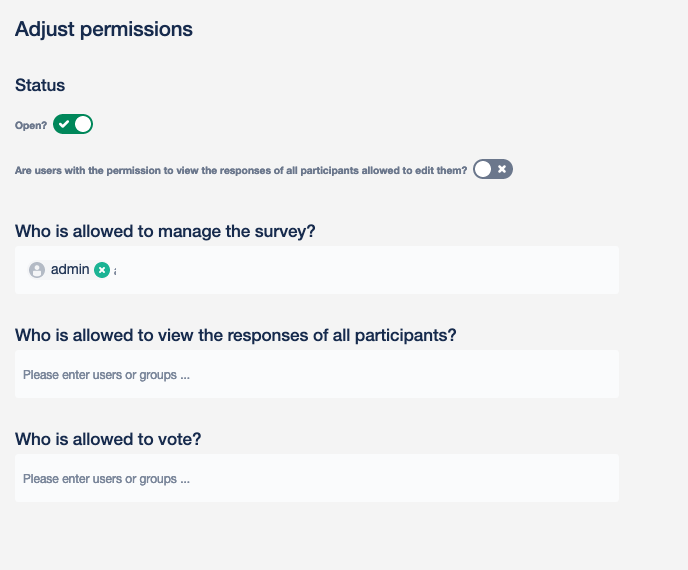
Permissions to vote, view the result and administer the survey can be managed in the "Permissions” tab. Learn more about survey permissons.
Show me
Once you are done with designing your survey, you can save it by clicking on "Save survey” in the "Survey” tab.
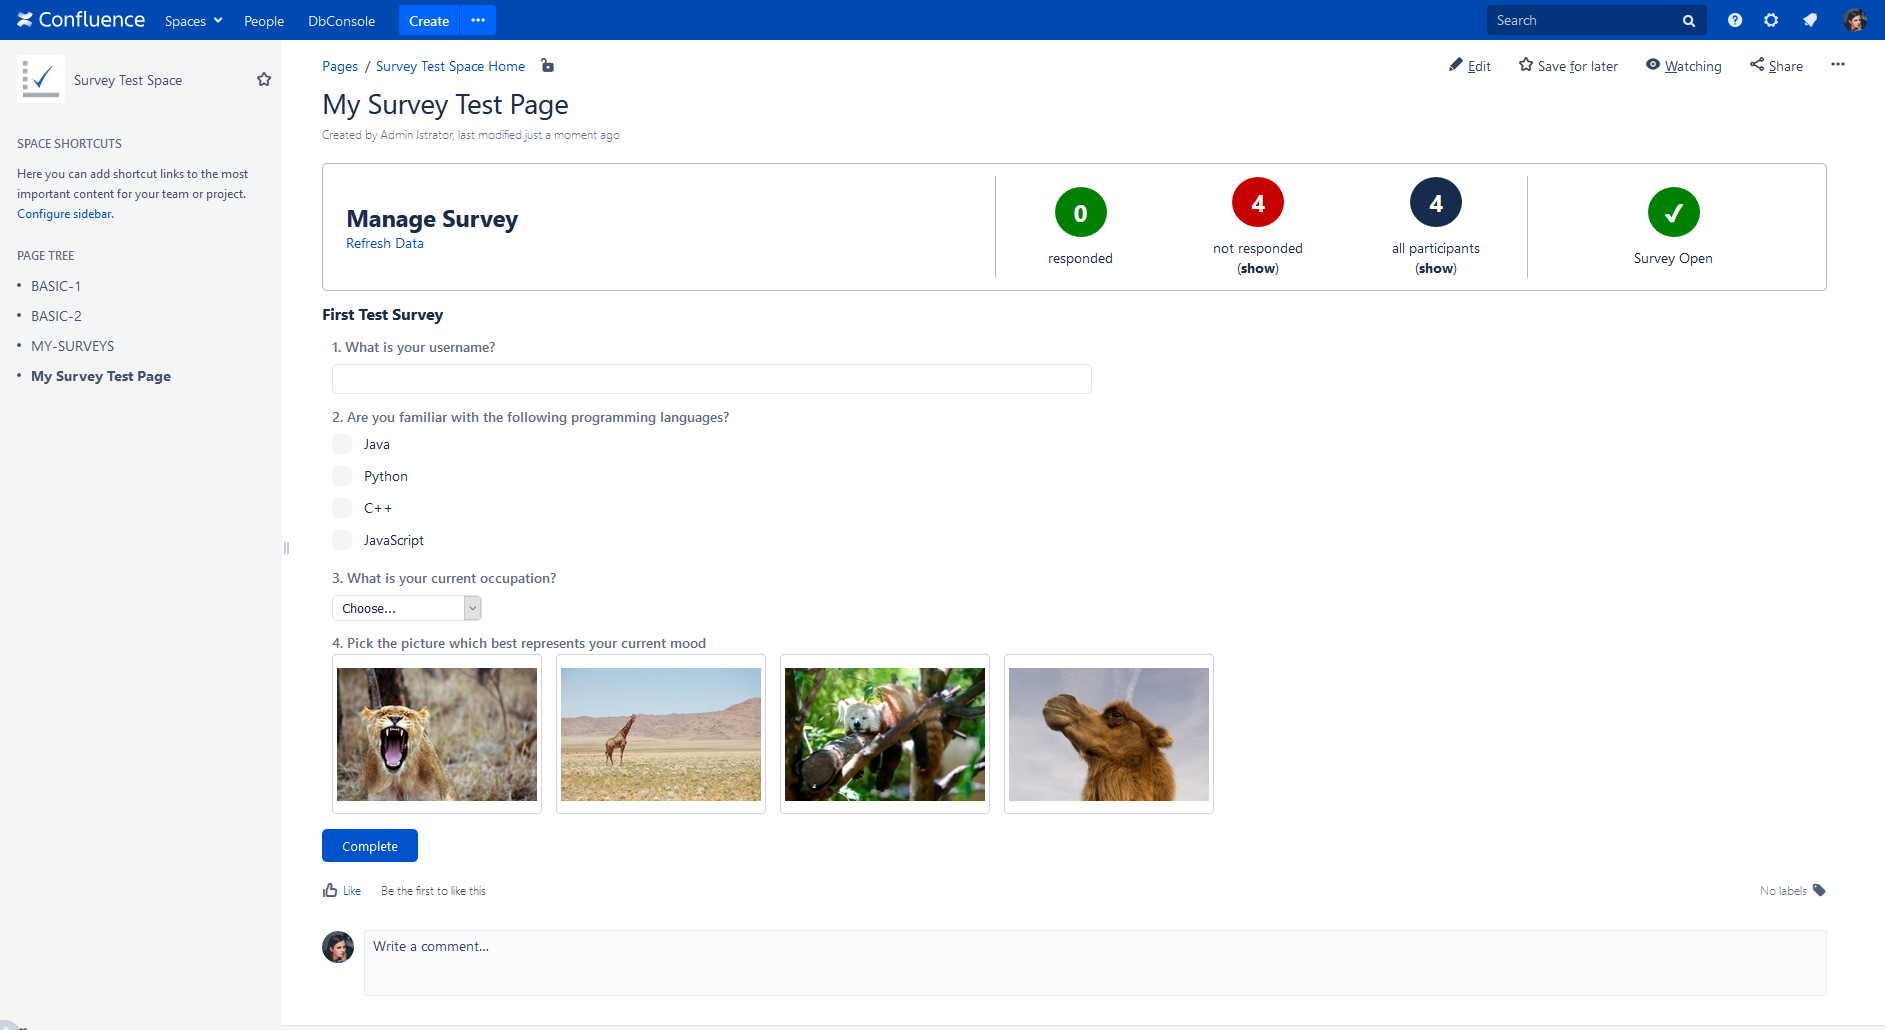
After you have finished editing the rest of the Confluence page, you can click "Publish". You can now see your survey on the published page.
Show me
Learn more about question types, configuration settings and shortcuts on Survey Designer.
Editing answers as a user
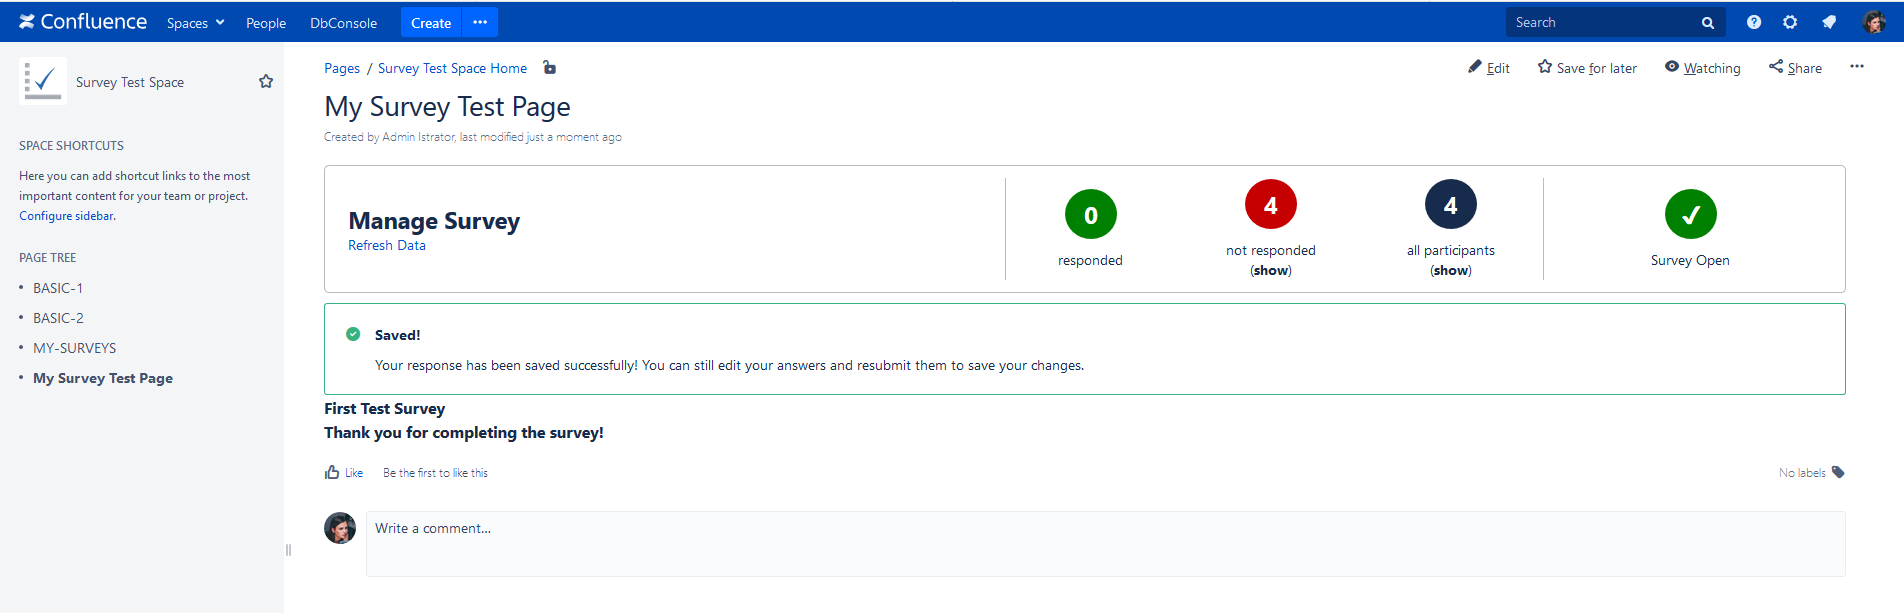
After answering the survey, users can see their answers and, as long as the survey is open, they may change and resubmit them.
Show me
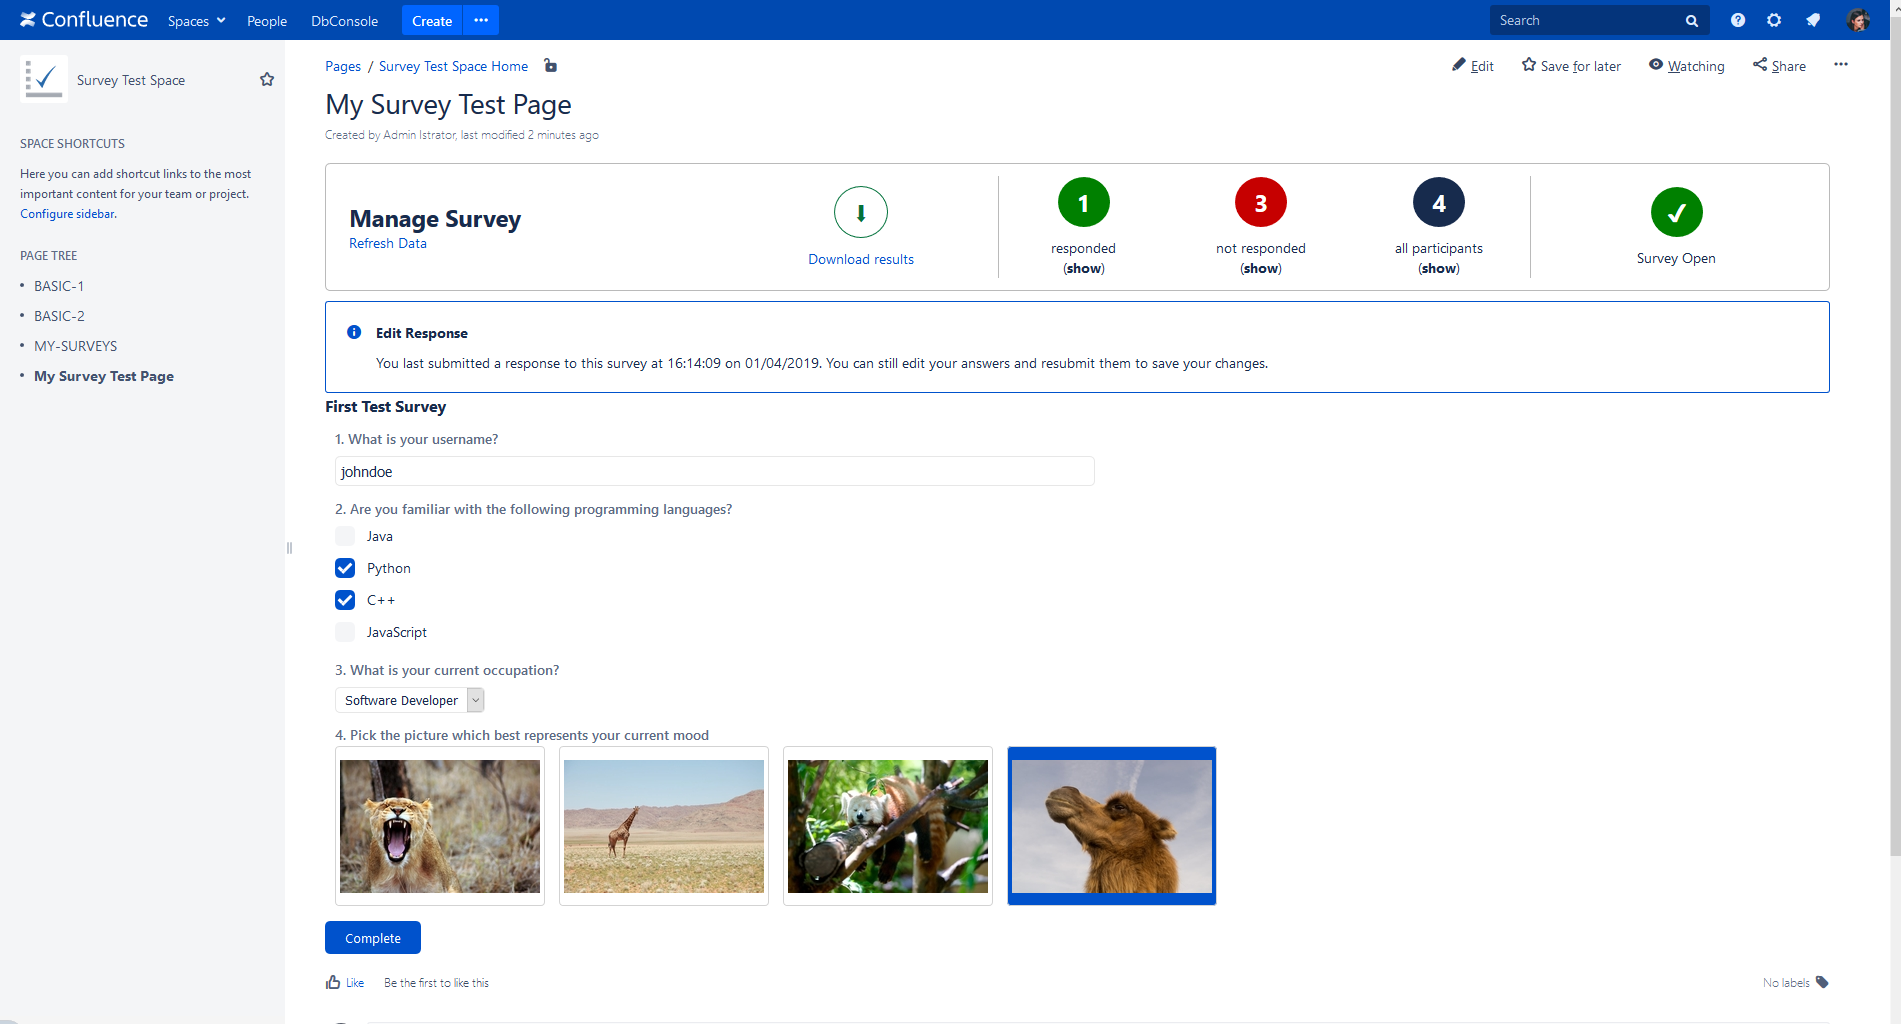
The panel for previewing the results is is only visible to users, which have the View-result permission.
Show me

Close surveys
For closing the survey, go to the "Permissions” tab and use the toggle switch "Survey open for votes”.
Show me

Show and export results
Display answers
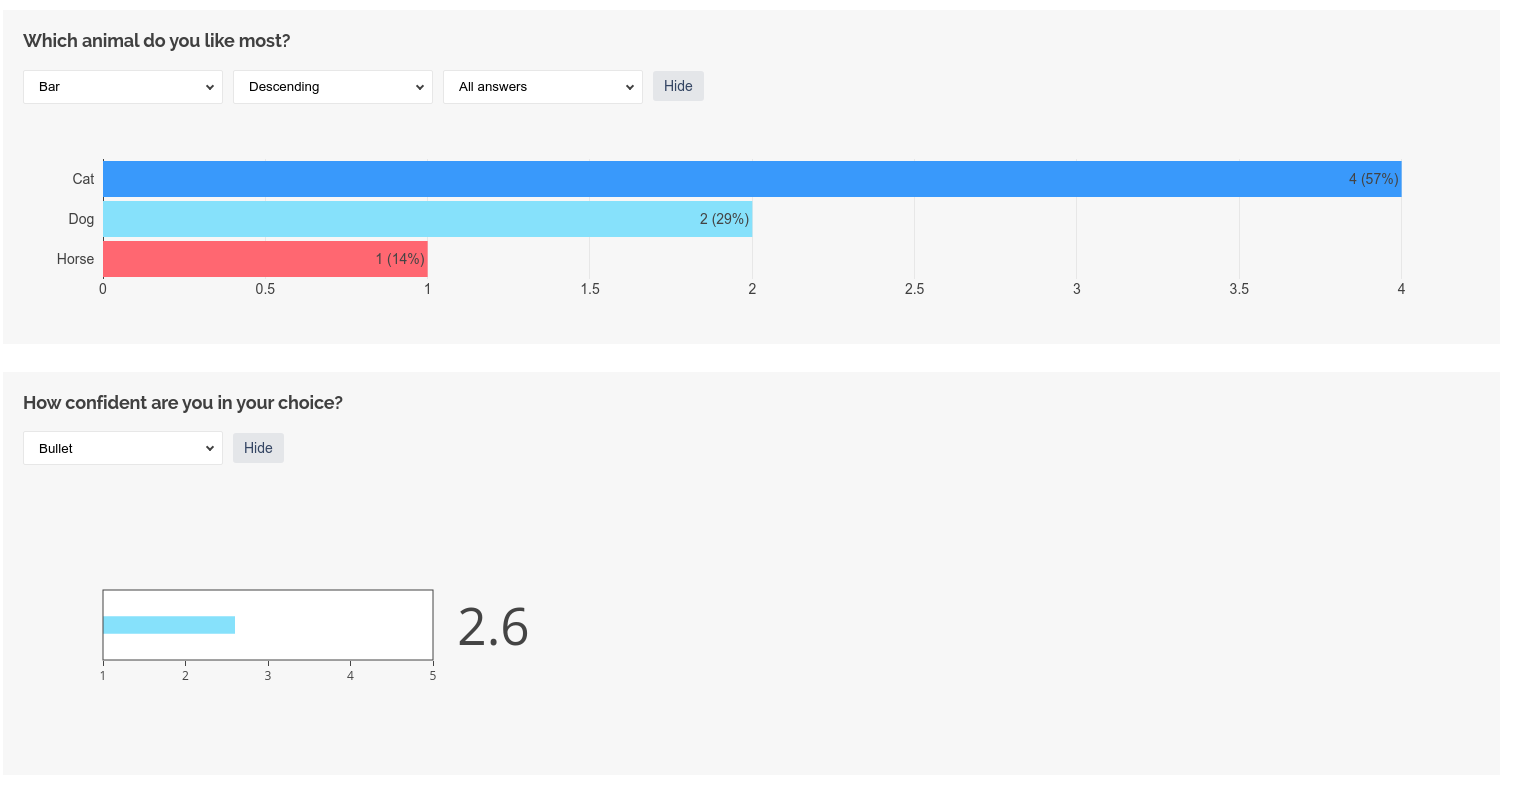
You can view the responses by clicking the “Display answers” area in the header. You need the view results permission to see this panel. At least one participant has to have responded to the survey.
Show me

You get graphs for every question. You can choose between different plots, i.e., bar charts, pie charts, gauge charts depending on the question type.
Show me
Download results
You can export the responses of your survey by clicking on the "Download results" button. This will create and download a .csv file with the survey responses.
Show me

For more information about the format of survey responses and this .csv see Export Survey Responses.
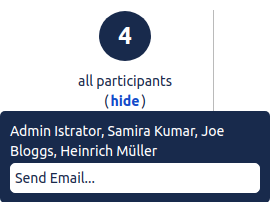
Clicking on the "show" button below "responded", "not responded" or "all participants" will display a list of the users in this category.
Show me
Learn more about the elements of the export file on Export responses of a survey.
Send email to participants
The "Send email"-button in the panel opens an email template in which all of the users of that category are listed in BCC.
Show me

If you wish to close the survey or edit the questions, enter edit mode and double click the survey. This is only possible for survey managers.
Editing questions after users voted may lead to inconsistencies. We strongly recommended that you read the FAQ before you perform either of these actions.